California Cost Model Maintenance
Navigate:  Valuation> Valuation Management > Cost Model Maintenance > California Cost Model Maintenance
Description
NOTE: California Cost Model Maintenance (formerly BOE Cost Model Maintenance) is a California-specific task that may not apply to your jurisdiction.
Create and maintain Board of Equalization cost models using the California Cost Model Maintenance screen.
Importing and Adding a Model
-
On the California Cost Model Summary screen, click Import Model or Add New in the panel's title bar.
Import Model
-
On the California Cost Model Import screen, click the Model Information tab and enter the model's basic information.
-
Model Code – Enter a code representing the model.
-
Model Name – Enter the name of the model.
-
Status – Make a selection from the Status drop-down list. This indicates whether or not the model is available for use throughout the system.
-
Rate Settings, Depreciation Settings, Depreciation Base Year and Local Cost Modifier are not available until after the Model has been imported. See Complete Model Definition below.
-
Rate Settings
- Depreciation Settings – Select how the depreciation is determined (e.g., by Quality, by Condition, etc.).
-
Depreciation Base Year – Enter the base year which the model is depreciated against.
-
Local Cost Modifier – Enter the Local Cost Modifier.
-
Description – Enter a description of the model.
-
-
Optionally, click Add Note on the far right of the Notes panel. This panel uses standard, Aumentum Notes functionality.
-
Do not click Save until you have imported the rates. Click the Import Rates tab.
- Click Select next to the Model Spreadsheet File to be Imported field to browse for the file.
-
The Display Verbose Import Information checkbox is selected by default. Verbose Import shows you the steps pertaining to the Import, and relevant errors and warnings, if applicable.
-
Click Import.
NOTE: The import process can take several minutes to complete. When complete, an Import Process Complete message is displayed as the last message in the grid.
-
Click Save at the top of the screen.
-
Click Cancel to discard your changes.
-
-
Click Model Summary in the Command Item bar to return to the California Cost Model Summary screen.
-
Click Refresh to clear all selections and refresh the page.
-
Click Close to end the task
-
Add New
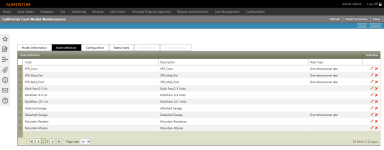
On the California Cost Model Summary screen, click Add New, or click the Pencil icon for an item in the grid.
The California Cost Model Maintenance screen includes six tabs.
-
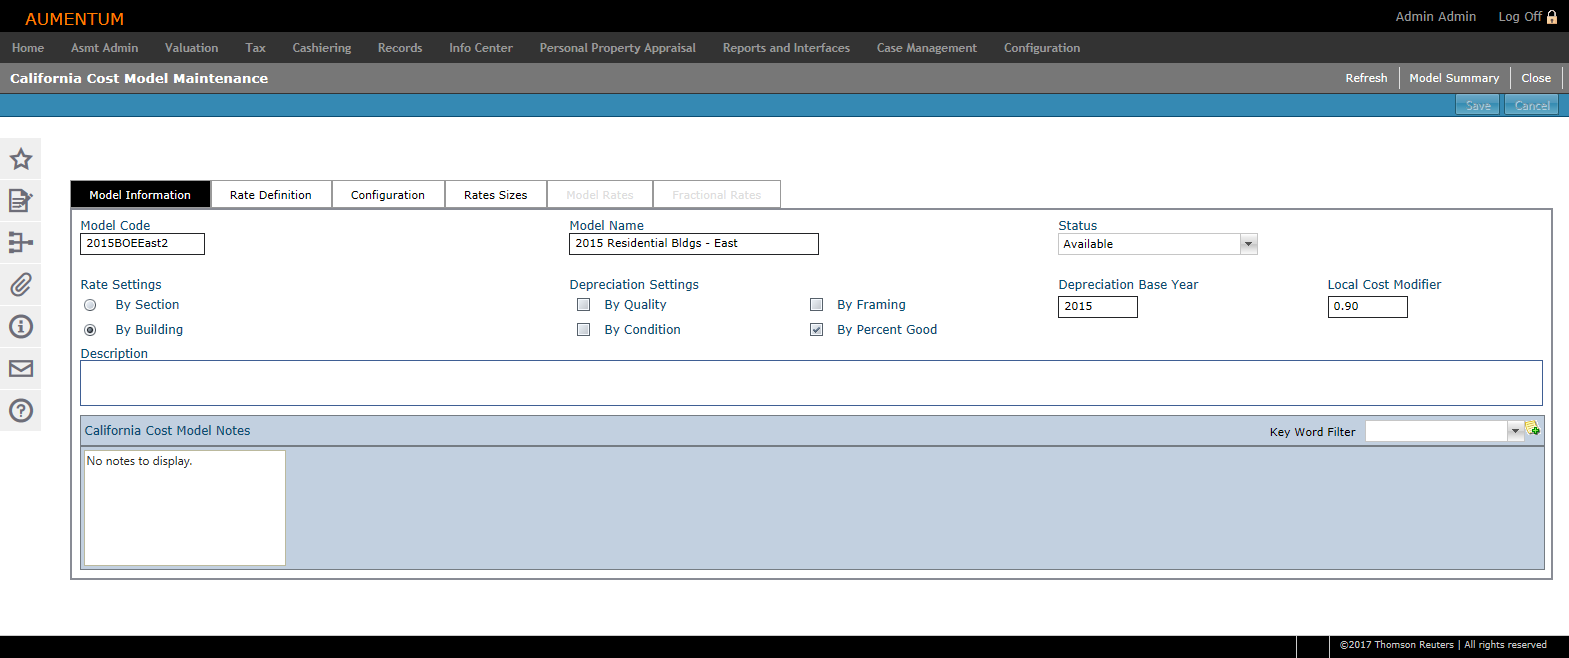
Add or edit the model's basic information.
-
Model Code – Enter a code representing the model.
-
Model Name – Enter the name of the model.
-
Status – Select the status of the model. The Status of the model indicates whether or not the model is available for use throughout the system.
-
Rate Settings – Select whether the area of a Section or the area of a Building is used when determining the rate.
-
Rates by Quality – Select how the system should depreciate (e.g., by Quality, Condition, etc.).
-
Depreciation Settings – Select how the depreciation is determined (e.g., by Quality, by Condition, etc.).
-
Depreciation Base Year – Enter the base year by which the model is depreciated against.
-
Local Cost Modifier – Select the Local Cost Modifier.
-
Description – Enter a description of the model.
-
-
Optionally, click Add Note on the far right of the Notes panel. Model Notes uses standard, Aumentum Notes functionality.
-
Click Save at the top of the screen.
-
Click Cancel to discard your changes.
-
-
Click the chevron next to any Rate Definition in the list to expand its details.
-
Click Add New.
OR
Click the Pencil icon for an item in the grid.
OR
Click the red X to delete an item in the grid.
-
Define the rate.
-
Code – Enter a code to represent the rate definition.
-
Description – Enter description of the rate.
-
Rate Type – Make a selection from the drop-down list.
-
Click the green check mark to save your changes.
-
Click the red X to discard your changes.
-
Model Information
 Rate Definition
-
-
Click Save at the top of the screen.
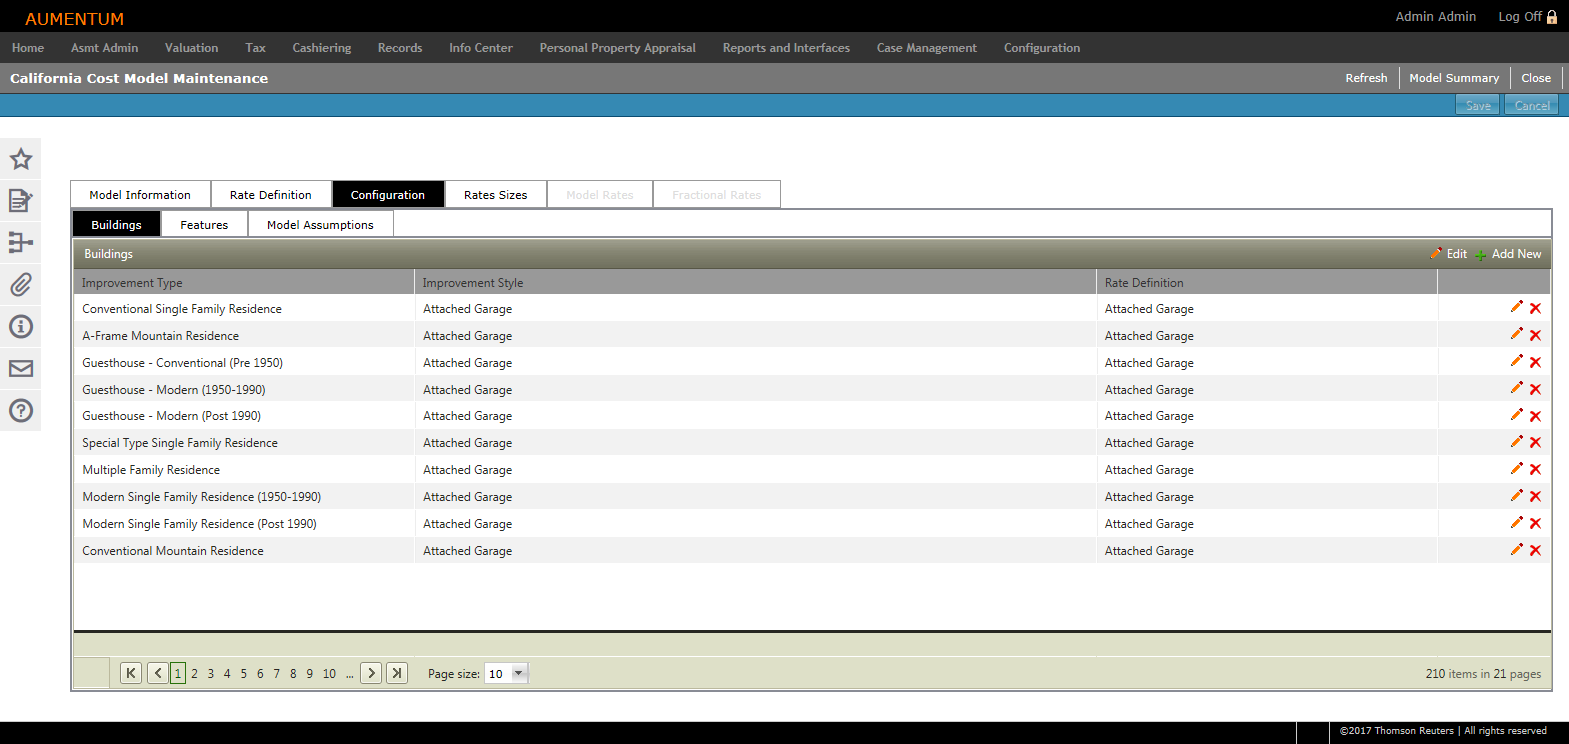
 Configuration
The Configuration tab is comprised of three sub-tabs.
-
Click Add New. A new line is active for editing.
OR
Click the Pencil icon to edit all buildings in the list. All buildings are active for editing.
OR
Click the Pencil icon for an item in the grid. The line is active for editing.
-
Select or edit the Improvement Type, Improvement Style and Rate Definition.
-
Click the green check mark to add the new building.
-
Click red X to cancel adding the building.
-
Click Save at the top of the screen.
-
Click Add New. A new line is active for editing.
OR
Click the Pencil icon to edit all features in the list. All lines are active for editing.
OR
Click the Pencil icon for an item in the grid. The line is active for editing.
-
Enter or edit the feature information.
-
Feature Code – Select the relevant feature code.
-
Feature Description – The description is automatically populated based on your Feature Code selection.
-
Rate Definition – Select the feature's Rate Definition.
-
Click the green check mark to save your changes.
-
Click red X to discard your changes.
-
Buildings
Features
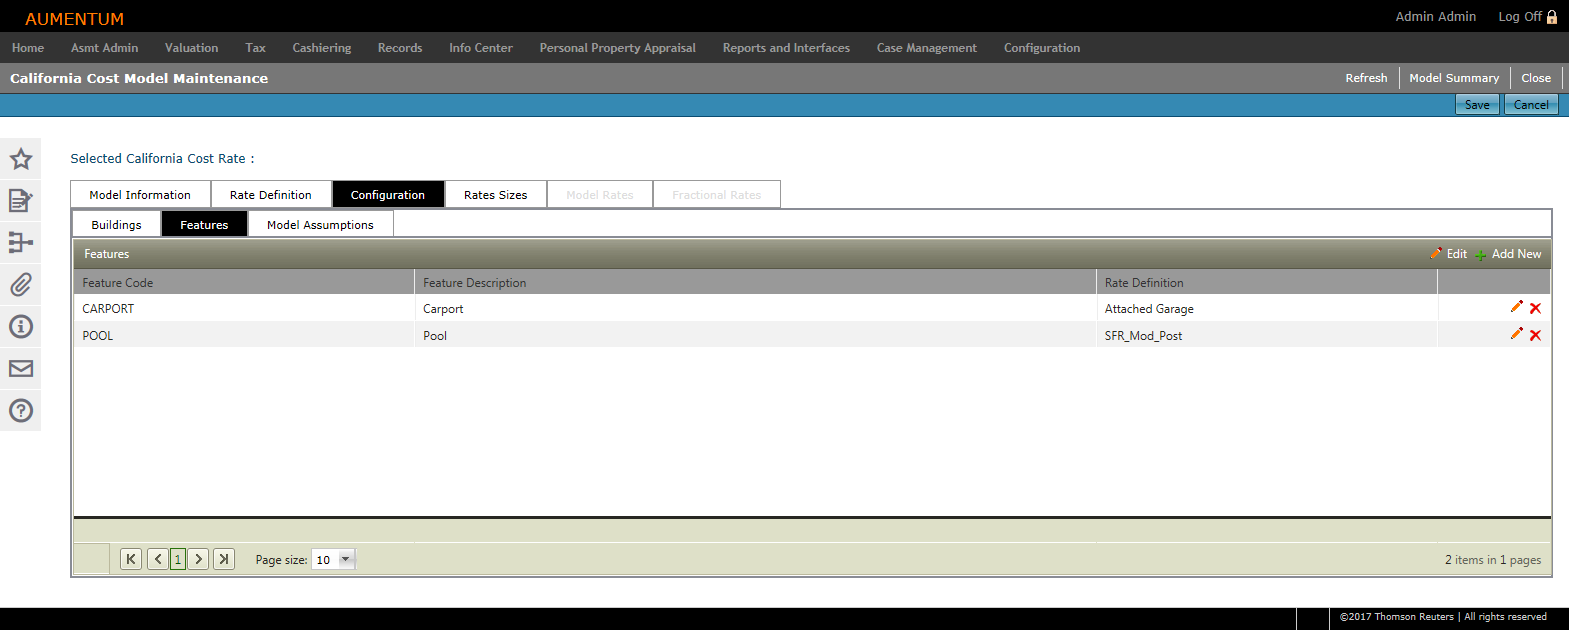
Click Save at the top of the screen.
Model Assumptions
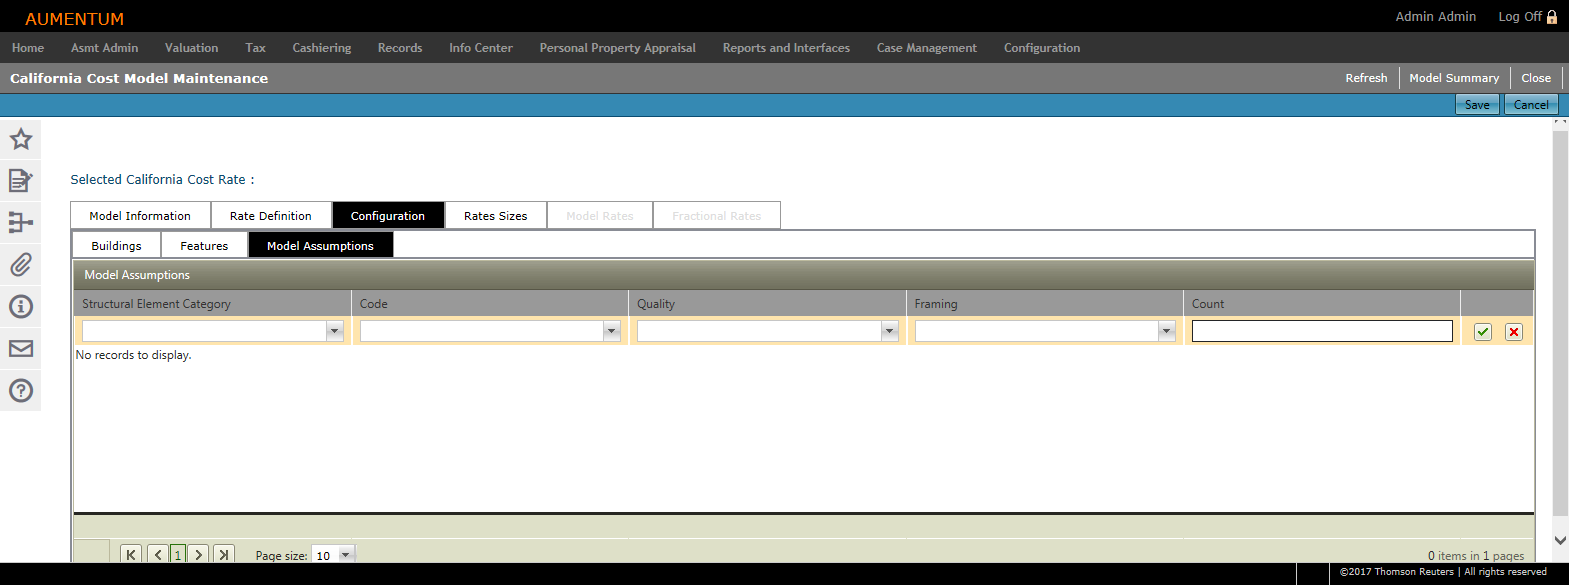
-
Click Add New.
-
Enter or edit the assumption.
-
Make a selection from the drop-down lists.
- Enter a count.
- Click the green check mark to save your changes.
-
Click red X to discard your changes.
-
OR
Click the Pencil icon to edit all features in the list. All lines are active for editing.
Rates Sizes
In this tab, you can set the bounding measures and values used in the model.
-
Use the drop-down lists to select an X and Y Size Type and a Rate Size Type.
-
Click Add new record.
-
Enter a value for the X size and Y size.
-
Click Insert to save the values, or click Cancel to quit.
-
Click Edit to modify the values enter, or click Delete to remove the values.
-
Model Rates
NOTE: This tab is only available if a two dimensional rate type has been configured on the Rate Definition tab
The Model Rates tab is comprised of six sub-tabs.
-
Click the Pencil icon to change the dimensions already entered.
-
Click Add New.
-
Enter or edit the structural element.
-
Click the green check mark to save your changes.
-
Click the red X to discard your changes.
-
-
Click Add New.
-
Enter or edit the element.
-
Click the green check mark to save your changes.
-
Click the red X to discard your changes.
-
-
Click Add New.
-
Enter or edit the element.
-
Click the green check mark to save your changes.
-
Click the red X to discard your changes.
-
-
Select an adjustment type from the drop-down list.
-
Click Add New.
-
Enter or edit the adjustment.
-
Click the green check mark to save your changes.
-
Click red X to discard your changes.
-
-
Select a condition from the drop-down list.
-
Click Add New.
-
Enter or edit the depreciation values, the graph will be updated to reflect the values being entered:
-
Enter an Age (e.g. 5 for 5 years).
-
Enter a Depreciation Value (e.g. 5 for 5%).
-
Click the green check mark to save your changes.
-
Click red X to discard your changes.
-
Base Model
This tab lists the dimensions entered in the Rates Sizes tab.
Structural Elements by Size
Structural Elements by Size Type
Unit Counts
Adjustments
Depreciation
Fractional Rates
-
This tab is available only if a two dimensional rate type has been configured on the Rate Definition tab.
The fractional rates tab is comprised of two sub-tabs.
-
Click Add New.
-
Enter or edit the fractional rate.
-
Click the green check mark to save your changes.
-
Click the red X to discard your changes.
-
-
Click Add New.
-
Enter or edit the fractional rate.
-
Click the green check mark to save your changes.
-
Click the red X to discard your changes.
-
Buildings
OR
Click the Pencil icon for an item in the grid.
Features
OR
Click the Pencil icon to edit an item in the list.
-
Click Model Summary to return to the California Cost Model Summary screen.
-
Click Refresh to clear all selections and refresh the page.
-
Click Close to end the task.
Importing New Rates
You can import a new Rates file (CSV) into a California Cost Model. If the configuration matches the file's information, the new rates information is imported and updates the Cost Model without removing the configuration and mapping already set up.
- On the California Cost Model Summary screen, click the Copy icon for an item in the grid to make a copy of the rate definitions and mappings.
- On the California Cost Model Maintenance screen, enter a new Model Code and Model Name.
- From the Status drop-down list, you must select New. A status other than New cannot have a new rate set imported into it.
- Click Save, then click Close.
- Click Valuation > Valuation Management > Cost Model Maintenance > California Cost Model Maintenance.
- On the California Cost Model Summary screen, locate your newly copied model and click the Wand (import rates) icon.
- On the California Cost Model Import screen, click on the Import Rates tab.
- Click Select and locate the file you want to import. Wait until the upload process is complete, then click Import.
- The Import Rates panel displays the imported content. Click Save.
- Click Model Summary in the Command Item bar, then click the Pencil (edit) icon for your cost model. Verify rate definitions, configuration, etc.
NOTE: Select the Display Verbose Import Information checkbox to see if any errors occurred.
NOTE: If the imported data was incorrect and mappings were lost, it is best to delete the newly created model and start over with a new copy of the original model to ensure mappings are retained.