Minerals Configuration
Navigate:  Valuation >
Configuration >
Minerals Configuration
Valuation >
Configuration >
Minerals Configuration
Description
NOTE: Mineral Configuration settings are initially setup by your Aumentum Implementation team. The data maintained from Mineral Configuration defines and modifies the data/fields/drop-down lists that are available when you edit a mining/production site's information in Aumentum.
Use Minerals Configuration to define and map related mineral property data (e.g., ores of metals, coal, gemstones, dimension stone, construction aggregate, salt and other materials extracted from the ground). The data you define becomes the data fields that are available to each user when he or she adds or maintains a mineral characteristic associated with an appraisal site.
Minerals Configuration contains four tabs:
- Code List – Define mineral characteristics.
-
User Defined Fields (UDF) – Create and maintain user-defined mineral characteristics.
-
Code Mapping – Map related mineral characteristics together.
-
User Defined Fields Mapping - Map user-defined mineral characteristics.
Code List
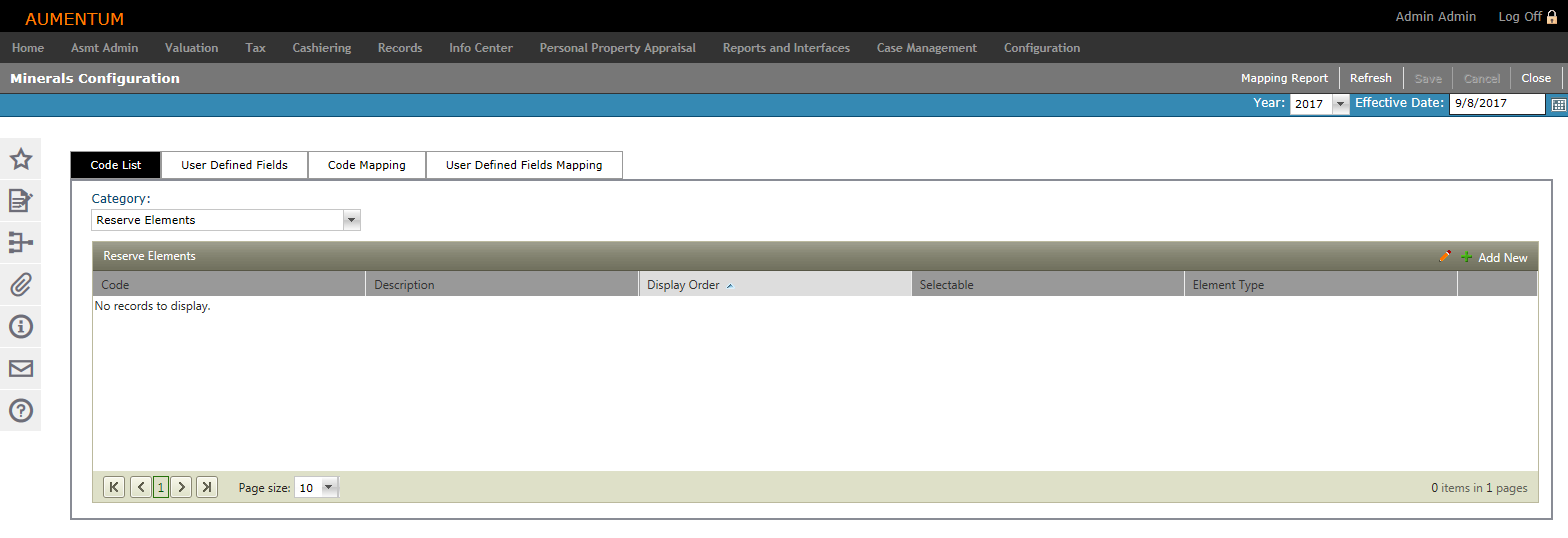
Steps
-
Select a Category. The grid column options and available fields populate based on your Category selection.
-
Reserve Elements - Define numeric reserve information (e.g.,prior year proved reserves, produced reserves, estimated remaining reserves, etc.). This category includes an additional column to define the Element Type as Numeric, Percent or Currency. Your selection determines the format by which the Element displays on your screen and in reports.
-
Mineral Type - Define the type of mineral (e.g., aggregate rock, gravel, precious metals, semi-precious stones, etc.).
-
Mineral SubType - Define the mineral's subtype (e.g., fine sand, gravel sand, course rock, limestone, clay, etc.).
-
Mineral Grade - Define the production grade (e.g. A, B, C, etc.).
-
Mineral Size Types - Define mineral production size type (e.g., tons, cubic yards, etc.).
-
Production Detail Elements - Define detailed characteristics about the production site (e.g., acres mined, ultimate mining depth, mine capacity, depth to ground water, tons produced, tons sold, royalties paid per unit, etc.).
-
Production Unit Type - Define production site type (e.g., unitized field, pit, etc.).
-
Production Unit Report Source - Define the report source for the production site (e.g., Form 560A, Form 560B, Form 560C, Electronic Upload, etc.).
-
Reserve Estimation Method - Define the method by which reserves are estimated (e.g., weighted volume estimate, isopach maps, comparable calculation, etc.).
-
Mineral Unit of Measure - Define how minerals are measured (e.g., tons, cubic yards, etc.).
-
Mineral Basis - Define how often mineral income is tracked (e.g., daily, quarterly, annual, etc.) and how many times per year it is tracked (periods per year).
-
Mineral Adjustment Reason Code - Define the adjustment code(s) specific to your jurisdiction.
-
Well or Mine Type - Define the well/mine type (e.g., quarry, injection well, service well).
-
Well or Mine Use Code - Define how the well/mine is being used.
-
Well or Mine Status - Define the status of the well/mine (e.g., abandoned, producing, capped, development).
-
Well or Mine Basin - Define the well/mine's geological basin.
-
Mineral Expense Template
-
Mineral Expense Header - Define operating expense categories (e.g., utilities, administration, insurance, etc.).
-
Mineral Expense Item - Define expense items specific to a particular expense category.
-
Mineral Expense Categories - Define expense categories specific to a mineral production site. This category includes an additional column to define the Assigned Expense Class.
-
Disallowed - Indicates the code is not an allowable expense and is not used in any calculation process.
-
General Expense - Indicates the code is a valid expense used in the Net Operating Income calculation process.
-
Variable Expense - Indicates the code is a valid expense used in the Net Operating Income calculation process.
-
Fixed Expense - Indicates the code is a valid expense used in the Net Operating Income calculation process.
-
Reserves (Reserve for Replacement) - Indicates the code is a valid expense used in the Net Operating Income calculation process.
-
Property Tax - Indicates the code is a valid expense used in the Net Operating Income calculation process.
-
Capital Expense - Indicates the code is a valid expense used in the Discounted Cash Flow calculation process.
-
Below the Line Expense - Indicates the code is a valid expense used in the Discounted Cash Flow calculation process.
-
-
Click the Add New icon to add a new code to the selected Category. A new line item is highlighted and active for editing.
-
Define the code's attributes.
-
Code - Enter a brief code.
-
Description - Enter a description of the code.
-
Display Order - Enter a numeric value identifying where the code appears in the select list.
-
Selectable - When selected, the code is available for selection in the Aumentum application.
-
Click the green check mark to save all changes.
-
Click the red X to cancel all changes and exit the editor.
OR
Click the Pencil icon to edit an existing code in the list. The line item is active for editing.
OR
Click the Pencil icon in the header panel to edit all codes in the list. The entire list is active for editing upon clicking the edit icon.
NOTE: Additional columns may appear depending on your Category selection (see Step 1 for more information). The columns below automatically appear for each Category.
-
Click Save.
User Defined Fields
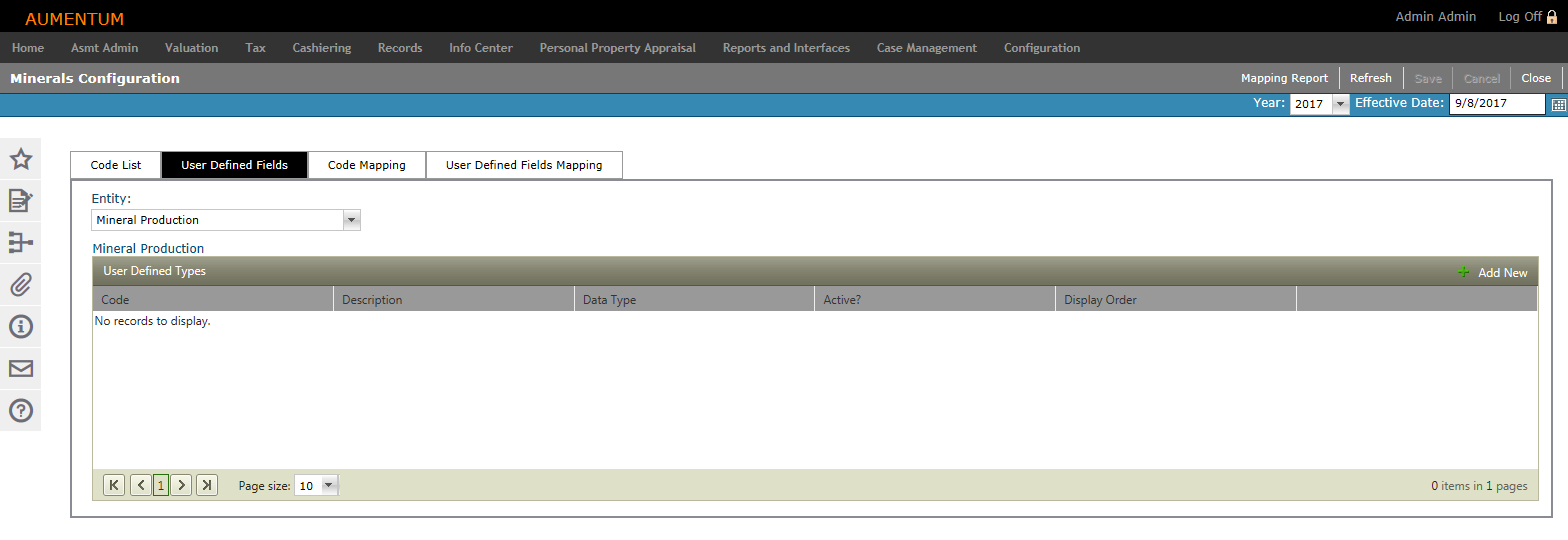
Steps
-
Select the Entity for which you are defining a User Defined Field (UDF). The grid column options and available fields populate based on your Entity selection.
-
Click the Add New icon to add a new code to the selected Entity. The grid expands to expose fields for adding the new UDF.
-
Define the new UDF attributes.
-
Code to represent the UDF.
-
Description of the UDF.
-
The Data Type as it should appear on the data entry form.
-
-
SysType Category is available for selection only if SysType is the selected Data Type.
-
Select whether the UDF is Active.
-
Select whether the UDF is a required field.
-
Enter the Display Oder as it should appear in the list.
-
Click Insert to add the UDF.
-
Click Cancel to cancel out of task.
OR
Click the Pencil icon to edit an existing UDF in the list. The line item is active for editing.
-
Click Save.
Code Mapping
NOTE: The Clone feature is available from the Code Mapping and User Defined Fields Mapping tabs. The Clone feature allows you to quickly clone data relationships from one code to any other code in the same list-level code list.
-
Select a Mapping Category (and other additional sub-categories/types, if applicable) from the list.
-
Map applicable codes, as desired and click Clone. The Clone To pop-up displays.
-
Select one or more Class Codes from the list to clone adjustments definitions to.
-
Click OK to complete the clone.
-
Click Cancel to cancel the clone task.
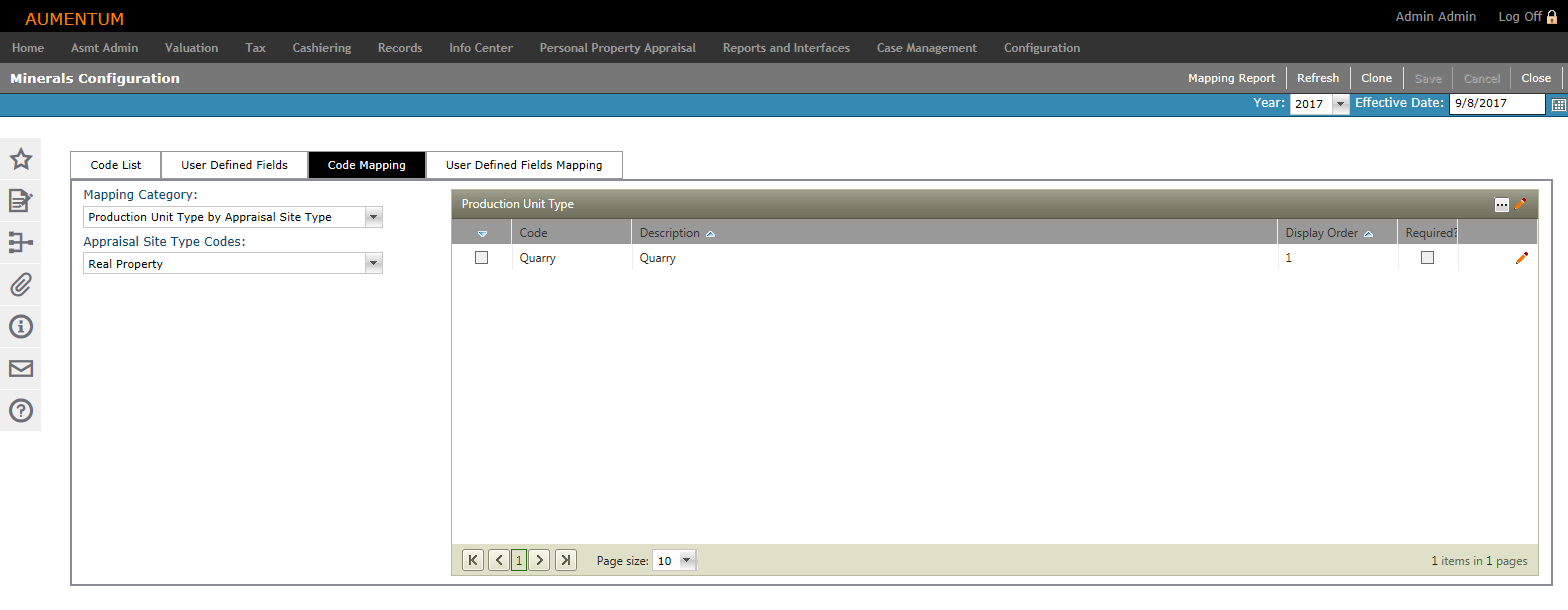
Steps
-
Select the Mapping Category and associated Codes. Codes for the selected categories populate in the grid to the right.
-
Click the Pencil icon to edit an existing code in the list. The line item is active for editing.
-
Display Order - Enter a numeric value identifying where the code appears in the select list.
-
Required - When selected, the code is a required field in the Aumentum application.
-
Click the green check mark to save all changes.
-
Click the red X to cancel all changes and exit the editor.
OR
Click the Pencil icon in the header panel to edit all codes in the list. The entire list is active for editing upon clicking the edit icon.
OR
Click the View Filter Options icon to expose the filtering tool in the panel header.
Continue editing Code Mappings, as desired.
-
Click Save.
User Defined Fields Mapping
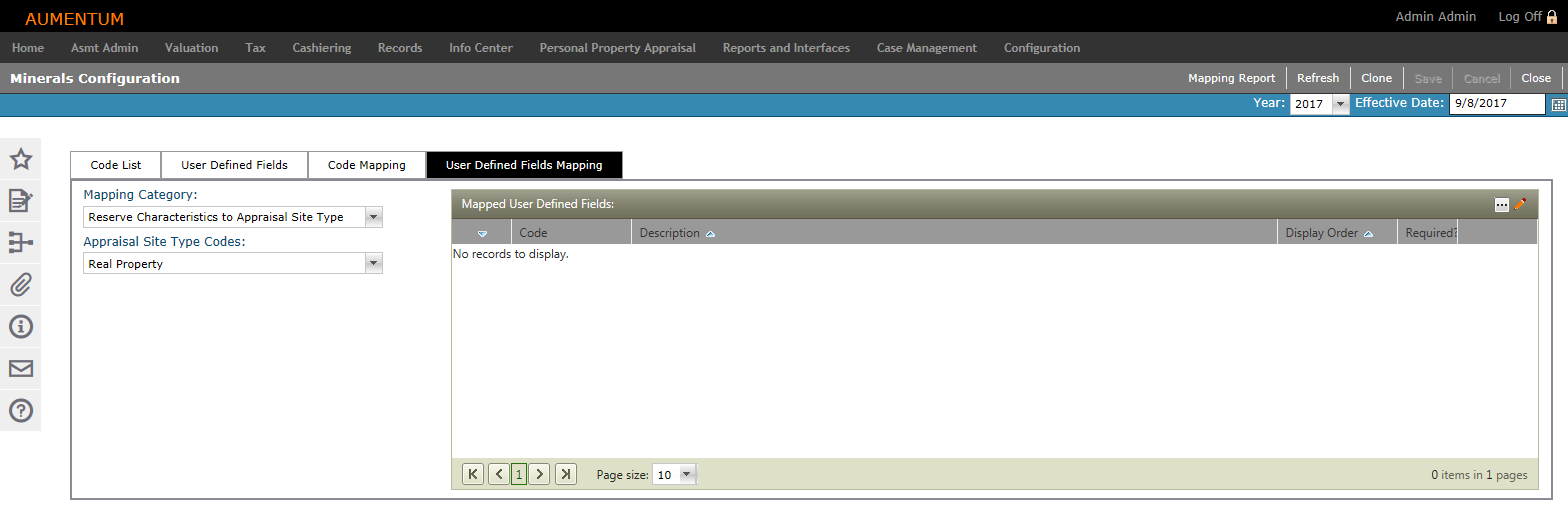
Steps
-
Select the Mapping Category and associated Code(s). Codes for the selected categories populate in the grid to the right.
-
Click the Pencil icon to edit an existing code in the list. The line item is active for editing.
-
Display Order - Enter a numeric value identifying where the code appears in the select list.
-
Required - When selected, the code is a required field in the Aumentum application.
-
Click the green check mark to save all changes.
-
Click the red X to cancel all changes and exit the editor.
OR
Click the Pencil icon in the header panel to edit all codes in the list. The entire list is active for editing upon clicking the edit icon.
OR
Click the View Filter Options icon to expose the filtering tool in the Mapped User Defined Fields panel header.
Continue editing UDF Mappings, as desired.
-
Click Save.
-
Click Refresh to clear all selections and refresh the page.
-
Click Clone to clone the mapped data. Clone functionality is available from the Code Mapping and User Defined Field Mappings tabs only.
-
Click Cancel to discard changes since the last Save and retain the current view.
-
Click Close to end the task.
Tips
-
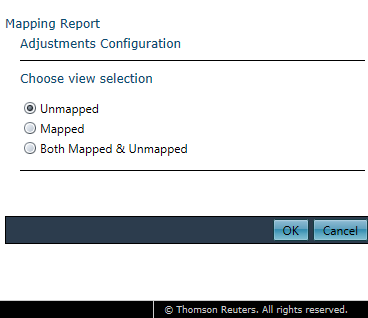
Click Mapping Report to select Mapping Report Options from the pop-up which displays and generate a report of the mappings which have been mapped, unmapped or both mapped and unmapped.
-
Select View Selections and click OK. The report is exported to a Microsoft Excel worksheet.