Land Configuration
Navigate:  Valuation > Configuration > Land Configuration
Description
Define the data selections (drop-down list selections) that are available when maintaining information on the Land Configuration screen.
Land Configuration contains four tabs:
-
Code List – Create and maintain land types and land-related data.
-
User Defined Fields (UDF) – Create and maintain user-defined land characteristics.
-
Code Mapping – Map related land characteristics together to define relationships between them.
-
User Defined Fields Mapping – Map related, user-defined land characteristics together.
Limiting the data options and fields that are available to users when maintaining land data for an appraisal site provides a method for maintaining consistent data, allowing for meaningful statistical analysis of land information and the accurate calculation of land values.
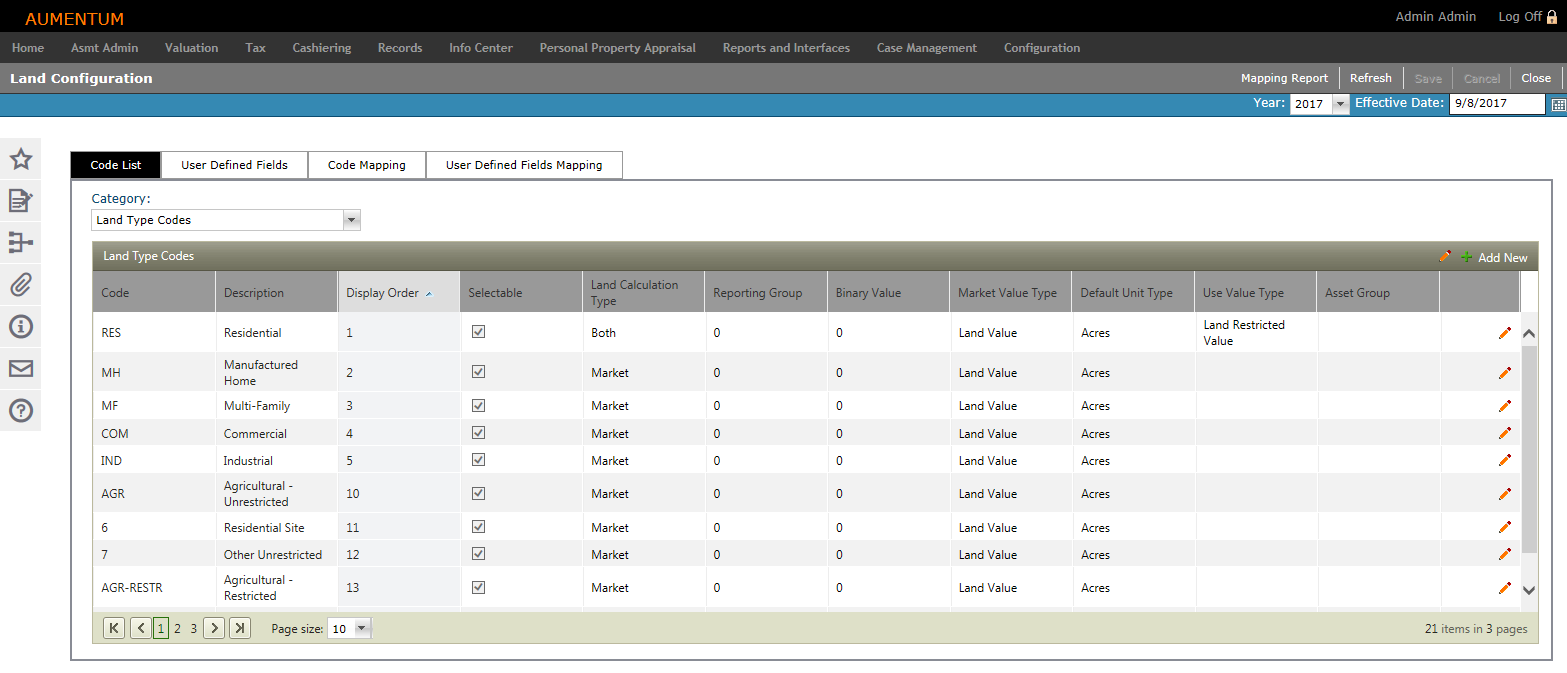
Code List
Steps
-
Make a selection from the Category drop-down list. The grid columns and available fields are populated based on your selection.
-
Land Type Codes – Define land categories (agricultural, commercial, residential), which are used for valuation and reporting purposes. This category includes columns not used by other categories:
-
Land Calculation Type – Define the basis for the land value calculation (Market, Use or Both).
-
Reporting Group and Binary Value – Different methods of grouping codes.
-
Market Value Type – Specify how the market value is calculated.
-
Default Unit Type – Specify a way to measure land (for example, acres, depth, lots, front feet, square feet).
-
Use Value Type – Specify how the use value is calculated.
-
Asset Group – Assign the asset group.
-
-
Land Size Type – Specify various sizes and, in a split action, if the parent land size type is prorated or persisted.
-
Land Site Rating – Specify ways a land site quality is rated (excellent, average, fair, etc.).
-
Soil ID – Specify the soil type (for example, sandy loam, gravelly silt, etc.).
-
Topography – Specify land topography types (slope, flat, hilly, etc.).
-
Land Slope Rating – Specify approximate slope measurements of a land site; typically, slope ranges are defined (for example, 0-20%, 20-30%).
-
Zoning Code – Specify zoning types as assigned by local agencies (such as cities), or counties for unincorporated areas. Typically, zoning types designate what types of buildings can be built on a land site (commercial, light industrial, residential, etc.).
-
-
Click Add New. A line item is active for editing.
-
Define the code's attributes.
-
Code – Enter a brief code.
-
Description – Enter a description of the code.
-
Display Order – Enter a numeric value identifying where the code appears in the select list.
-
Selectable – When selected, the code is available for selection in the Aumentum application.
-
Click the green check mark to save your changes.
-
Click the red X to discard your changes and exit the editor.
-
-
Click Save in the Command Item bar.
OR
Click the Pencil icon for a code in the list. The line item is active for editing.
OR
Click the Pencil icon in the header panel. The entire list is active for editing.
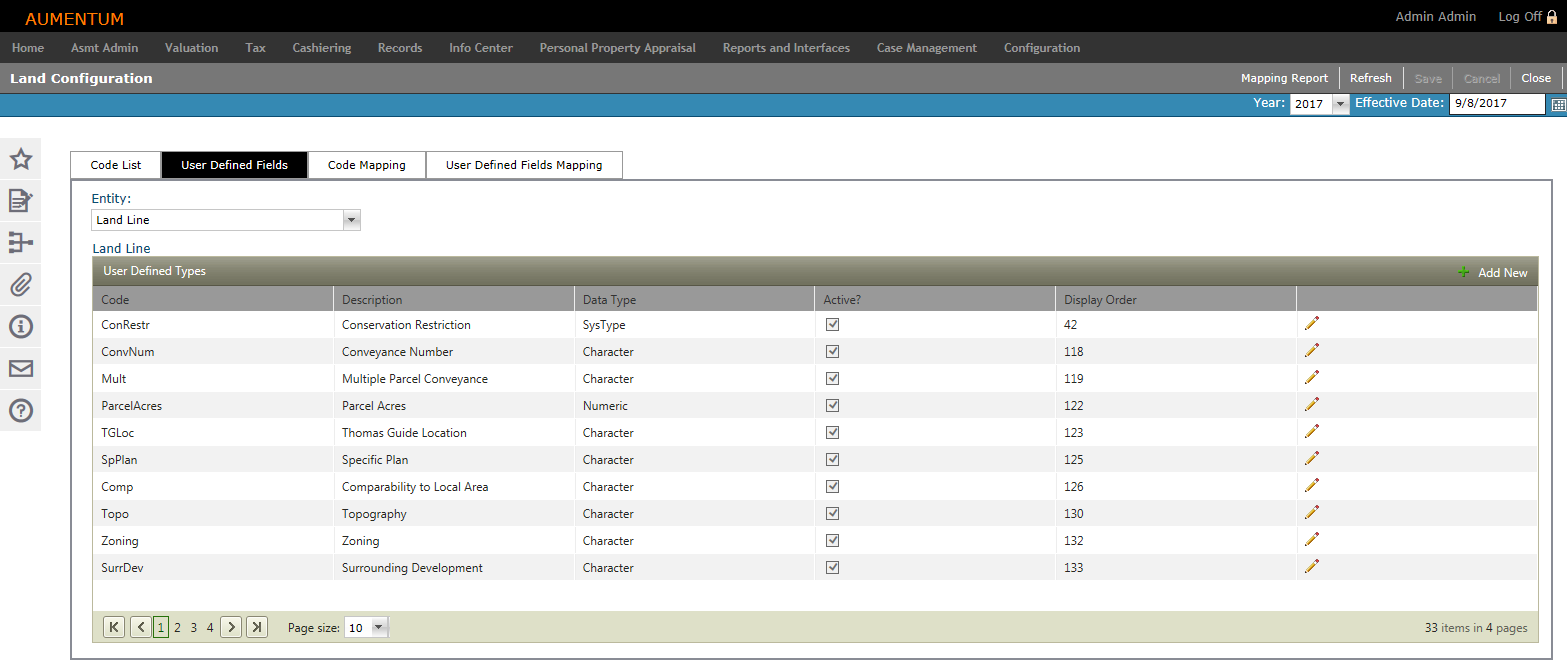
User Defined Fields
Create and maintain user-defined land characteristics from the User Defined Fields tab.
Steps
-
Make a selection from the Entity drop-down list, which is the entity for which you are defining a User Defined Field (UDF).
-
In the User Defined Types panel, click the Add New icon.
-
In the fields active for editing, specify the UDF attributes.
-
Code – Represents the user-defined field.
-
Description – Should be brief.
-
Data Type – How the field appears on the data entry form.
-
SysType Category – Available only if SysType is the selected Data Type.
-
Select whether or not the UDF is active.
-
Select whether or not the UDF is a required field.
-
Enter the display order as it should appear in the list.
-
Click Insert to add the UDF.
-
Click Cancel to discard your changes and close the active fields.
-
-
-
Click Save in the Command Item bar.
OR
Click the Pencil icon for an item in the grid.
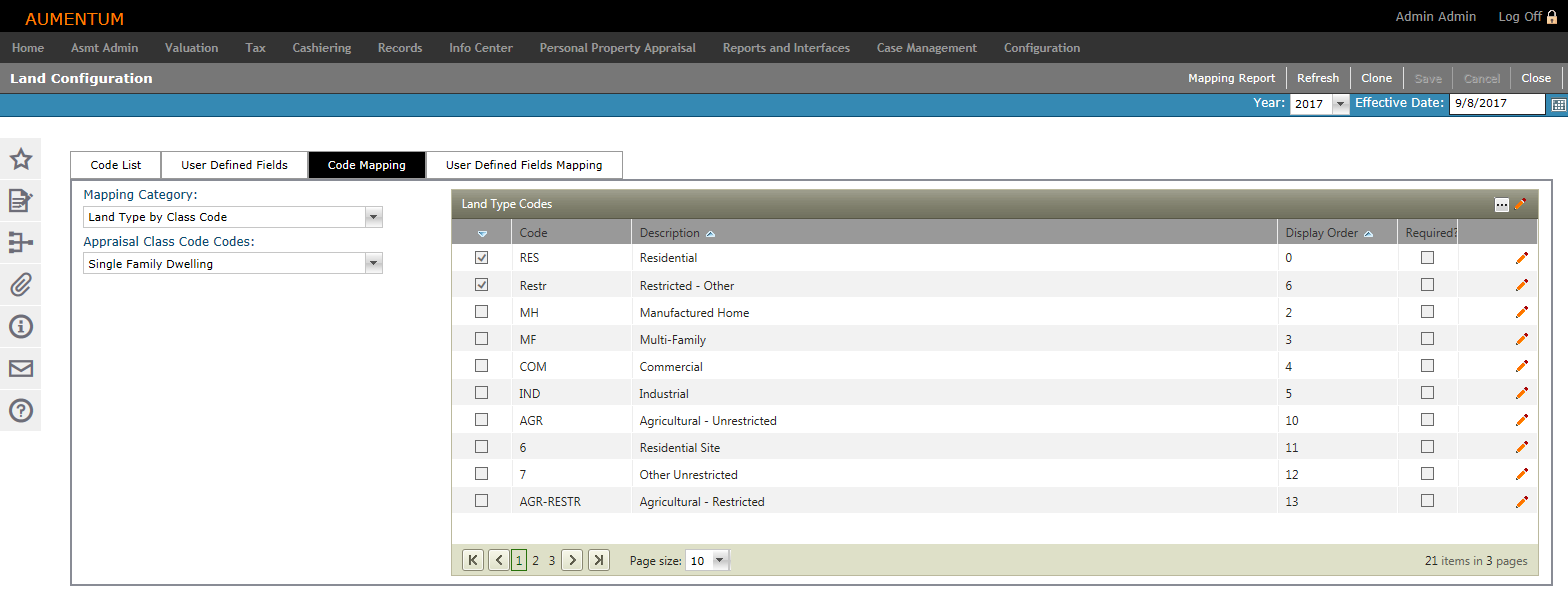
Code Mapping
Steps
-
Make a selection from the Mapping Category. Appraisal Class Codes or Land Type Code drop-down lists display below, based on your Mapping Category selection. Land type codes for the selected categories populate in the grid to the right.
-
Click the Pencil icon for a code in the list. The line item is active for editing.
-
Display Order – Enter a numeric value identifying where the code appears in the select list.
-
Selectable – When selected, the code is available for selection in the Aumentum application.
-
Click the checkbox to map the type to the category, or to remove the type from the category map.
-
Click the green check mark to save your changes.
-
Click the red X to discard your changes and close the editor.
-
Click Save in the Command Item bar.
OR
Click the Pencil icon in the header panel. The entire list is active for editing.
OR
Click the View Filters icon to expose the filtering tool in the panel header.
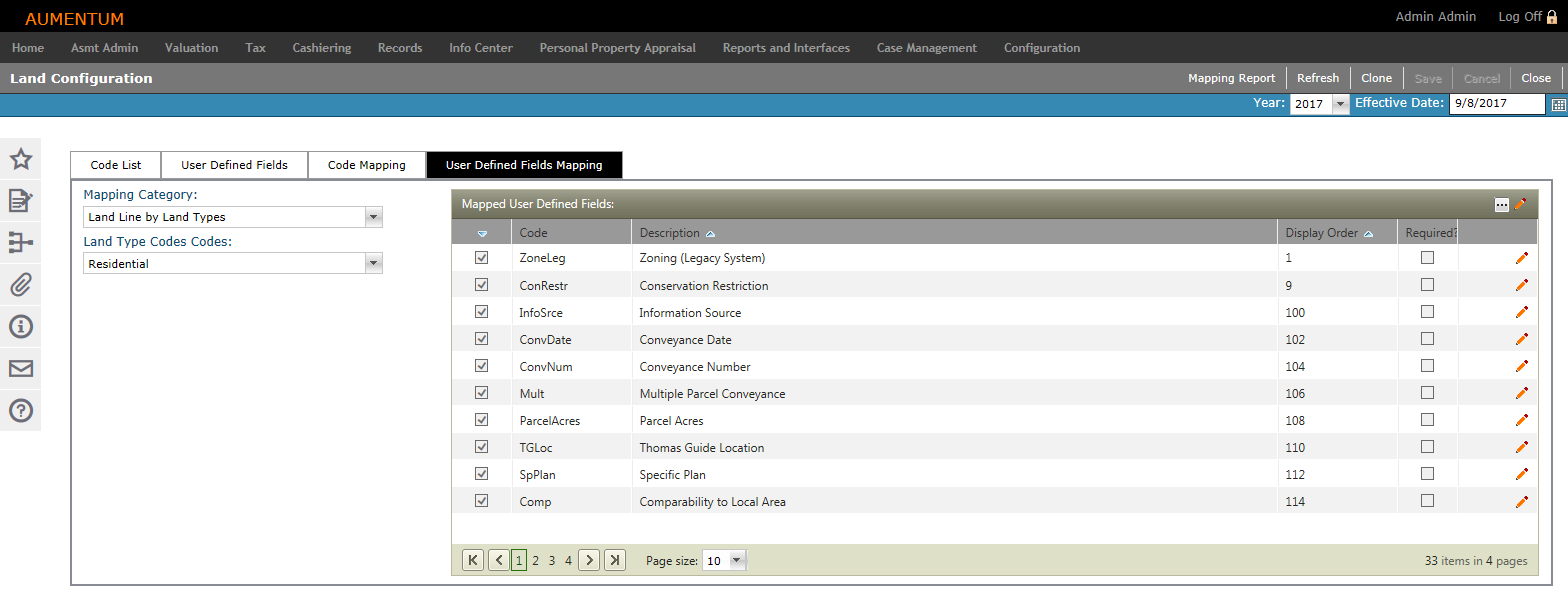
User Defined Fields Mapping
Steps
-
Make a selection from the Mapping Category and Land Type Codes drop-down lists. Codes for the selected categories populate in the grid to the right.
-
Click the Pencil icon to edit an individual code next to the code in the list. The line item is active for editing.
-
Continue editing UDF Mappings, as desired.
-
Display Order – Enter a numeric value identifying where the code appears in the select list.
-
Selectable – When selected, the code is available for selection in Aumentum.
-
Click the checkbox to map the type to the category, or to remove the type from the category map.
-
Click the green check mark to save your changes.
-
Click the red X to cancel your changes and exit the editor.
-
-
Click Save in the Command Item bar.
-
Click Refresh to clear all selections and refresh the page.
-
Click Cancel to discard changes since the last Save and retain the current view.
-
Click Close to end the task.
OR
Click the Pencil icon in the header panel to edit all codes in the list. The entire list is active for editing.
OR
Click the Toggle Filter Bar icon in the Mapped User Defined Fields panel header to expose the filtering tools.
Cloning
The Clone feature is available in the Code Mapping and User -Defined Fields Mapping tabs. You can quickly clone data relationships from one code to any other code in the same list-level code list.
-
Select a Mapping Category (Land Type by Class Code or Land Size by Land Type) and related Code (Appraisal Class Code or Land Type Code).
-
Click Clone.
-
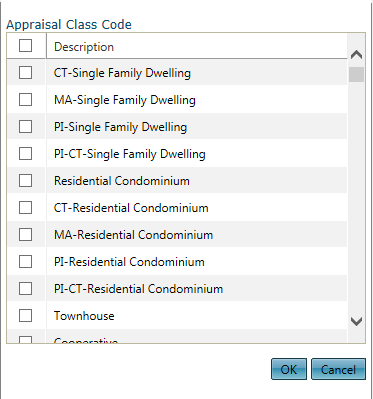
In the Land Type Codes pop-up, select the checkbox for one or more items and click OK.
-
Click Cancel to cancel the clone task.
-
Mapping Report
Click Mapping Report in the Command Item bar to open the Mapping Report pop-up.
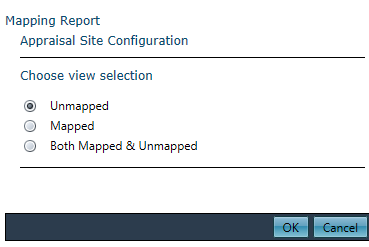
-
Choose a view selection and click OK. The report is automatically exported to a Microsoft Excel worksheet.
Common Actions
Create New Systype – Opens the Select a Systype Category screen, where you can create or edit a systype category.