DataSource Configuration
Navigate:  Valuation > Configuration > DataSource Configuration
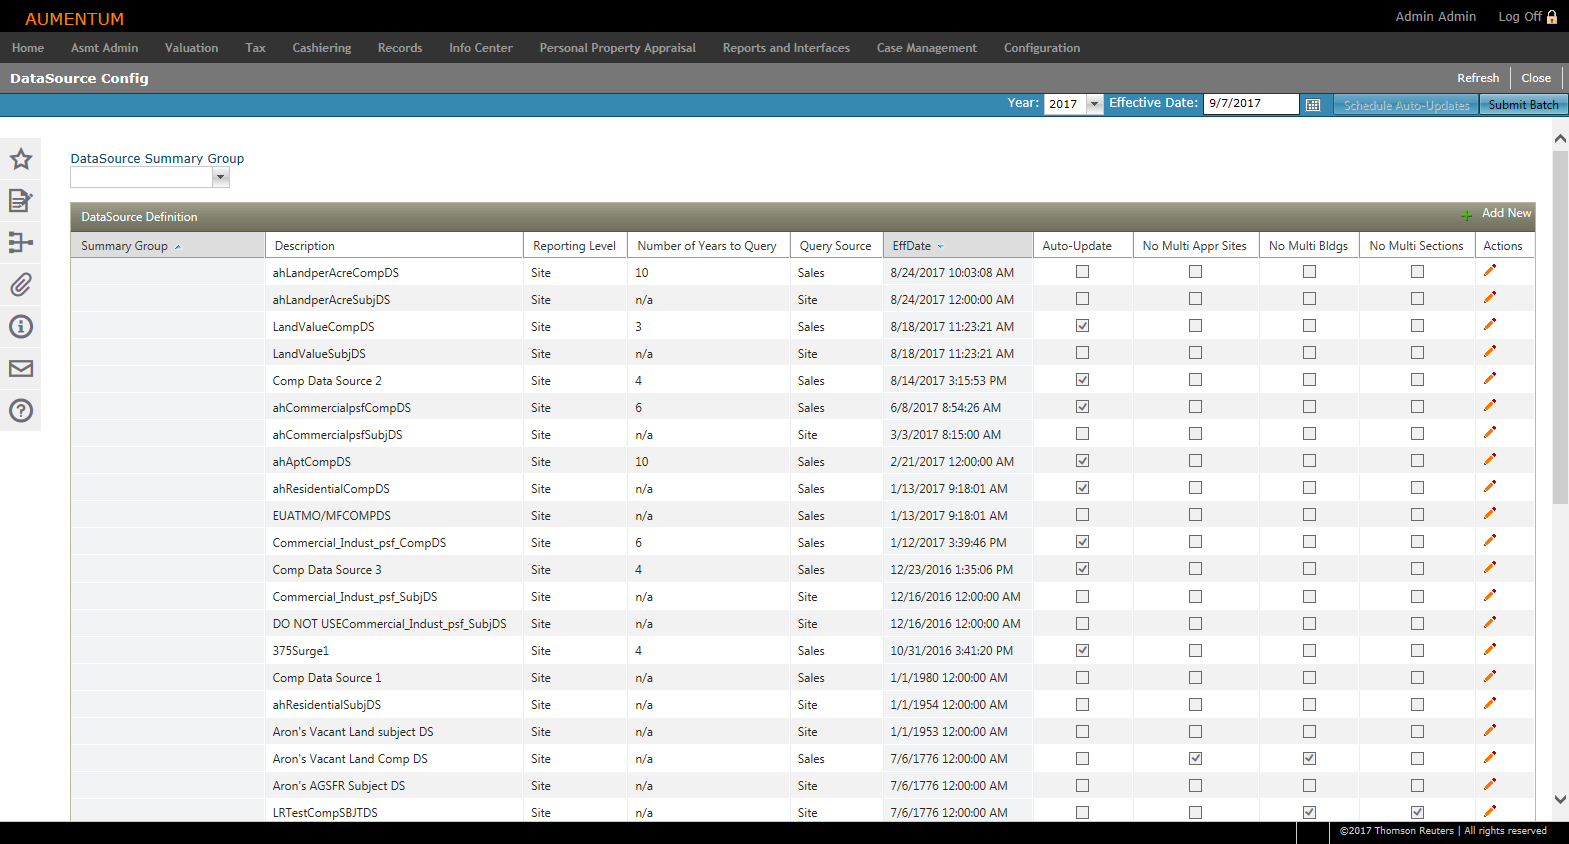
Description
View, create and modify DataSource query data used to populate search results when performing certain processes (for example, Compared Sales and visual analysis).
NOTE: DataSource Configuration settings are initially set up by your Aumentum Implementation team. Modifying data within DataSource Configuration edits search results returned when performing a query in Aumentum.
Steps
-
On the DataSource Config screen, make a selection from the Year and Effective Date drop-down lists in the header (optional).
NOTE: To refresh a Comp Data Source, you can leave the Effective Date as the current date.
-
In the DataSource Definition panel, click Add New, or click the Pencil icon to edit an existing one.
-
On the DataSource Config screen, enter or select information.
-
Description – Enter a description that explains what type of DataSource you are creating.
-
Query Source – The source of the data to be extracted.
-
Sales – By default, this extracts the data as of the date of sale.
-
Site – Always extracts data as of the current date.
-
Revenue Object – Used in Visual Analysis.
-
Sales Snapshot – Extracts data as of the sales snapshot date (date snapshot was taken)
-
Primary Valuation – Extracts data based on the selected Primary Valuation method (Income Method, Comparable Sales, Method or Cost Method)
-
Valuation Conclusion – By default, this extracts the data that was used in the valuation of the appraisal site (either Primary Valuation or Valuation Conclusion).
-
-
Number of Years to Query – Used with the Data Source creation date (or the last rebuilt date) to determine the number of years to query for sales records.
-
Auto Update checkbox – If selected, this brings data in the data source up to date using the batch scheduler. If not selected, the DataSource will only be as current as the last run of the DataSource batch file.
-
Reporting Level – This field identifies that the data will return one row per Site, Sale, Building or Income stream level.
-
No Multi-Appraisal Sites, No Multi-Building Sites, No Multi-Section Buildings – If selected, corresponding data is excluded. Clear each checkbox to include data, as needed.
-
Use Dynamic Effective Date checkbox
-
Data Source Summary Group
-
-
In the DataSource Report Groups panel, click on a group number to enable the Parameters and Constraints panels.
-
In the Parameters panel, click Add New.
-
In the pop-up, select the checkbox for one or more items in the grid and click Apply.
-
-
Click the Pencil icon for an item in the grid to edit the order sequence of the variable code associated with the selected DataSource Report Group.
-
Click the green check mark to save your changes.
-
Click the red X to discard your changes.
-
-
In the Constraints panel, click Add New.
-
Make a selection from the drop-down lists and click Apply.
-
-
Click Save at the top of the screen.
-
Click Refresh to discard changes made since the last save.
-
OR
Batch Processing
Batch Processing is used to populate DataSources with appropriate data. The Auto-update process cannot be set up until an initial Manual Batch has been run.
NOTE: The default batch schedule runs every ten minutes. The schedule can be edited to run at other intervals. The Auto-update checkbox be must be selected to activate the Schedule Auto-Updates button.
Manual Batch Update
-
In the DataSource Definition panel, click the Pencil icon for an item in the grid.
-
On the DataSource Config screen, change the Effective Date under the Command Item bar.
-
In the DataSource Report Groups panel, click a number in the Group column to populate the Parameters for Group panel.
- Make necessary changes as explained in the above steps.
-
Click Save under the Command Item bar.
-
Click Return to Summary to return to the DataSource Config screen.
-
Highlight the row you want to update and click Submit to Batch.
Auto-Update
-
On the DataSource Config screen, highlight the row you want to update.
-
Click the Schedule Auto-Updates button under the Command Item bar.
-
Click Info Center > Batch Schedule Manager.
- On the View Scheduled Batches screen, click Edit Schedule for an item in the grid.
-
On the Manage Batch Schedule screen, enter the necessary information to schedule a batch job.
-
Click Save in the Command Item bar.
- Click Close to end the task.