Import Special Assessments
Navigate:  Tax > Special Assessments > Special Assessment Inventory > Import
Description
Import a text file of special assessment data. You can import information for fixed special assessments, rate table special assessments, amortized special assessments, and amortization schedules. NOTE: You can only import PINs that are active for the selected tax year.
NOTE: The Maximum file size to upload is set up in Configuration > Application Settings > Maintain Application Settings. Select the module Common and set the Maximum Upload File Size.
Jurisdiction Specific Information
California
-
Special assessment-TAG associations can be created on the Maintain Special Assessment screen. The associations are validated during a Special Assessment Import when Fixed is the type of import selected and when the Special Assessment Associate TAGs to a Special Assessment application setting is set to True. When setting to True, the Associated TAGs panel displays on the Maintain Special Assessments screen.
-
NOTE for implementors: The SA import screen supports UDFs to be prompted for each import instance. These should be created with ObjectType=SAImportType, ObjectId={SAImportType systype Id}. When the import is run, the UDF Data values are saved and associated with the SA Import Instance, so that they can be used in custom validations or calculations. Some UDFCds have special meaning:
-
UDFCd = EffDateCntrl: When present, the IsHidden setting of the UDF will control whether the standard effective year control is shown in the upper right. A normal prompt is not shown.
-
UDFCd = vtag: Will be prompted for as normal. If it has the value True for a given import instance, the import will be validated to ensure that each special assessment revenue object being imported belongs to a TAG that is associated to the Special Assessment. The Special Assessment application setting Associated TAG(s) to a Special Assessment controls this.
Steps
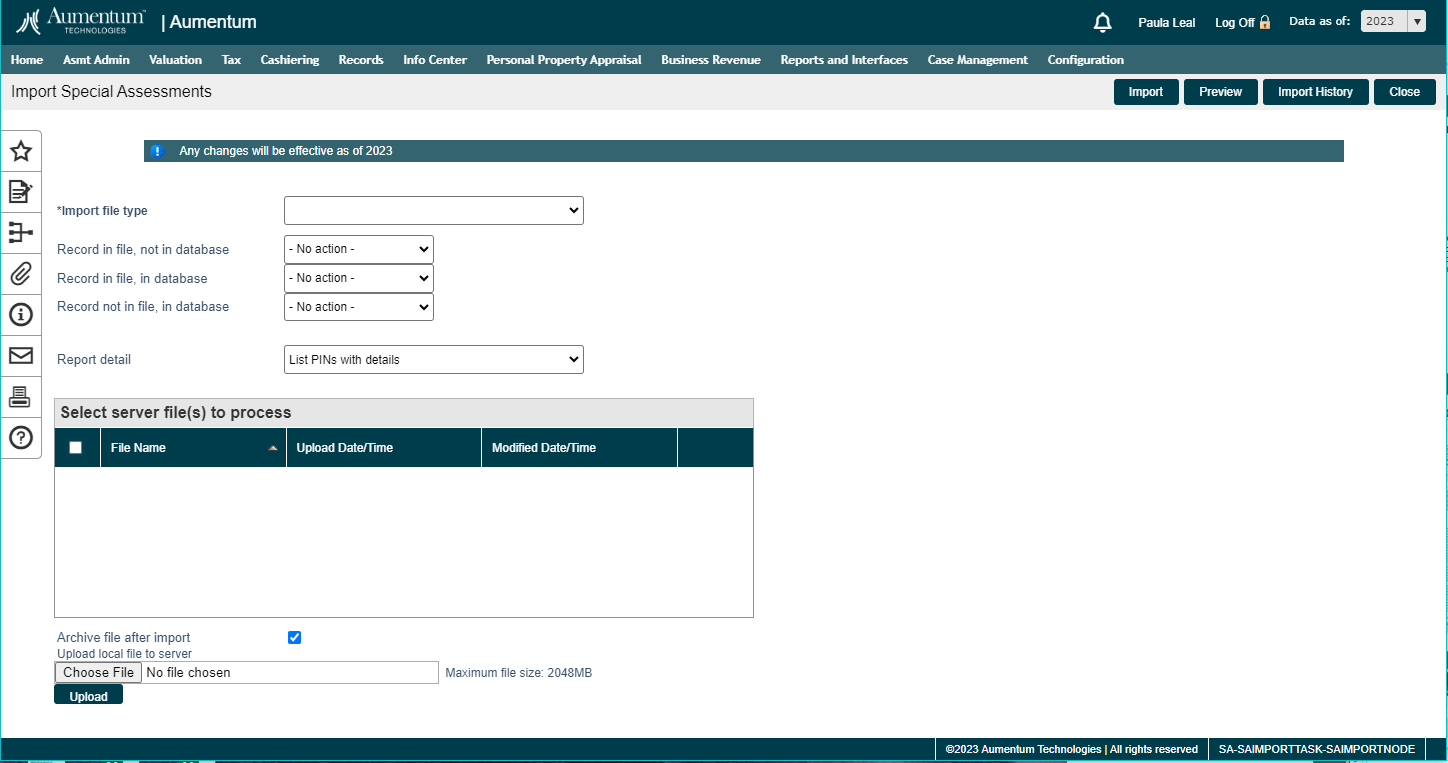
- On the Import Special Assessments screen, make a selection from the Import file type drop-down list.
-
Select the import options:
-
Record in file, not associated to SA – choose to add the PINs to the special assessment or to perform no action.
-
Record associated to SA, not in file – choose to delete the PINs from the special assessment or to perform no action.
-
Record associated to SA and in file – choose to update the PINs on the special assessment, delete the PINs from the special assessment, or to perform no action.
-
If you select Fixed Import from the Import file type drop-down list, additional checkboxes and an Expected Totals panel display, depending on your jurisdiction. These checkboxes and panel are for performing additional import validations.
-
Make a selection from the Tax Authority drop-down list.
-
Accept Payment in Full checkbox
-
If you select the Validate Secured checkbox, Aumentum checks whether or not the Assessment Transaction Assessment Type has a value of Secure.
-
If you select the Validate Taxable checkbox, Aumentum checks for publicly owned property and whether or not the value modifier for non-taxable public property has a value type of pubprop.
-
If you select the Validate TAG checkbox, Aumentum compares the revenue object TAG with the TAG(s) associated with the special assessment. Mismatches result in an error and the data is not imported.
-
If you select the Allow Zero Value Charge checkbox, Aumentum will add $0 values to a parcel. If not selected, the $0 value is not allowed.
-
Click Add to add a special assessment expected total based on the TAG, or click Edit to edit an existing line.
-
Select the special assessment, enter the total dollar amount, and the total assessment count, and click Apply.
- Click Delete to delete the row.
-
Select the Report details option. You can create a report that Lists PINs, Lists PINs and amounts, Total Only, or Errors only.
-
Select a server file to process from the list. You can select multiple files. The path is designated in Application Settings. Select Framework by Effective Date. Then view UNC path to base folder for Aumentum file uploads.
OR
Click Browse to select a file, then click Upload to add it to the file list.
-
Select the Delete file after import checkbox if you want to delete the file from server. The file will no longer display in the list of available files to process.
-
Click Browse to search for the import file, then click Upload.
-
Click Preview to view a report listing each PIN in the import file, as well as the owner name, owner address, property description, special assessment, amount, and any import errors. You advance to the Monitor Batch Processes screen.
OR
Click Import to begin the import. You advance to the Monitor Batch Processes screen.
OR
Click Import History to view the preview and import history for special assessments on the View Import History screen.
NOTE: After the import process is complete, the special assessment can be re-posted. Only changed parcels are processed through corrections.
NOTE: These checkboxes and panel may not apply to your jurisdiction. Special assessment-TAG associations can be created on the Maintain Special Assessment screen. The associations are validated during the import when Fixed Import is the type of import selected and when the Special Assessment Associate TAGs to a Special Assessment application setting is set to True. When set to True, the Associated TAGs panel displays on the Maintain Special Assessments screen so that you can associate the TAGs to the special assessment. Checking this checkbox validates the TAGs. Each special assessment revenue object being imported is validated to ensure that it belongs to a TAG associated to the special assessment. The import report show any validation errors as well as the value of the Validate TAGs setting on the cover page.
Tips
Change the location of your file uploads on the Maintain Application Settings screen. Select to search by effective date and select the framework module. Edit the setting for the UNC path to base folder for Aumentum file uploads.
The Fixed Special Assessment import file layout is Pin,SACode,Amount
Rate Table Special Assessment import file layout is PIN,SACode,UDFCode,UDFvalue
Print the Special Assessment Import Report to view any errors in the import file. Fix the errors, then either print the report again to confirm the fixes or queue the import process.
If your batch process ends in the exception 'Wrong number of supplied columns. Verify file matches input format selected, check the following:
- Your import file is set up correctly according the Import Format.
- You've selected the Import file type that matches your import file layout.
The import process verifies that all required UDFs are listed in the import file. If not, the import does not associate a PIN with a special assessment.
The file formats for Fixed, Rate, and Amortized special assessments allow for importing multiple UDF code and UDF values. Create UDFs for a special assessment on the Questions tab in Special Assessment Maintenance. You can add multiple UDF, which can be required or not required. When importing multiple UDFs, enter the UDF code and value at the end of each PIN's row, separated by a comma. For example, this rate import row contains three UDFs and values: yardage, frontage, and certified.
5230600002,COMMERCIALUSERFE,Yardage,0.5,Frontage,56,Certified,yes
UDF Question Data Types
Character UDF is alphanumeric, so any combination of letters and numbers
Numeric UDF is a whole number
'Yes/No' can have the following values for true - true, yes, 1; and the following values for false - false, no, 0
Date UDF must be a valid date for SQL. For example, 8/1/12, 8-1-12, 8.1.12
Systype UDF must be a Systype short description in the Systype Category