Group Management
Navigate:  Tax
> Delinquent > Groups >
Group Management
Tax
> Delinquent > Groups >
Group Management
Description
When you have a group of delinquent bills, you may need to make changes, such as modifying the contents of the group or changing the person assigned to the group. The tax bill can belong to only one delinquent group at a time, however, so that it is removed from the original group when you move it to a different group.
Steps
Searching for Delinquent Groups
-
On the Delinquent Search screen, enter your search criteria and click Search.
NOTE: Tax year and Bill number are relevant only when looking for an object type of tax bill. When selecting revenue object, any entries in the tax year and bill number parameters are ignored.
-
If the results are not what you are looking for, click Clear to begin another search.
If only one group is found in the search, the Manage Delinquent Groups screen automatically opens. Click List to return to this screen.
-
In the Search Results grid, click on an item to open it.
Managing Delinquent Groups
-
On the Manage Delinquent Groups screen, modify the group name, user id, and group type in the header area, if needed.
If the User id is changed, a change reason pop-up opens. Enter a note describing the reason for the change.
NOTE: The User Id drop-down list is security enabled.
Click here to learn how to set security for a delinquent group user.
- Click Configuration > Security and User Maintenance >Roles.
- On the Maintain a Role screen, click Edit the role to which you want to grant permission.
- On the Edit Role Details screen, click Tax > Delinquent > Groups > Group Management in the Granted Menu Items panel.
- In the Rights panel, select the Modify checkbox and click Set Rights.
- Click Save in the Command Item bar.
- Click Close to end the task.
NOTE: If this does not appear in the Granted Menu Items panel, select it in the Available Menu Items panel and click Add Selected, then click Save in the Command Item bar.
- Select the checkbox next to Is locked to prohibit moving any group items into other groups.
-
Cannot move items out of a locked group (button not available).
-
Cannot move items into a locked group.
-
Cannot copy items into a locked group.
-
Can copy items from a locked group into an unlocked group.
-
Can remove items from a group using Remove Selected.
-
Click Advertising to open the Publication and Advertising Fee Maintenance screen on which you can define the publication associated with each PIN/Bill, enter a the publication fee, and view a running total; or define an advertising line amount cost and calculate the amount.
NOTE: The Advertising button is set via Tax Sale > Property Sale Settings. In the Property Sale Application Settings panel, if Advertising fee set from individual publication is True, the button is displayed, providing access to the screen; if False, the button is hidden. In addition, the Advertising button is disabled for unsecured groups; unsecured groups include those which are enforcement cases created in the Case Management module.
-
In the Criteria panel, review the original attributes of this group.
-
In the Search Bills panel, enter your search criteria and click Go.
-
In the Filter panel, specify your filter criteria and click Go.
-
Click Clear to clear the filtering data.
-
In the Bills panel, select the Show Search Details checkbox to show additional bill details.
-
Select the checkbox for one or more items in the grid and click one of the following options in the Bills title bar:
-
Move Items
- Copy Items
- Select Items
- Info – On the View Flag and Other Information screen, data is read-only. Click Previous to return to the Manage Delinquent Groups screen.
- View Removed
-
Remove Selected
IMPORTANT: You must click Save before the removal is retained. Do not click Delete in the Command Item bar to remove items. This action deletes the entire group. Click Recalculate Amounts each time to recalculate the totals. -
Click Recalculate Amounts to recalculate the total group amount. A confirmation message is displayed when complete.
-
Click Save in the Command Item bar.
-
Click List to return to the search results.
-
Click Delete to delete the group.
-
Click Close to end the task.
The Move Items button is no longer available when the group is locked. When the group is locked, you:
Common Actions
View Criteria
On the View Group Criteria screen, you can review the original attributes of this group.
Office Notifications

Steps
- Make a selection from the Event Type drop-down list.
-
Validate Property Descriptions
-
(California) Discharge of Bill
-
(California) Extension of Lien Approval Request; applies to groups types categorized as an Extension of Lien.
-
Click OK to generate the workflow. You automatically return to the Manage Delinquent Groups screen.
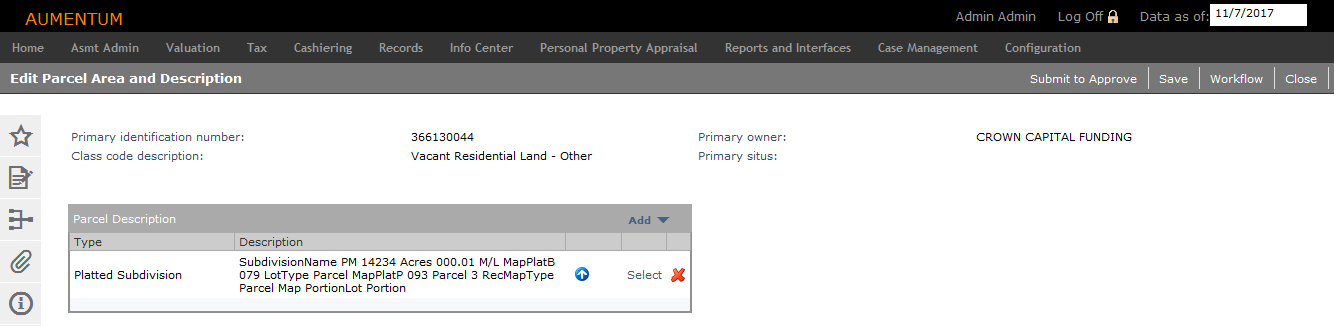
A workflow is created for each event selected and is available on the View My Worklist screen via the Workflow icon in the sidebar. Click on the workflow to open the Edit Parcel Area and Description screen.
To resubmit an Extension of Lien Rejection workflow, search for and select the rejected workflow and modify it on the Manage Delinquent Groups screen.
To terminate the workflow, click Advance on the Manage Delinquent Group screen, then click Advance again to end the workflow.
Minimum Bid Selection
This screen is not available unless the Calculate 2 minimum bids (Value and Delinquent Tax) Property Sale application settings is set to True. The Default Minimum Bid when Min Bid is calculated using both Value and Delinquent Tax should be set in combination with the minimum bid setting.
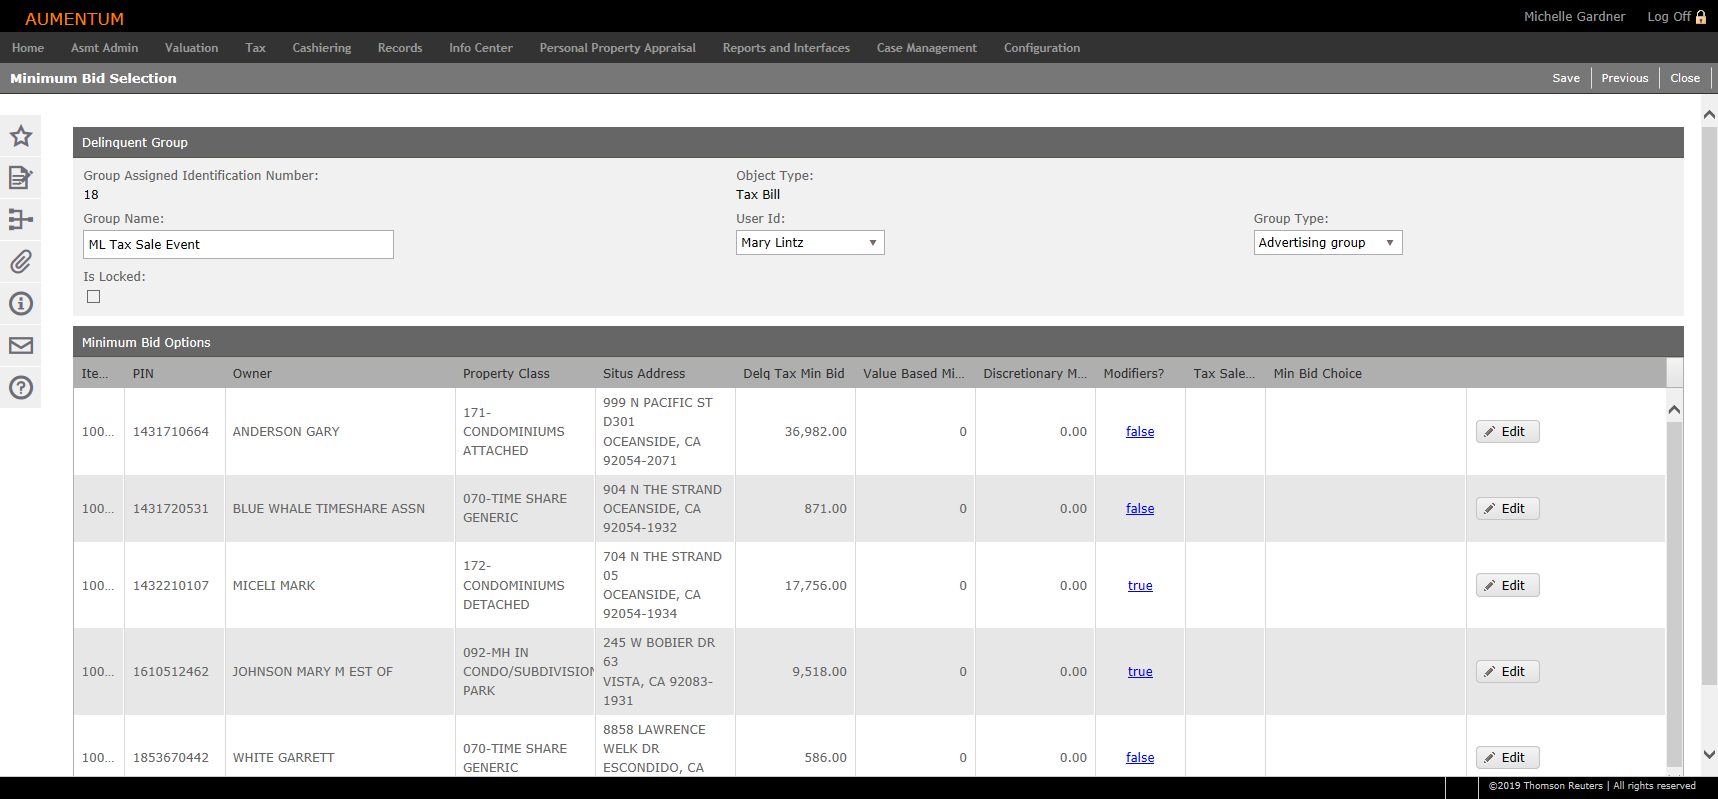
The Amount Due includes only secured bill types (secured, defaulted as secured). These totals are included in the calculations of the minimum bid amount and paid as a result of the sale.
- On the Minimum Bid Selection screen, click Edit for an item in the Minimum Bid Options panel.
- Optionally, define a Discretionary Min Bid amount.
- Make a selection from the Min Bid Choice drop-down list.
- Click Update to save your changes.
- Click the true or false hyperlink in the Modifiers column.
- On the View Assessment History screen, view a history of all assessments for the PIN/revenue object.
- Click Close to return to the Minimum Bid Selection screen.
- Click Save in the Command Item bar.
- Click Previous to return to the Manage Delinquent Groups screen.
- Click Close to end the task.
Publication Update
Use this task to update publication information based on newspaper and TAG Mapping set up.
- On the Publication Update screen, make a selection from the drop-down list.
- Reset to Defaults (overrides removed) – When selected, all items in the delinquent group are updated.
- Update items without overrides – When selected, only those items in the delinquent group that are not set to override are updated.
- Click Process to queue the update process.
- On the Monitor Batch Processes screen, click on the publication update batch to open the View Batch Process Details screen.
- Click List to return to the Monitor Batch Process screen.
- Click Close to end the task.
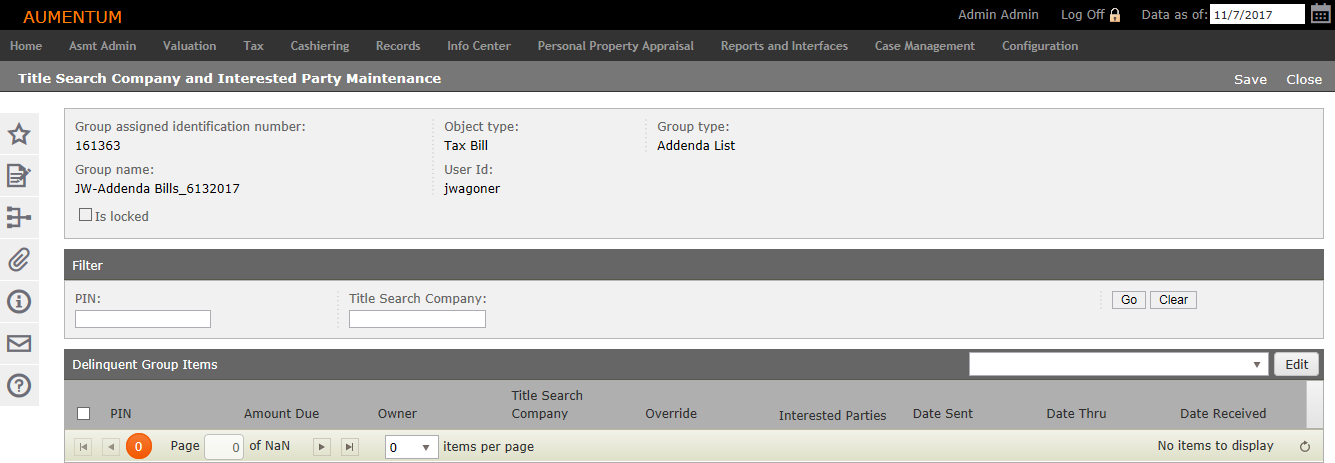
Interested Parties
NOTE: This task may not apply to your jurisdiction.
This screen shows title search companies and interested parties associated with delinquent groups.
Steps
-
In the Filter panel, enter a PIN or Title Search Company and click Go to filter the items in the Delinquent Group Items panel.
-
Select the checkbox for one or more items in the grid and make a selection from the drop-down list.
Assign Title Search Company
This option looks for a title search company to assign to the selected PIN(s). Make a selection from the Type of Search drop-down list in the Apply Title Search Company pop-up. Click Accept.
Title search companies are assigned to a property by matching the roll type and class code from the title search company to the roll type and class code of the property.
Get Parties of Interest
Create parties of interest for a new group.
Make a selection from the Legal Party Role drop-down list in the Select Roles to Include for Interested Parties pop-up. Click Accept.
Export Title Search and Parties of Interest
Make a selection from the Title Search Company drop-down list in the Export Title Search and Parties of Interest pop-up. Also, select a search type and select the checkbox to export parties of interest, if applicable. Click Accept.
- Select the checkbox for one or more items in the grid and click Edit. In the Edit Title Search Company Information pop-up:
-
Make a selection from the Title Search Company drop-down list.
-
Optionally, select the checkbox next to Remove override title search company.
-
Enter or select the date the PIN was sent to the title search company.
- Enter or select the date the PIN was received from the title search company.
- Enter or select the date the search is good through.
- Click Accept.
-
Click Interested Parties to open the Parties of Interest Maintenance screen add or edit parties of interest for the PIN.
-
Click Close to end the task.
-
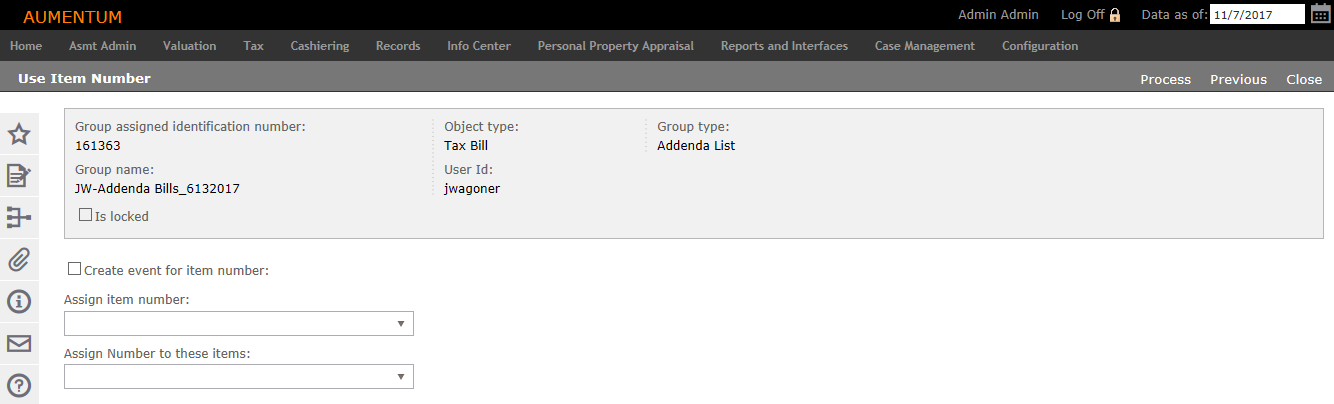
Use Item Number
NOTE: This task may not apply to your jurisdiction. Also, this screen is available only when the Use Item Number application setting is set to True (Configuration > Application Settings > [Filter by the Tax Delinquents module).
Use this screen to assign an item number for use in the Advertising List process and the creation of tax sale items (when Final is selected). You can assign the item number to all PINs in the group, or you can copy the item numbers from PINs in a group to the selected group
Steps
-
On the Use Item Number screen, select the checkbox next to Create event for the item number, if applicable.
-
Make a selection from the Assign item number and Assign Number to these items drop-down lists.
-
Click Process to apply the item number settings and return to the previous screen.
-
Click Previous to return to the Manage Delinquent Groups screen.
-
Click Close to end the task.
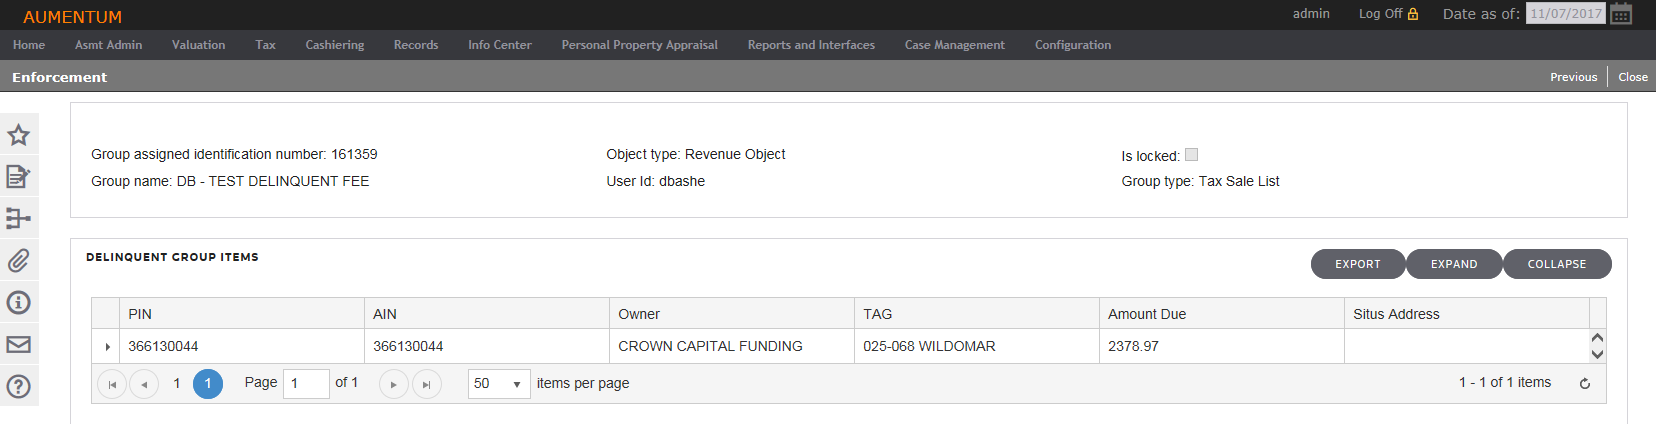
Enforcement
NOTE: This task may not apply to your jurisdiction.
Enforcement Officers can view marinas and fixed base operator data (FBO) that is applied to the assets on a PIN.
Steps
-
In the Delinquent Group Items panel, click the chevron to expand facility data for an item in the grid.
OR
Click Expand and Collapse to show and hide data for all items in the grid.
NOTE: The Tax Year and Bill Number columns display only for groups based on bills; the columns do not display when a group is based on revenue object.
-
Click Export to create a text file containing the delinquent group items. The Monitor Batch Processes screen opens automatically.
NOTE: The file in printed in the same sequence as displayed on the screen.
-
Click to open the batch. On the View Batch Process Details screen, click on the link in the Report panel to open the text file.
- Click List to return to the Monitor Batch Processes screen.
- Click Close to return to the Enforcement screen.
-
-
Click Previous to return to the Manage Delinquent Groups screen.
- Click Close to end the task.
Dependencies, Prerequisites, and Setup
Set the Require Reason code to Remove items from Group application setting to True in order to display the Reason Code field on the Manage Delinquent Groups screen.
-
Click Configuration > Application Settings.
- On the Maintain Application Setting screen, select Effective Date from the Setting type drop-down list, and select Tax Delinquents from the Filter by module drop-down list.
-
Locate Require Reason code to Remove items from Group and click Edit.
- Select the checkbox in the Setting Value column and click Apply.