Payment Terms Token Setup
Navigation:  Tax > Accounts Receivable > Payment Terms Mapping and Setup > Payment Terms Token Setup
Description
Use this screen to create token definitions and associate them the Accounts Receivable processes.

Steps
Token Definition tab
- On the Payment Terms Token Setup screen, click Add in the Payment Terms Token Definition panel.
- In the Add Token Definition pop-up, enter or select information for each field.
- Click Apply to save your changes, or click Cancel to close the pop-up without saving.
- To edit an existing token, click the Pencil icon in the Actions column.
- Make changes as necessary in the Edit Token Definition pop-up and click Apply. Or, click Cancel to close the pop-up without saving your changes.
- Click Delete in the Actions column to remove a token from the Payment Terms Token Definition screen.
- Click Save.
- Click Close to end the task.
NOTE: If the Associated Flag toggle is inactive, you can make a selection from the Non workday expire date moved to field. If the toggle in active, the field moves to the Associated Flag section and is not editable.
Token Mapping tab
In this tab, you can associate one or more Token Definitions to an Accounts Receivable process. It identifies the AR process, maps the process to a default Token Definition, and maps the Token Definitions as available to be used for that process.
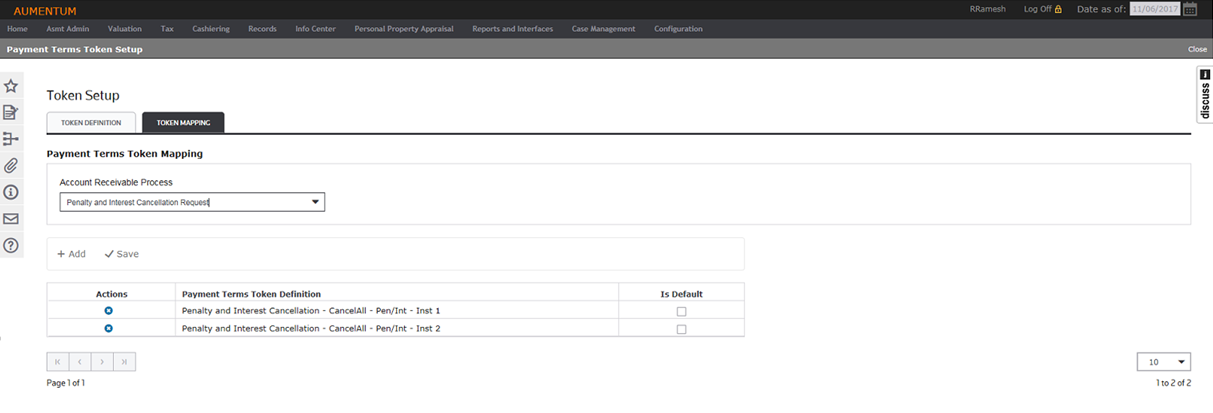
- On the Payment Terms Token Setup screen, click the Token Mapping tab.
- Make a selection from the Account Receivable Process drop-down list.
- Click Add to insert another row, or click the X in the Actions column to delete a Payment Terms Token Definition.
- Select the Is Default checkbox, if applicable.
- Click Save.
- Click Close in the Command Item bar to end the task.