Cancellation - Create Surplus
Navigate:  Tax > Accounts Receivable > Manage Payments > Cancellation - Create Surplus
Description
Use the Cancellation - Create Surplus screens to cancel a posted payment and put the cancelled amount into surplus. Once an amount is available under surplus, it can be refunded or reapplied.
SETUP: See Manage Payments for any applicable prerequisites, dependencies and setup information for this task.
Steps
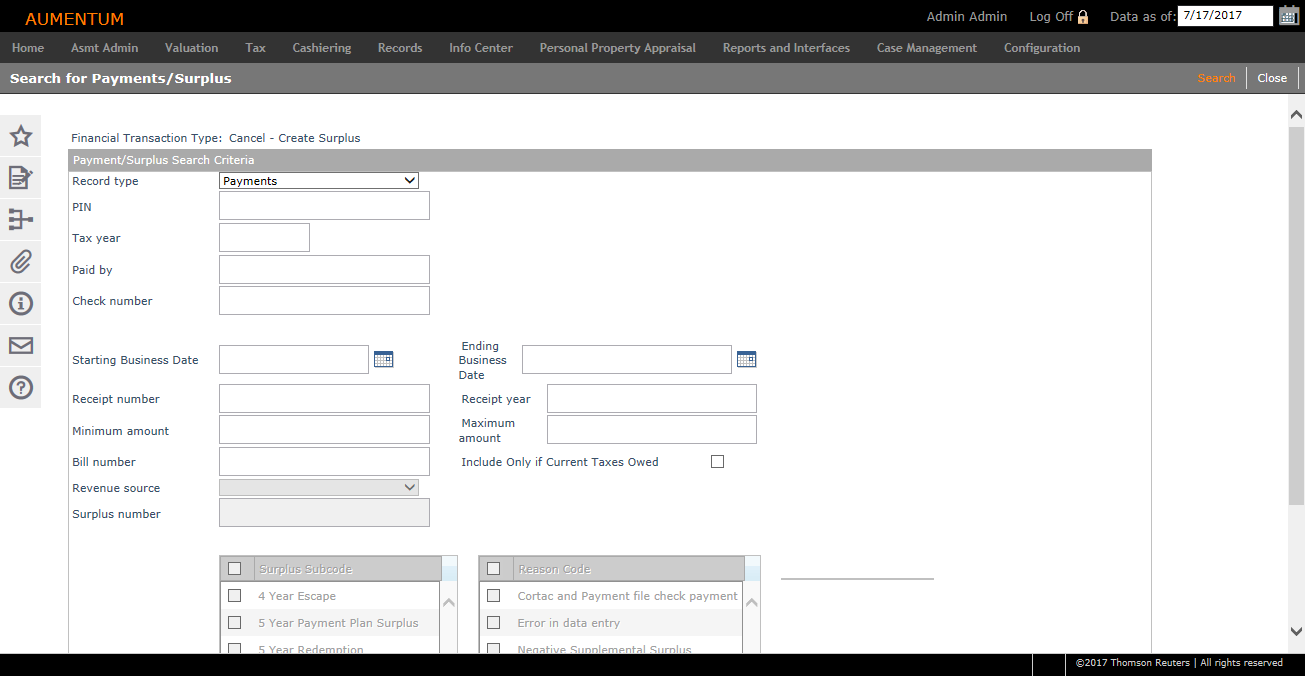
To cancel a payment and to put the amount into surplus:
-
In the Search for Payments/Surplus screen, enter your search criteria and click Search.
-
In the Payment Search Results screen, select the checkbox for one or more items, make a selection from the Reason Code drop-down list, and click Next.
-
In the Transaction Confirmed screen, review the cancellation and surplus information.
-
Click Print Notices to view the Surplus Notice.
- Click Restart to start a new search.
-
Click Close to end the task.
Prerequisites
Configuration Menu
-
Systypes - Surplus Sub Code - Add any additional sub codes as needed, and indicate the display order. These are required:
Dependencies
Cashiering
-
Collect Payments – Advance payments are only created if Cashiering specifically designates a surplus as an Advance payment.
-
A payment must go through Session Reconciliation and Back Office Reconciliation before it is posted to A/R and available for cancellation.
NOTE: The prerequisite and dependency information is provided as a helpful guide but may not be inclusive of all items. Check with your Aumentum Implementation team for further advice if needed.