Apply Advance Payments
Navigate:  Tax > Accounts Receivable > Manage Payments > Apply Advance Payments
Description
Use the Apply Advance Payments screens to create, edit, and apply lists of advance payments.
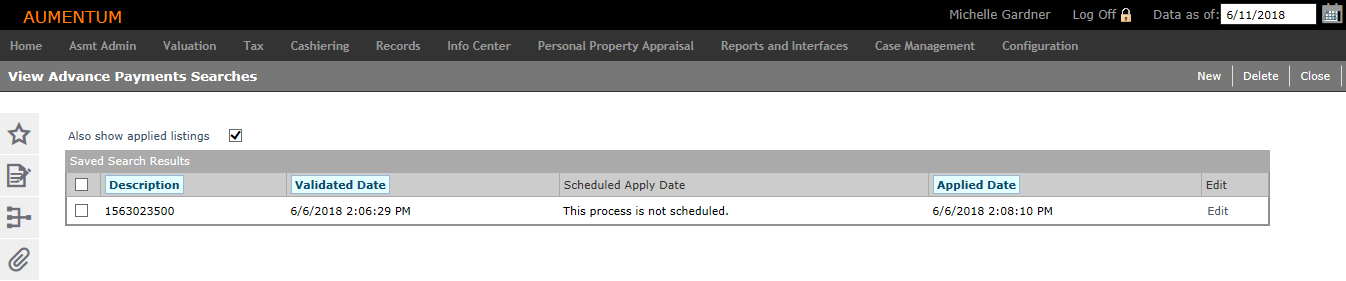
Any previously created, but not applied, payment lists are displayed automatically in the Saved Search Results grid.
NOTE: The process to apply a list of advance payments can only be run once.
Steps
-
On the View Advance Payments Searches screen, select the Also show applied listings checkbox if needed.
- Click New to add an advance payments list.
- On the Search for Payments/Surplus screen, enter your search criteria for the advance payments you want to include in the list and click Search.
- On the Payment Search Results screen, select the checkbox for one or more items in the Search Results grid and click Next.
-
On the View Advance Payments Search Details screen, enter or edit a description, which identifies the list on the Advance Payments Listings screen.
-
Make a selection from the Allocation rule, Tax year, and Till drop-down lists.
- The allocation rule is set up via Tax > Accounts Receivable > Payment Allocation Setup > Payment Allocation Rule Setup.
- The till is set up Cashiering > Setup > Tills.
- Enter or edit the business date to use when applying the payments.
-
Click Save in the Command Item bar. After creating the list, you can validate and apply its contained payments.
-
In the Advance Surplus panel, click Add.
- On the Search for Payments/Surplus screen, search for additional payments to add to the list.
- On the Payment Search Results screen, select the checkbox for one or more items in the grid and click Next.
OR
To remove a payment from the list, select the checkbox for the payment and click Remove. The payment is only removed from the list itself; it is not removed from the system.
-
To run the processes right away, click Validate or Apply in the Command Item bar.
- Validate submits a report to batch processes that contains the preliminary results of the application process.
- Apply provides a report containing the actual results.
-
On the View Advance Payments Search Details screen, click List to return to the View Advance Payment Searches screen.
-
Select the checkbox for one or more items in the Saved Search Results screen and click Delete, if needed.
- Click Close to end the task.
OR
In the Saved Search Results panel, click Edit for an item in the grid.
NOTE: The business date defaults to the current system date. If a date other than the current date is specified, the system validates that none of the selected payments have a business date later than the one specified. A valid date must be specified in order to save the changes.
NOTE: Although you are not required to validate the payment list, it is recommended that you do so before applying the payments.
NOTE: The Monitor Batch Processes screen is displayed automatically so you can monitor progress. Click on a row in the grid to access its detailed information and report.
To schedule the processes for a later time, click Schedule Validation or Schedule Apply in the Advance Surplus grid's title bar. Both options automatically display the Schedule Batch Process screen.
Tips
To sort the payment lists by description, validated date, or applied date, click the respective column headers.
Prerequisites
A/R
-
Allocation Setup: Tax > Accounts Receivable > Payment Allocation Setup > Payment Allocation Rule Setup
Cashiering
-
Tills: Cashiering > Setup > Tills
Workflow
If applicable to your jurisdiction, the Advance Payment task is also accessed as a workflow item from the View My Worklist screen. Click the Workflow icon in the sidebar.
NOTE: Workflows available for the Refund task vary. The Aumentum Engineering team and your Aumentum Implementation team set up each workflow specific to your jurisdiction setup and requirements.
IMPORTANT: When an advance payment item has an active workflow associated with it, you cannot select it for processing from the Advance Payment task. Instead, a warning message displays indicating that the item is in an active workflow.