Process Setup
Navigate:  Tax > Accounts Receivable > Batch Collections Setup > Process Setup
Description
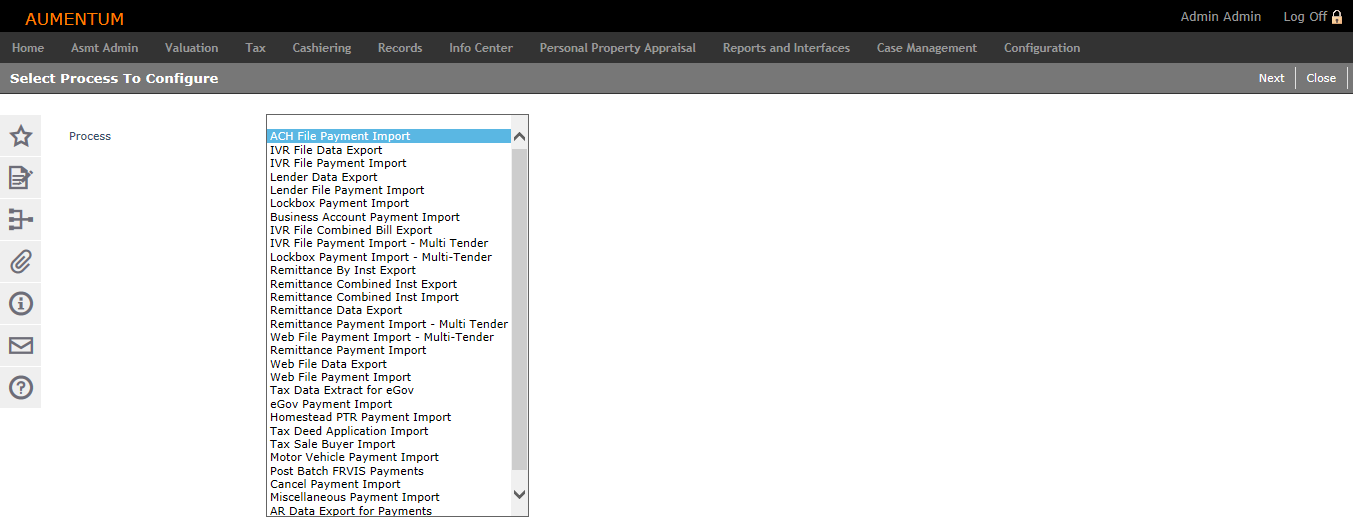
This screen is the entry point for configuring existing process steps and commands.
After selecting the process to work with, the subsequent screens allow you to alter the process steps as well as the process step commands.
SETUP: See Batch Collections Setup for any applicable prerequisites, dependencies and setup information for this task.
Jurisdiction Specific Information
Steps
-
On the Select Process to Configure screen, make a selection from the Process drop-down list.
-
Click Next.
- On the Configure Process Map screen, click Add in the panel title bar, or click Edit for an existing row.
-
Make a selection from the Step and Beginning Status drop-down lists.
- Enter a description and the sequence in which you want it to appear.
- Select the Can Be Scheduled checkbox, if desired.
- Click Apply.
-
Click Save in the Command Item bar.
-
Click Next.
- On the Configure Process Command screen, you can add, edit and delete process commands.
- Make a selection from the Description (specified on the Configure Process Map screen), Command type and Command drop-down lists.
-
Enter a sequence number for the command.
NOTE: Command sequence numbers must be unique within the process step. For example, if Step 5 has two commands, Load Data and Validate Payment File, these commands must be given different sequence numbers.
-
Click Add. Repeat these steps as needed.
-
Click Edit for an item in the grid.
- Make a selection from the Description and Command drop-down lists.
- Enter a sequence number for the command.
- Click Apply. Repeat these steps as needed.
-
Click Delete for an item in the grid.
-
Click Yes in the confirmation pop-up.
- Click Save in the Command Item bar.
-
Click Next to return to the Select Process To Configure screen.
To add a command:
To edit a command:
To delete a command: