Advanced Search
Navigate:  Personal
Property Appraisal > Audits > Audit Administration
Personal
Property Appraisal > Audits > Audit Administration
OR
Valuation > Property Characteristics
> Advanced Search
Description
Perform an advanced search, then export the results, save a list of PINs and perform various other maintenance activities. Depending on your task, you can search by:
IMPORTANT: A selectable Tax Year field, if applicable to the particular search, is security enabled, meaning you can change the tax year only if you are in a user role that includes privileges to set this field. Your Admin user at your jurisdiction typically assigns user roles. Roles are managed via Configuration > Security and User Maintenance > Roles > Maintain a Role > Edit Role Details.
Audit
Description
Use the Audit search task from Personal Property Appraisal > Audits > Audit Administration to search for audits to maintain.
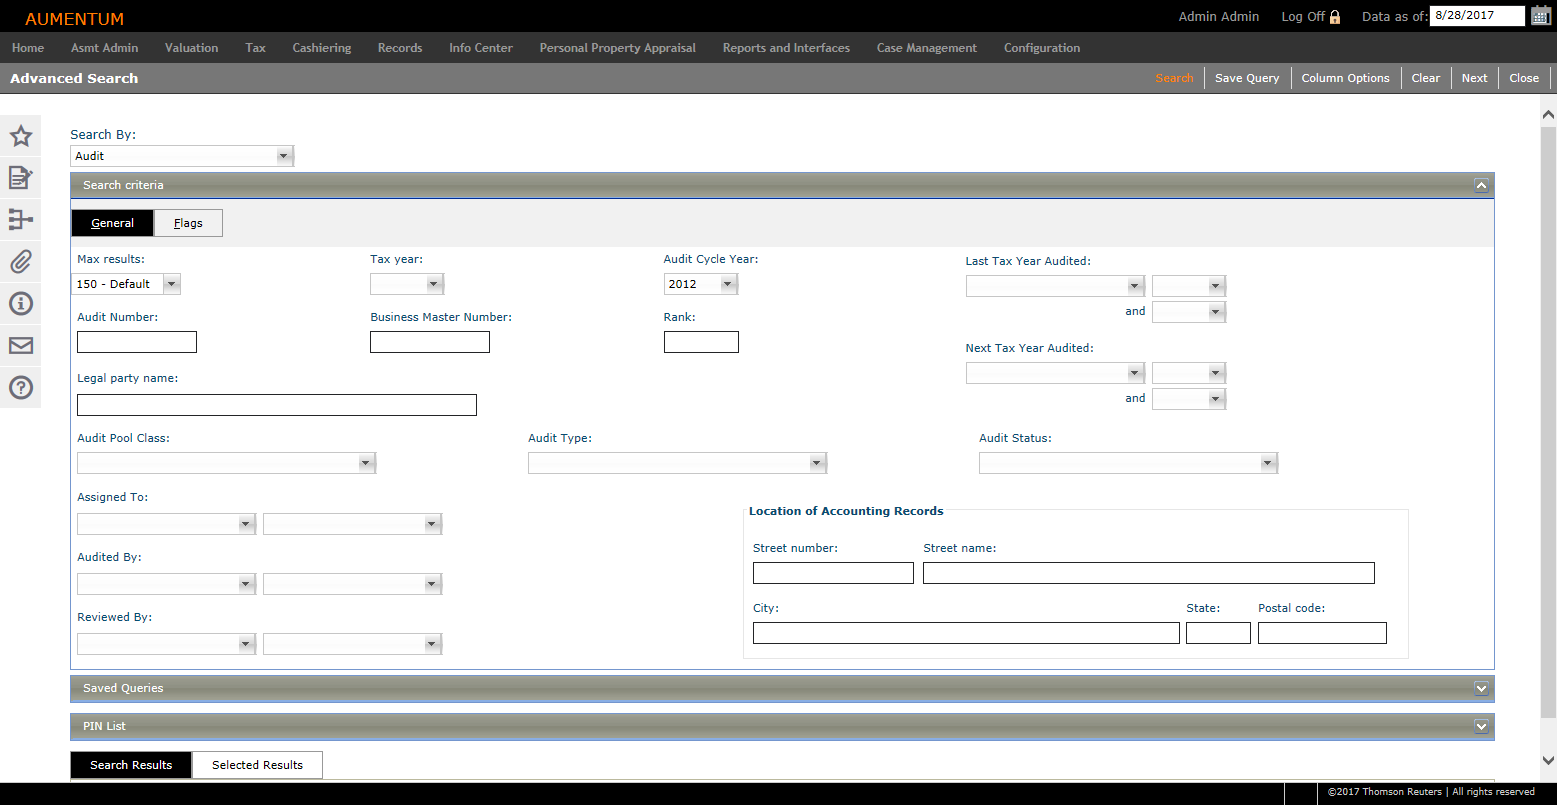
Steps for Audit
-
Select Audit from the Search by field if not already displayed.
-
Optionally, define the Maximum Results to display or enter the value in the Max Results field.
-
Define any data as applicable on the General tab to narrow the search. For example, you could select the specific Tax Year, and then combine that with any other search criteria, such as the Business Master Number. Or you could simply define Legal Party Name to narrow the search results.
-
Click Search to run your query.
-
Click Clear in the task bar to clear the fields and set the criteria search controls back to their default/empty state.
-
-
Optionally, click Save Query. Enter a name and click Save. Your query displays in the Saved Queries panel.
-
Export to Excel – Select one or more search results and click the Excel button in the panel title bar. Excel opens with your selected results.
-
Export to CSV – Select one or more search results and click the CSV button in the panel title bar. Excel opens with your selected results.
-
Append – Select one or more search results and click Append. The selected results are now available on the Selected Results tab. Perform another search to find more PINs. Click Append to add the PINs to the Selected Results tab.
NOTE: If you click Append, the Next, Save PIN List, export to Excel, and export to CSV buttons are moved from the Search Results tab to the Selected Results tab.
-
Save PIN List – Select one or more search results and click Save PIN List. Enter a unique name for the list and click Save. PIN lists can be viewed via Records > Other Revenue Object Maintenance > Revenue Object Lists, and the lists can be used during any task using Revenue Object Lists, such as Criteria Groups.
- Clear – Click Clear to remove the results from the tab.
Select the checkbox associated with each item you want to include and perform an action with your search results:
Search by Flags
Click the Flags tab to search by flags.
Select from Results
Once you have selected from the results, click Next to open the Maintain Audits screen.
Audit Leads
Description
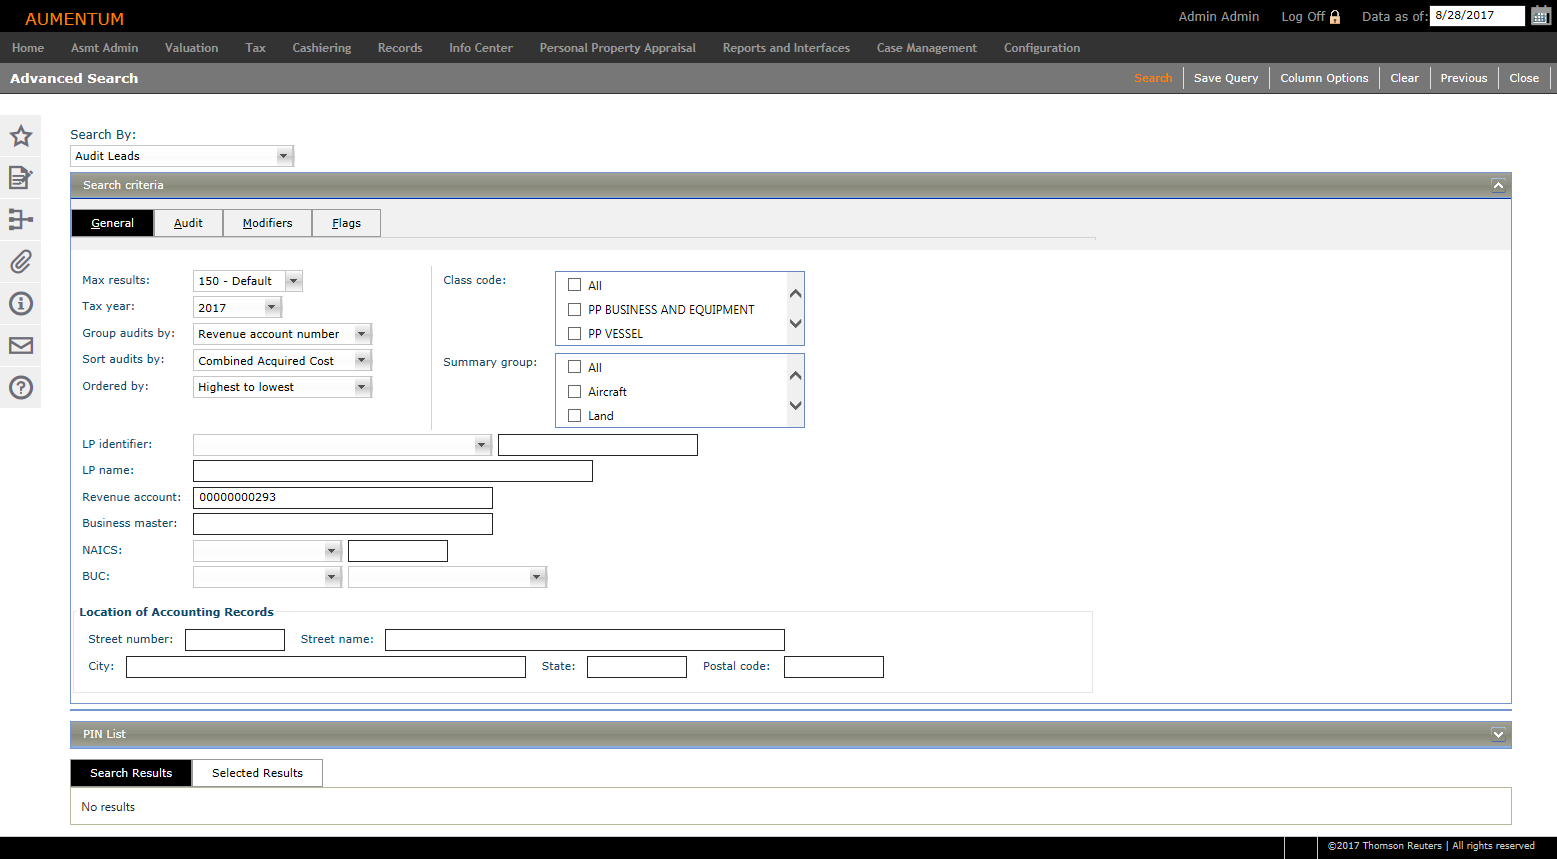
Appraisers use the Audit Leads search to identify candidates for audits. For example, the appraiser can search for assessments that have not been audited for a specified period of time or for which, for example, a standard four-year audit period has lapsed. Certain jurisdictions may require that the appraiser perform a certain number of audits per year.
This search helps the auditor identify candidates for such required audits. Or, perhaps the jurisdiction regularly performs audits of the largest taxpayers. The result of the search is an audit list, which is a collection of audits or audit leads that can be saved for future reference, edited, or selected to create enrolled audits.
NOTE: The Owner Name column for the Audit Leads search shows all unique owner names for the PIN, separated by a semicolon, if there are multiple owners.
Jurisdiction
Specific Information
Riverside, California
-
A Last Year Audited field is also available for the Audit Lead search.
Column Options
See the Personal Account search for details about the Column Options button and how to set up columns for the search results.
Steps for Audit Leads Search
-
Select Audit Leads from the Search by field.
-
Optionally, define the Maximum Results to display or enter the value in the Max Results field.
-
Define any data as applicable on the General tab to narrow the search. For example, you could select the specific Tax Year, and then combine that with any other search criteria, such as the NAICS and some or all of the Location information. Or you could select Legal Party Name from the Group Audits drop-down list and then enter a name in the Lgl prty name field to narrow the search results.
NOTE: NAICS codes are business types. You can also manage the NAICS code in the Property Information panel of the Maintain PPA Accounts screen if your jurisdiction has the Personal Property Appraisal module.
IMPORTANT: The NAICS code is applied at the tax year level, not the account level, even though you can define it on the Maintain PPA Accounts screen.
-
Click Search to run your query.
-
Click Clear to set the criteria search controls back to their default/empty state.
-
-
Optionally, click Save Query. Enter a name and click Save. Your query displays in the Saved Queries panel.
-
Check the checkbox associated with each item you want to include and perform an action with your search results:
-
Export to Excel – Select one or more search results and click the Excel button in the panel title bar. Excel opens with your selected results.
-
Export to CSV – Select one or more search results and click the CSV button in the panel title bar. Excel opens with your selected results.
-
Append – Select one or more search results and click Append. The selected results are now available on the Selected Results tab. Perform another search to find more PINs. Click Append to add the PINs to the Selected Results tab.
NOTE: If you click Append, the Next, Save PIN List, export to Excel, and export to CSV buttons are moved from the Search Results tab to the Selected Results tab.
-
Save PIN List – Select one or more search results and click Save PIN List. Enter a unique name for the list and click Save. PIN lists can be viewed via Records > Other Revenue Object Maintenance > Revenue Object Lists, and the lists can be used during any task using Revenue Object Lists, such as Criteria Groups.
- Clear – Click Clear to remove the results from the tab.
-
Search by Audit
-
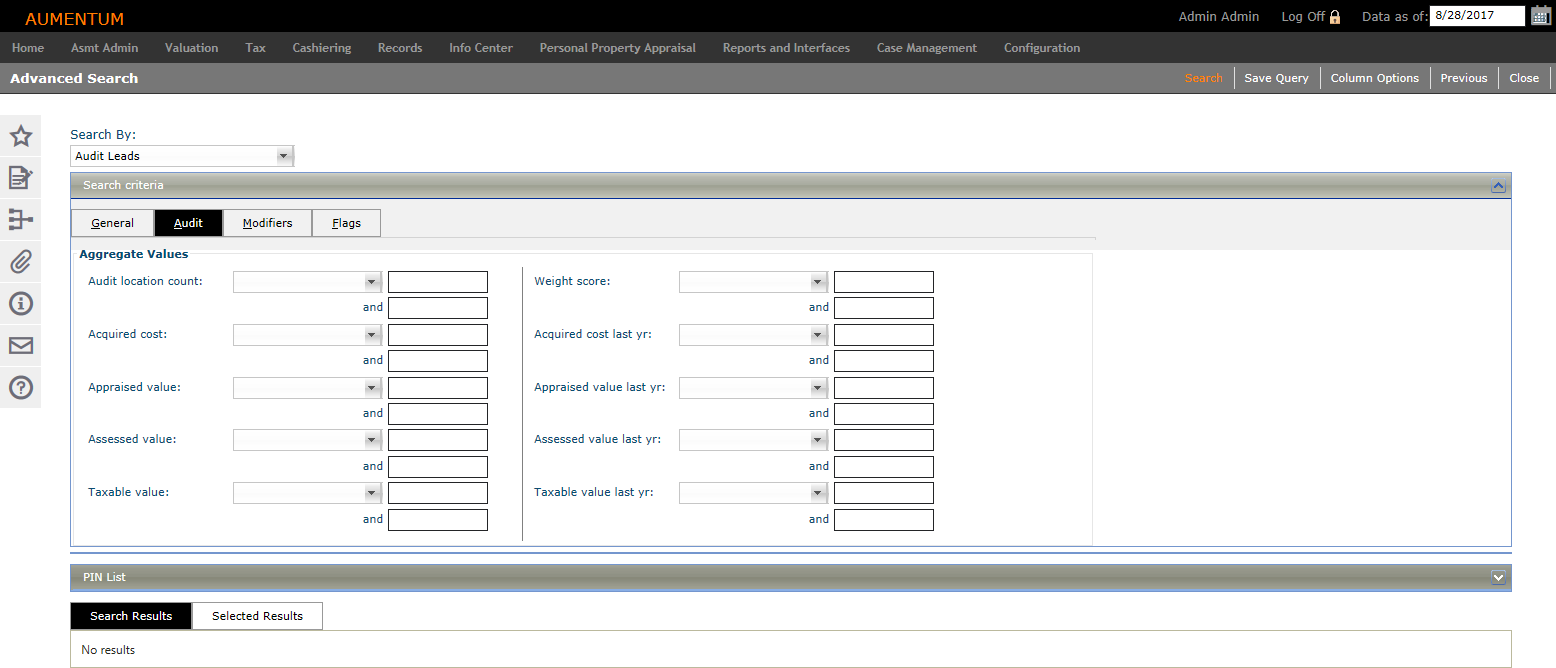
Click the Audit tab to define audit parameters to further narrow your search results.
-
Select the operand from any one or from multiple fields. Options are:
-
Equal to
-
Not equal to
-
Greater than
-
Less than
-
Greater than or equal to
-
Less than or equal to
-
Between
-
Not between
-
Is empty
-
Is not empty
-
-
Define the value associated with the selected operand.
-
Select an Appraised value of Less than
-
Enter a value of $150,000 in the first associated field and enter a value of $175,000 in the second field (after the and) to find all properties with an appraised value of less than the range of $150,000 to $175,000. You can also define just the first value of $150,000 to find all properties with an appraised value of less than $150,000.
-
-
Click Search to run your query.
-
Optionally, click Save Query. Enter a name and click Save. Your query displays in the Saved Queries panel.
Perform any action, such as exporting to a spreadsheet, as described in the previous section.
Search by Modifiers and Flags
The Audit Leads search by Modifiers or by Flags is identical to the Personal Account search by Modifiers and Flags. See that section for details about performing a search by Modifiers and by Flags.
Select from Results
Once you have selected from the results, click Next to advance to the Maintain Audit Lead List screen.
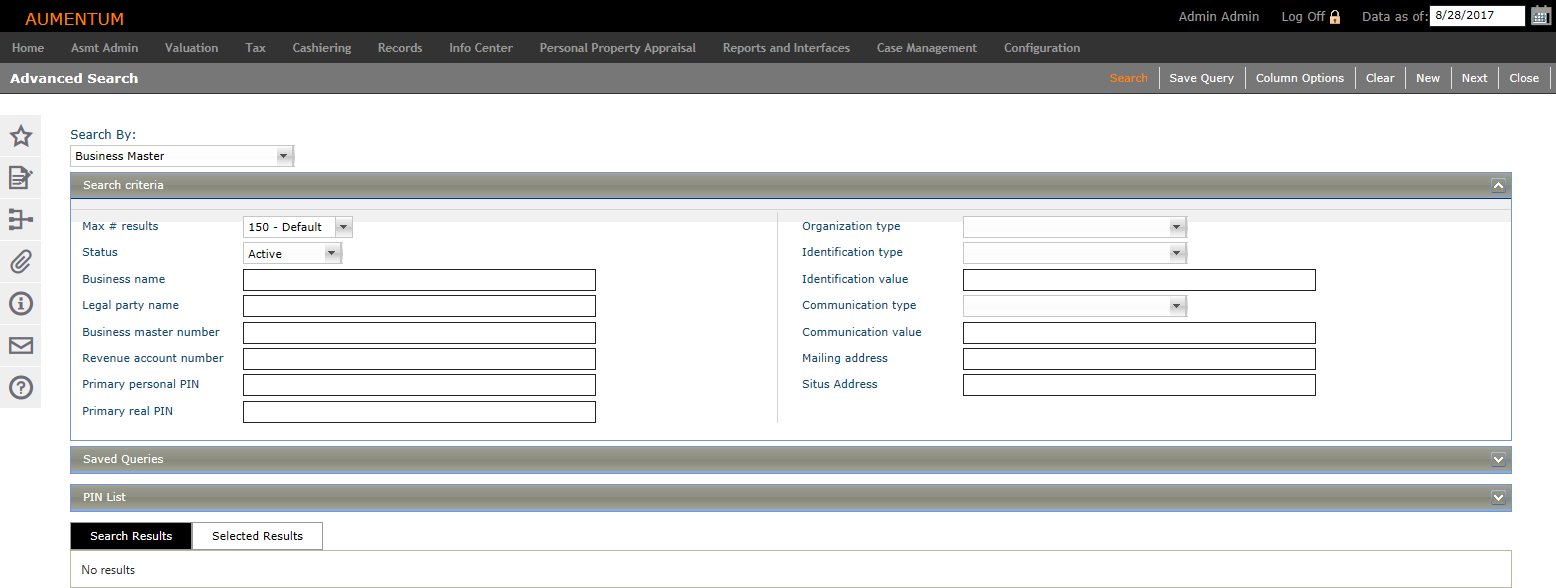
Business Master
Search for business master accounts created in the Business Revenue module.
Optionally, click Column Options to select the columns that are shown for the search results. In the Column Options pop-up, specify the columns and the order in which you want them displayed, then click Apply.
Steps
-
Select the maximum number of results you want the search to return or enter the value in the Max # Results field.
-
Select the Status of the business master account.
-
Define or select any other known data in the Search Criteria panel.
-
Click Search to run your query.
-
Optionally, click Save Query. Enter a name and click Save. Your query displays in the Saved Queries panel.
-
Check the checkbox associated with each item you want to include and perform an action with your search results:
-
Export to Excel – Select one or more search results and click the Excel button in the panel title bar. Excel opens with your selected results.
-
Export to CSV – Select one or more search results and click the CSV button in the panel title bar. Excel opens with your selected results.
-
Append – Select one or more search results and click Append. The selected results are now available on the Selected Results tab. Perform another search to find more PINs. Click Append to add the PINs to the Selected Results tab.
NOTE: If you click Append, the Next, Save PIN List, export to Excel, and export to CSV buttons are moved from the Search Results tab to the Selected Results tab.
-
Save PIN List – Select one or more search results and click Save PIN List. Enter a unique name for the list and click Save. PIN lists can be viewed via Records > Other Revenue Object Maintenance > Revenue Object Lists, and the lists can be used during any task using Revenue Object Lists, such as Criteria Groups.
- Clear – Click Clear to remove the results from the tab.
-
-
-
Select the desired accounts from the Search Results panel by checking the applicable checkboxes and click Next.
OR
Click New to navigate to the Business Master screen on which you can maintain information such as business name, legal party, PIN, and business/situs addresses for an existing account, or create a new account. When finished, click Previous to return to this screen.
Custom Query
Description
Use the Custom Query search to create your own custom query.
Steps
-
Select Custom query from the Search by drop-down list.
-
Select the operator (And, Or, Not And, Not Or).
-
Click the plus icon to add one new line to your query, or the blue plus icon to add a group of lines.
-
Click the grey text in your new query line to view a list of available criteria.
-
Select an option for your query, like Equal to or Greater than, then enter a value.
NOTE: Click the X on any line to remove it from the query. -
Click Search to run your query.
-
Click Clear to set the criteria search controls back to their default/empty state.
-
GIS
Ssee the GIS Control
Landlord/Facility Operators
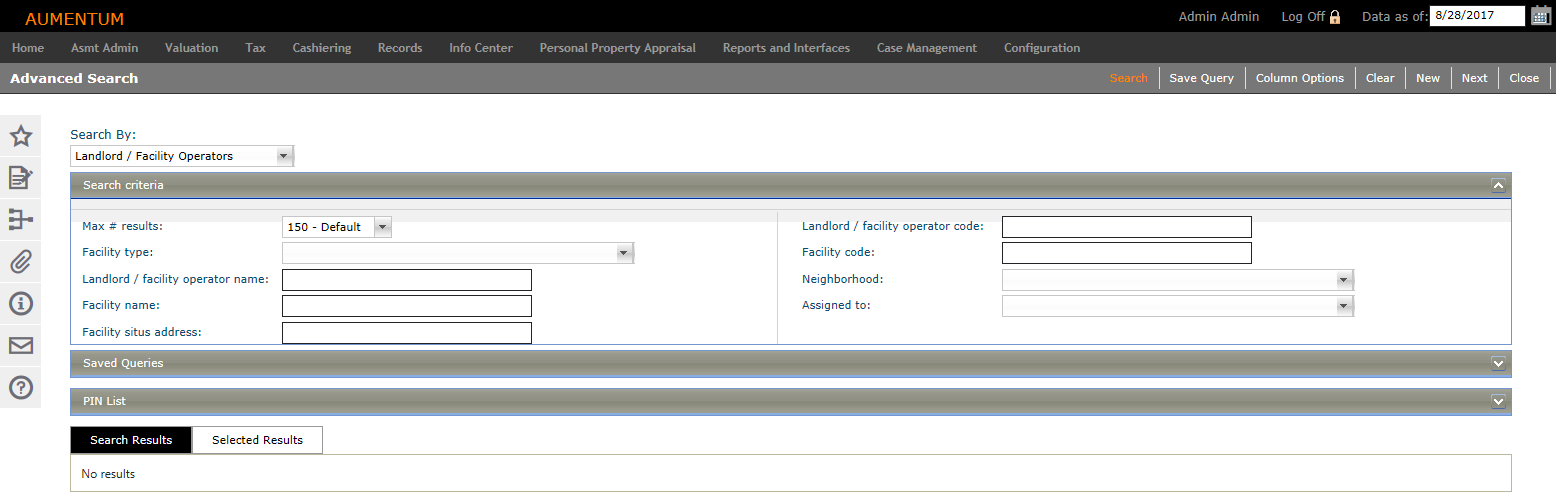
Search for landlord/facilities relationships for various personal property assets.
You can search for personal property landlord/tenant relationships for aircraft and other assets by the following criteria:
-
Facility type
-
Landlord/facility operator name
-
Landlord/facility operator code
-
Facility name
-
Facility code
-
Facility situs address
Optionally, click Column Options to select the columns that are shown for the search results. In the Column Options pop-up, specify the columns and the order in which you want them displayed, then click Apply.
Steps
-
Select the maximum number of results. You can select 25, 50, 150, 250, 500, Unlimited, or Default. Default uses the Records Application Setting for Global Search Result Limit. You can also enter any value desired in the field.
-
Enter any known search criteria for your search.
- Optionally, click Save Query. Enter a name and click Save. Your query displays in the Saved Queries panel.
-
Click Search. Matching results display in the Search Results panel.
- Click Clear to set the criteria search controls back to their default/empty state
-
Sort and group your search results by dragging a column header and dropping it in the panel title bar. The sort is ascending by default. Click the up arrow next to the column header to view a descending list. Click the X next to the column header to remove it from the sorting and grouping.
-
Perform an action with your search results:
-
Export to Excel – Select one or more search results and click the Excel button in the panel title bar. Excel opens with your selected results.
-
Export to CSV – Select one or more search results and click the CSV button in the panel title bar. Excel opens with your selected results.
-
Append – Select one or more search results and click Append. The selected results are now available on the Selected Results tab. Perform another search to find more PINs. Click Append to add the PINs to the Selected Results tab.
NOTE: If you click Append, the Next, Save PIN List, export to Excel, and export to CSV buttons are moved from the Search Results tab to the Selected Results tab.
-
Save PIN List – Select one or more search results and click Save PIN List. Enter a unique name for the list and click Save. PIN lists can be viewed via Records > Other Revenue Object Maintenance > Revenue Object Lists, and the lists can be used during any task using Revenue Object Lists, such as Criteria Groups.
- Clear – Click Clear to remove the results from the tab.
-
- Click Next to navigate to the Maintain Landlord/Facility Operator screen to maintain landlord/facility details.
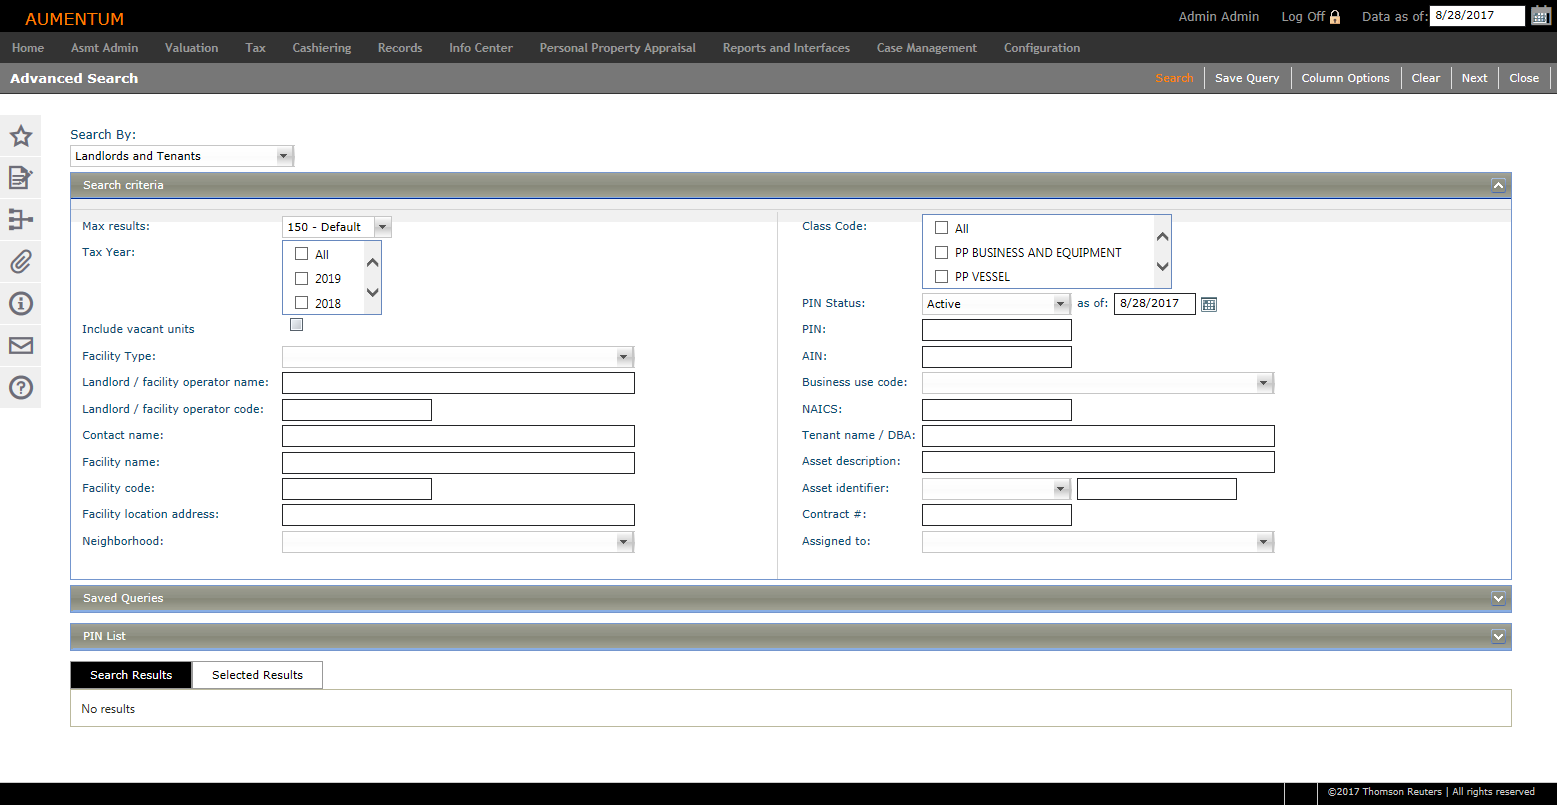
Landlords and Tenants
You can search for personal property landlord/tenant relationships for aircraft and other assets by the following criteria:
-
Aircraft Property Interest type (e.g., Non-commercial aircraft Fractional aircraft)
-
N number
-
Aircraft Model
-
Year Made
-
Manufacturer
-
Operation Airport/FBO.
The Landlord/Tenant search can potentially be used for various other searches, for example, watercraft/marina and horses/stable, in addition to aircraft/operation airport FBO. New class codes have been created for aircraft, including:
-
PP Aircraft – Historical
-
PP Aircraft – Private
-
PP Aircraft – Commercial
-
PP Aircraft – Fractional.
Search results are grouped by Facility (alpha by name, ascending), Facility Section (numeric by Section Number, ascending), and then Facility Unit (numeric by Unit Number, ascending).
Search fields for Landlord/Facility focused searches are:
-
Include vacant units
-
Facility type
-
Landlord/facility operator name
-
Landlord/facility operator code
-
Facility name
-
Family code
-
Facility location address.
Search fields for Tenant/Assets focused searches are:
-
Class code
-
PIN status (drop-down list)
-
PIN Status (as of date)
-
PIN
-
AIN
-
Business use code
-
NAICS code
NOTE: NAICS codes are business types. You can also manage the NAICS code in the Property Information panel of the Maintain PPA Accounts screen if your jurisdiction has the Personal Property Appraisal module.
IMPORTANT: The NAICS code is applied at the tax year level, not the account level, even though you can define it on the Maintain PPA Accounts screen. -
Tenant name
-
Asset description
-
Asset identifier type (drop-down list)
-
Asset identifier (entry)
-
Contract #
- Optionally, click Column Options to select the columns that are shown for the search results. In the Column Options pop-up, specify the columns and the order in which you want them displayed, then click Apply.
- Select the maximum number of results. You can select 25, 50, 150, 250, 500, Unlimited, or Default. Default uses the Records Application Setting for Global Search Result Limit. You can also enter any value desired into the field.
-
Enter any known search criteria for your search.
- Optionally, click Save Query. Enter a name and click Save. Your query displays in the Saved Queries panel.
-
Click Search. Matching results display in the Search Results panel.
-
Select the desired records from the Search Results panel and click:
-
Any column header, drag and drop it in the panel title bar to the desired location to sort and group your search results. The sort is ascending by default. Click the up arrow next to the column header to view a descending list. Click the X next to the column header to remove it from the sorting and grouping.
-
Export to Excel – Select one or more search results and click the Excel button in the panel title bar. Excel opens with your selected results.
-
Export to CSV – Select one or more search results and click the CSV button in the panel title bar. Excel opens with your selected results.
-
Append – Select one or more search results and click Append. The selected results are now available on the Selected Results tab. Perform another search to find more PINs. Click Append to add the PINs to the Selected Results tab.
NOTE: If you click Append, the Next, Save PIN List, export to Excel, and export to CSV buttons are moved from the Search Results tab to the Selected Results tab.
-
Save PIN List – Select one or more search results and click Save PIN List. Enter a unique name for the list and click Save. PIN lists can be viewed via Records > Other Revenue Object Maintenance > Revenue Object Lists, and the lists can be used during any task using Revenue Object Lists, such as Criteria Groups.
- Clear – Click Clear to remove the results from the tab.
-
Next to advance to the Maintain Personal Property Accounts screen with the selected results. A Landlord/Facility Information panel on the Maintain PPA Accounts screen shows facility/landlord details with the option to select the particular facility to advance to the Maintain Landlord/Facility Operator screen for the purpose of maintaining data.
-
Click Next in the task bar to navigate to the Maintain Personal Property Accounts screen to maintain the account information details.
Neighborhood
Use the Neighborhood search to find and edit details on the Neighborhood Maintenance screen.
Optionally, click Column Options to select the columns that are shown for the search results. In the Column Options pop-up, specify the columns and the order in which you want them displayed, then click Apply.
Steps
- Enter the neighborhood search criteria and click Search.
Matching results display in the Search
Results grid.
Neighborhood Code
Market Area
Neighborhood Description
Market SubArea
-
Optionally, click Save Query. Enter a name and click Save. Your query displays in the Saved Queries panel.
- Expand the PIN List panel to view and select a saved PIN list. Select one or more neighborhoods from the Search Results grid.
- Optionally, perform an action with your search results:
-
Export to Excel – Select one or more search results and click the Excel button in the panel title bar. Excel opens with your selected results.
-
Export to CSV – Select one or more search results and click the CSV button in the panel title bar. Excel opens with your selected results.
-
Append – Select one or more search results and click Append. The selected results are now available on the Selected Results tab. Perform another search to find more PINs. Click Append to add the PINs to the Selected Results tab.
NOTE: If you click Append, the Next, Save PIN List, export to Excel, and export to CSV buttons are moved from the Search Results tab to the Selected Results tab.
-
Save PIN List – Select one or more search results and click Save PIN List. Enter a unique name for the list and click Save. PIN lists can be viewed via Records > Other Revenue Object Maintenance > Revenue Object Lists, and the lists can be used during any task using Revenue Object Lists, such as Criteria Groups.
- Clear – Click Clear to remove the results from the tab.
-
Select from the results and click Next to navigate to Neighborhood Maintenance.
Personal Property Search
Click Personal Property Appraisal > Search > Personal Account to search for personal property accounts by general information, such as Tax Year, PIN, Date Filed, Cycle Status, etc., as well as by modifiers and by flags.
NOTE: The Owner Name column for the Personal Account search shows all unique owner names for the PIN, separated by a semicolon, if there are multiple owners.

Steps for a Personal Property Search
-
Optionally, click Column Options to select the columns that are shown for the search results. In the Column Options pop-up, specify the columns and the order in which you want them displayed, then click Apply.
NOTE: If you select the Neighborhood column, it is automatically populated in the Property Description panel when you advance to the Maintain Personal Property Accounts screen. -
Select the maximum number of results. You can select 25, 50, 150, 250, 500, Unlimited, or Default. Default uses the Records Application Setting for Global Search Result Limit. You can also enter any value desired into the field.
-
Enter any known search criteria for your search.
-
Optionally, click Save Query. Enter a name and click Save. Your query displays in the Saved Queries panel.
-
Click Search. Matching results display in the Search Results panel.
-
Click Clear to set the criteria search controls back to their default/empty state.
-
-
Optionally, perform an action with your search results:
-
Export to Excel – Select one or more search results and click the Excel button in the panel title bar. Excel opens with your selected results.
-
Export to CSV – Select one or more search results and click the CSV button in the panel title bar. Excel opens with your selected results.
-
Append – Select one or more search results and click Append. The selected results are now available on the Selected Results tab. Perform another search to find more PINs. Click Append to add the PINs to the Selected Results tab.
NOTE: If you click Append, the Next, Save PIN List, export to Excel, and export to CSV buttons are moved from the Search Results tab to the Selected Results tab.
-
Save PIN List – Select one or more search results and click Save PIN List. Enter a unique name for the list and click Save. PIN lists can be viewed via Records > Other Revenue Object Maintenance > Revenue Object Lists, and the lists can be used during any task using Revenue Object Lists, such as Criteria Groups.
- Clear – Click Clear to remove the results from the tab.
-
Steps for Searching by Modifiers
You can also define searches by modifiers.
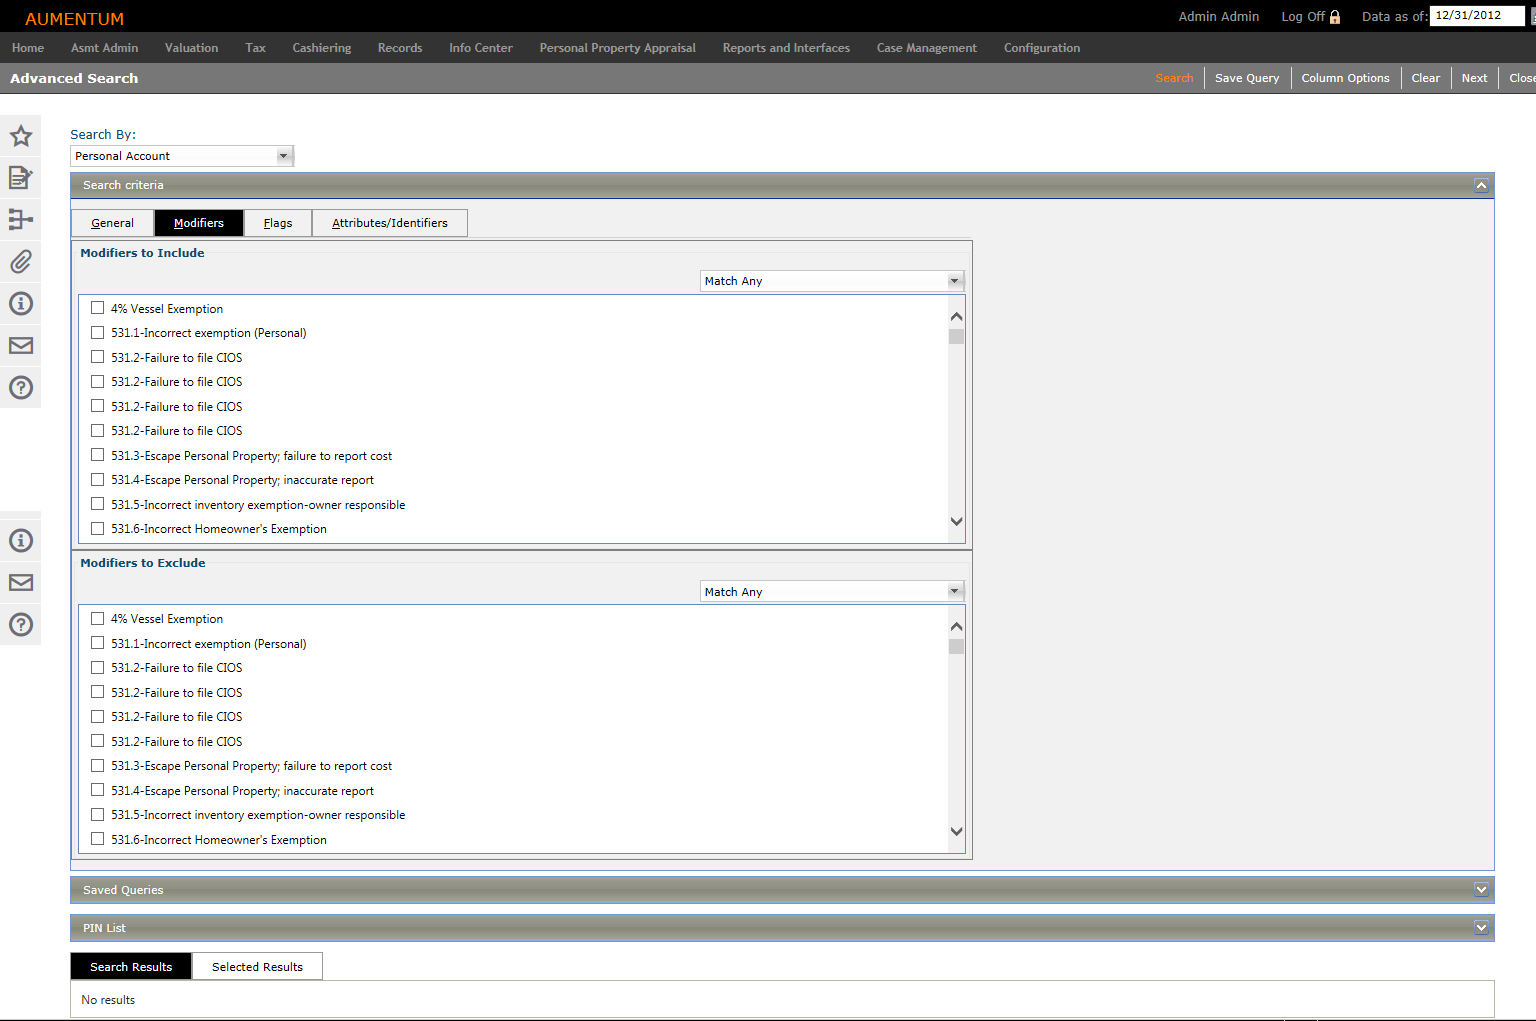
-
Click the Modifiers panel.
-
Select the checkboxes for the modifiers you want to Include.
-
Select either Match Any (default) or Match All.
-
Select the checkboxes for the modifiers you want to exclude.
-
Select either Match Any (default) or Match All.
-
Click Search to search for accounts that match the modifiers defined.
Steps for Searching by Flags
You can also search by flags.
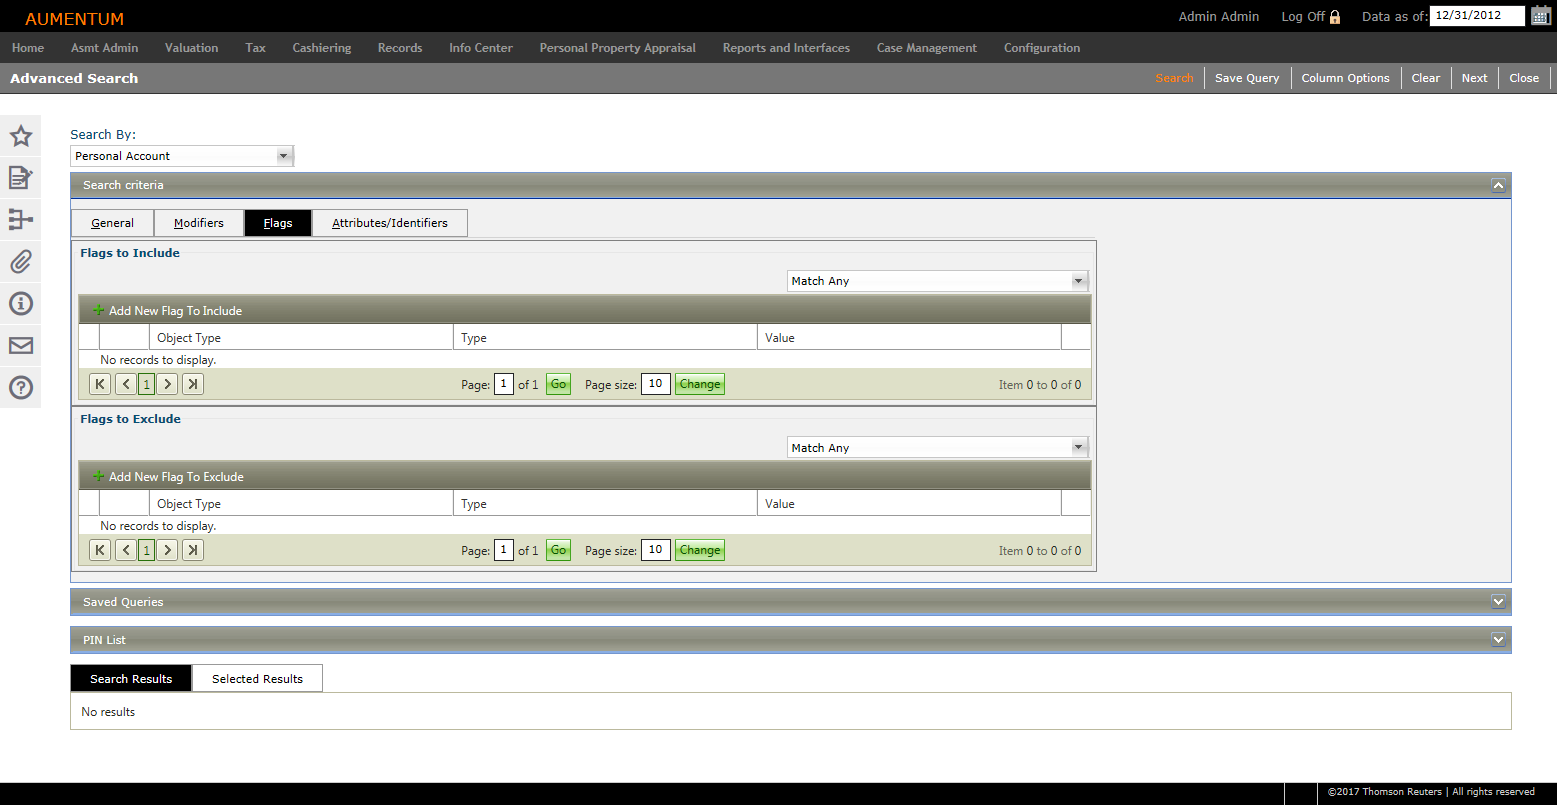
-
Click the Flags panel.
-
Click the green plus sign for Add New Flag To Include.
-
Define the flag(s) to include in the search.
-
Select the Object Type, either Legal Party or Revenue Object
-
Select the type of flag.
-
Select the flag value.
-
Select the match criteria, either Match Any (default) or Match All.
-
-
Click the green plus sign for Add New Flag To Exclude
-
Define the flag(s) to exclude from the search.
-
Select the Object Type, either Legal Party or Revenue Object
-
Select the type of flag.
-
Select the flag value.
-
Select the match criteria, either Match Any (default) or Match All.
-
Click Search to find the accounts matching the flags defined.
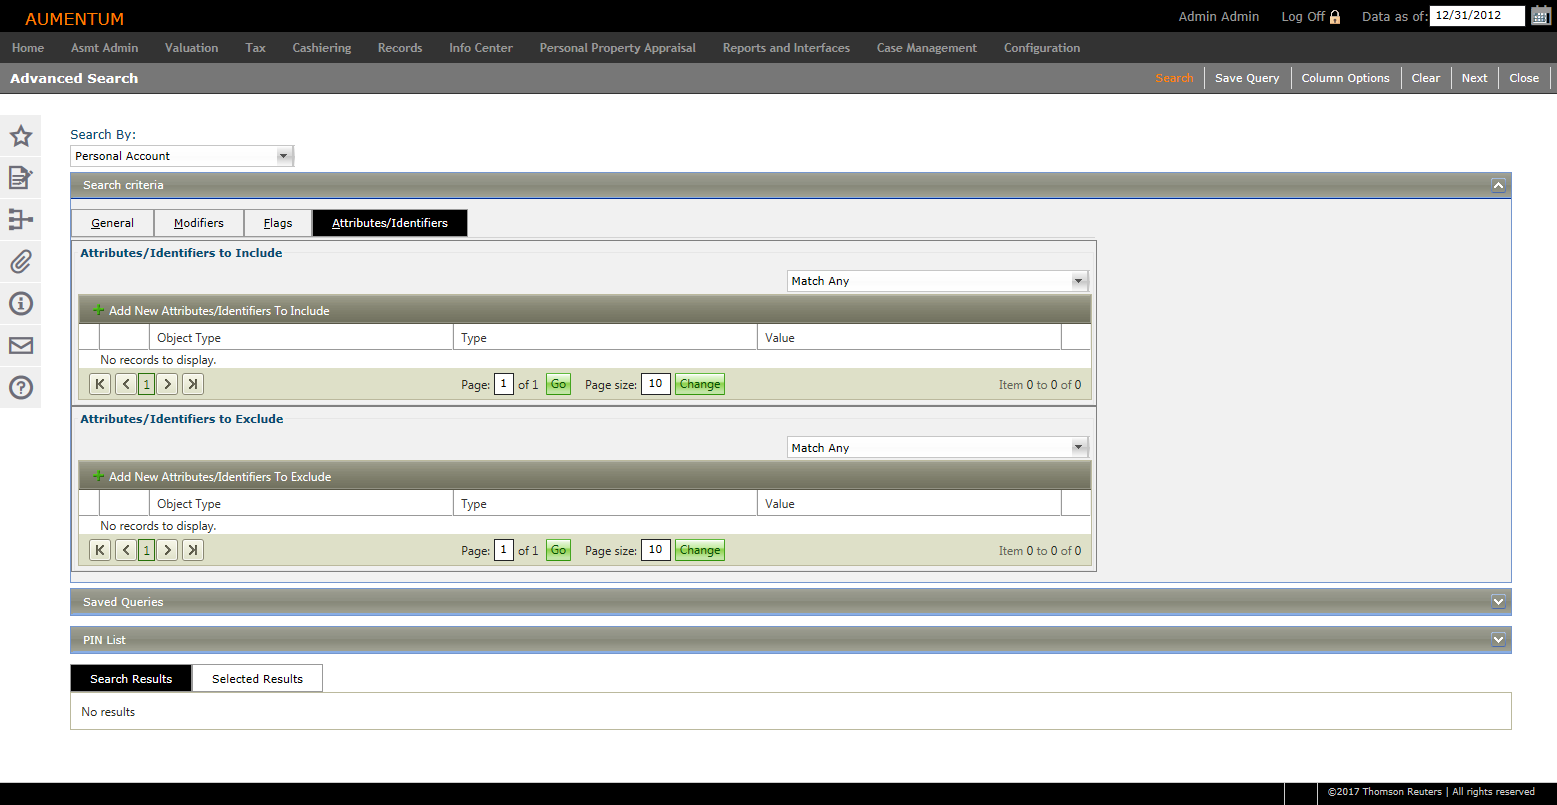
Steps for Searching by Attributes and Identifiers
You can also search by attributes and identifiers.
Tenants Search
Use the Tenants search to perform searches for tenants of various facility-based operations.
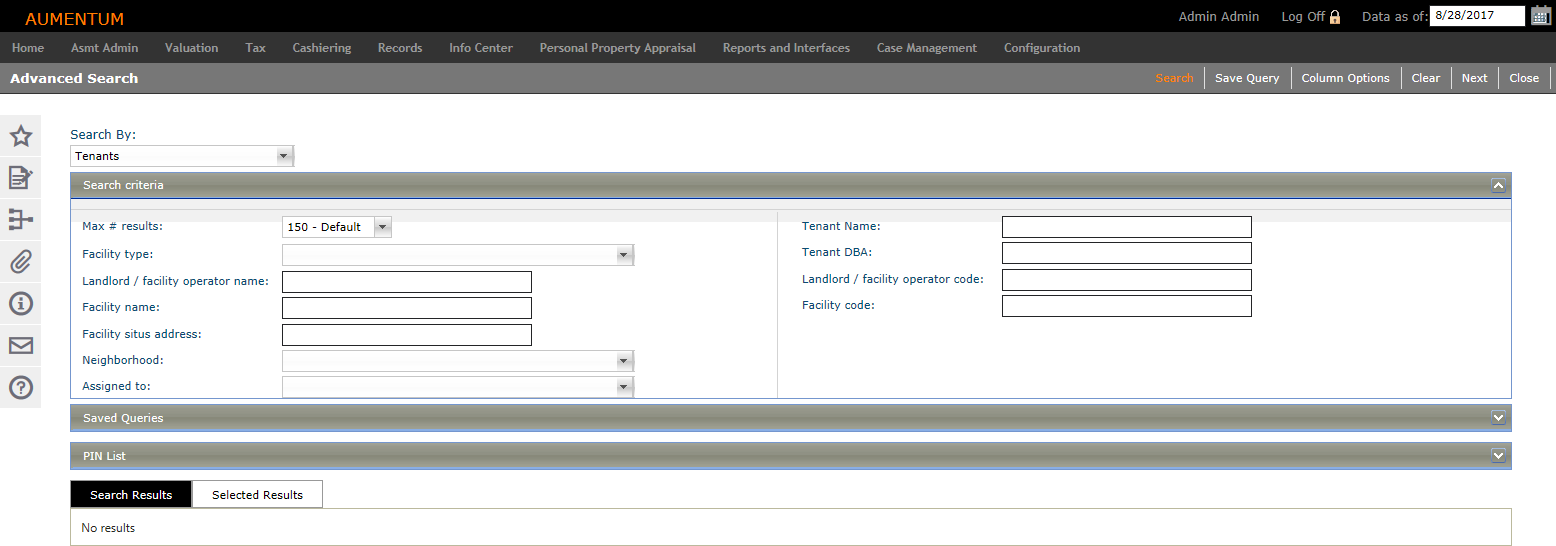
Steps
NOTE: See the Personal Account search for details about the Column Options button and how to set up columns for the search results.
-
Define search criteria to find tenants of facility locations.
-
Click Search.
-
Click Clear to set the criteria search controls back to their default/empty state
-
-
Select the item(s) from the search results and click Next to navigate to the Maintain Tenants screen on which you can define various tenant maintenance details.