Select or Add a Workstation
Navigate:  Configuration > System > Workstations
Description
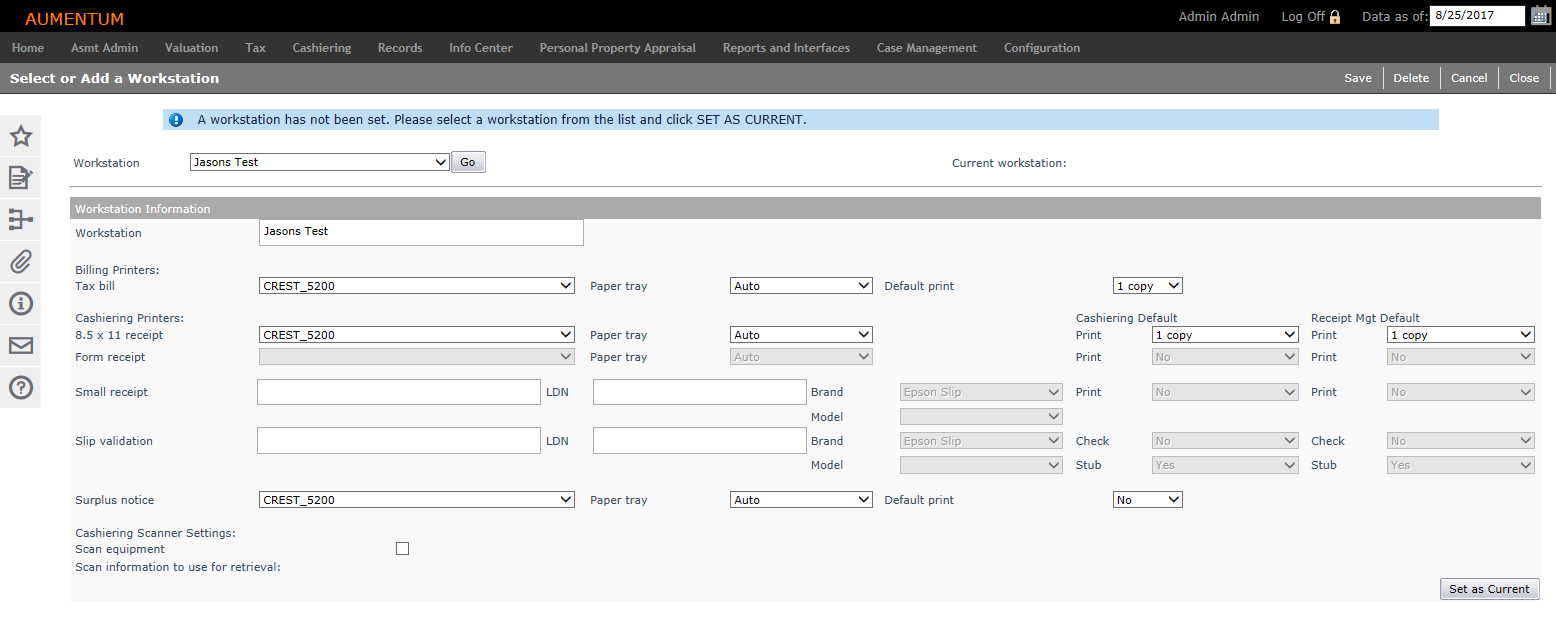
Set up the Aumentum workstations for scanning, receipt printing, and slip printing. When you access this screen, only the workstation list and the current workstation (if one is selected) are displayed.
NOTE: The available billing and cashiering printers must first be set up through Configuration > Printer Settings.

Steps to Add a Workstation
-
On the Select or Add a Workstation screen, click New.
-
In the Workstation Information panel, enter the workstation name.
-
If the workstation has a tax bill printer, make a selection from the Billing Printers: Tax bill drop-down list. Also select the paper tray to use and make a selection from the Default print drop-down list to specify how many copies are printed by default.
-
Make a selection from the Cashiering printers drop-down list, which specifies where the workstation is connected. For an 8.5 x 11 receipt printer or a Surplus notice printer, select the name of the printer from the list of preset printers, as well as the Paper tray to use.
-
Set up a small receipt printer or slip validation if you are installing a peripheral printing device.
IMPORTANT: Check with your Aumentum Support representative before purchasing or installing a receipt or slip printer. In the first field, enter the ProgID of the OPOS Service Object, then enter the LDN and select the brand of printer.
Sample peripheral printer settings:
Printer
ProgID of the OPOS Service Object
This is obtained from the manufacturer - the version of the driver that is downloaded.
LDN - Logical Device Name
This name is configurable when you set up the device driver.
Brand
Small receipt printer
OPOS.POSPrinter.1.5
Series1000
*Manufacturer default name.Ithaca
Small receipt printer
OPOS.POSPrinter.1.9
AumentumPosPrinter
*Name arbitrarily assigned by the installer.Epson
Slip printer
OPOS.POSPrinter.1.5
Series90
*Manufacturer default name.Ithaca
-
For all cashiering printers, select the default print setting, which indicates how many copies of the receipt or notice will be printed by default when the payment is collected.
-
Select the Scan equipment checkbox if it is available. Make a selection from the Scan information to use for retrieval drop-down list, if scan equipment is available, such as bill or bill and year.
-
Click Save to finish adding the workstation.
Steps to Select a Workstation
-
On the Select or Add a Workstation screen, make a selection from the Workstation drop-down list.
-
Click Go to view settings in the Workstation Information panel.
-
Click Set As Current at the bottom right of the screen to set this as the current workstation.
- Make any necessary changes to the workstation information and click Save.