Workflow Configuration
Navigate:  Configuration
> System > Workflow Configuration
Configuration
> System > Workflow Configuration
Description
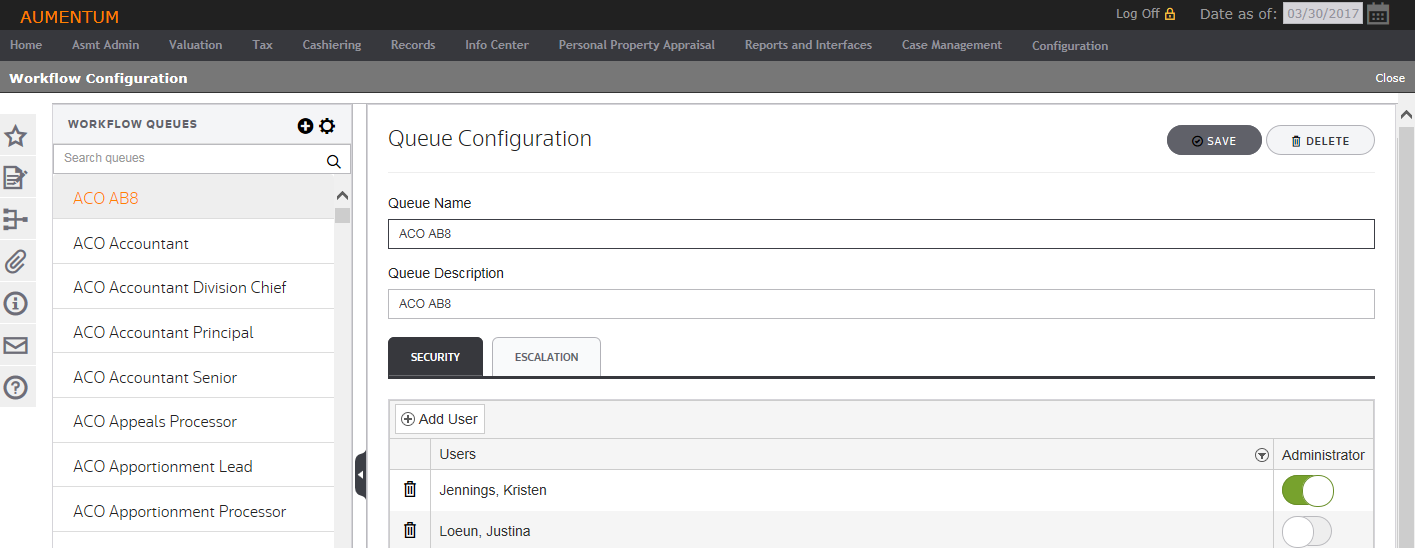
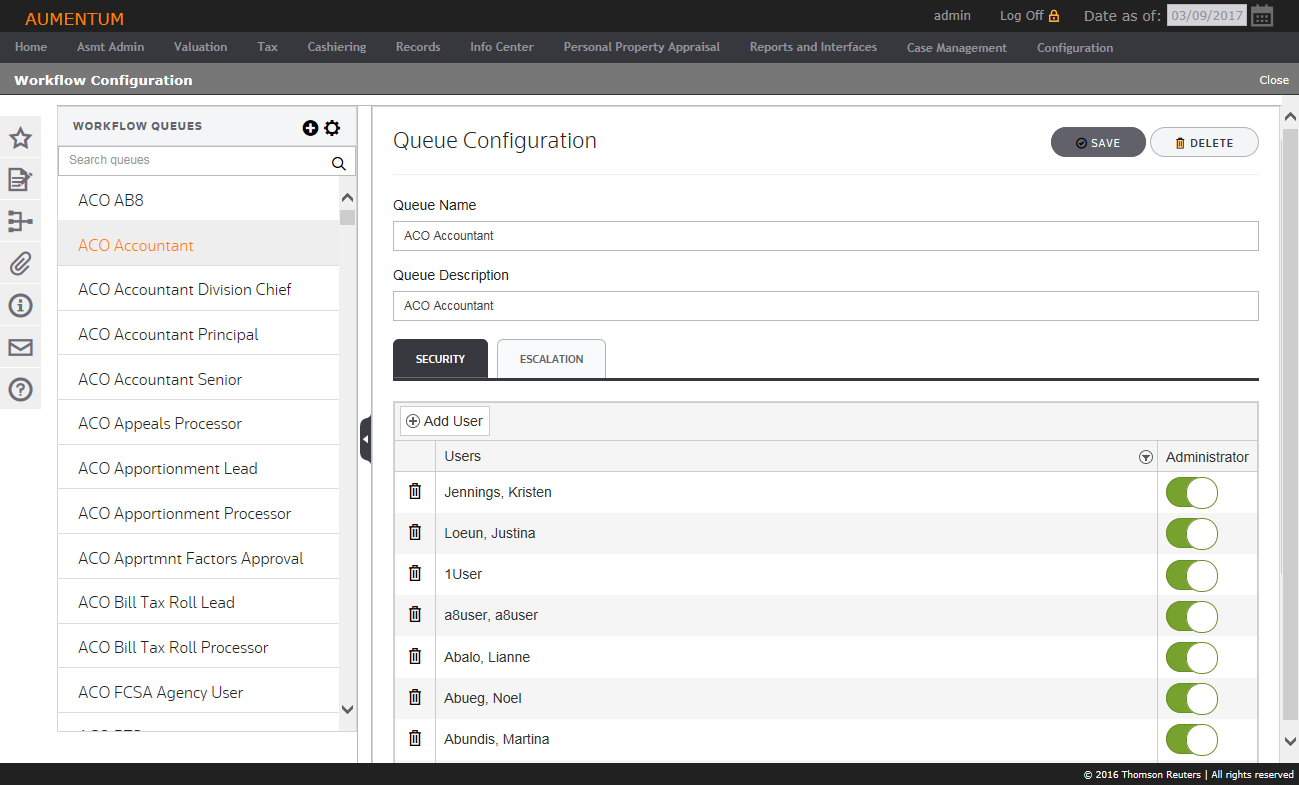
Configure the settings for Workflow Queues, and grant user access to Workflow Queues. Users are either members or administrators. Click the toggle button to turn on administrator rights (green) or turn them off (white).
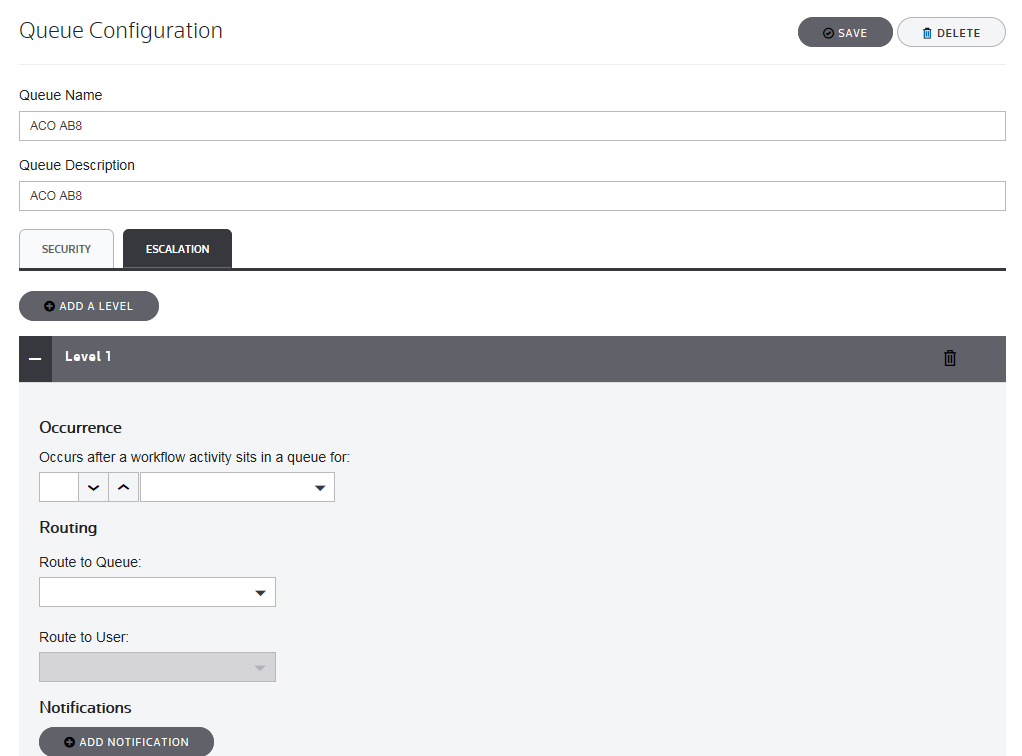
Set queue escalation and configure level settings.
A Workflow Queue is where workflow activities are stored for users to be able to interact with the work item. Users can be assigned to queues, such that workflows routed to the queues can be seen in the View My Worklist screen.
Configure Workflow Queues
Queues are initially created by the Professional Services Team for your jurisdiction. These queues are assigned to workflow activities (nodes) such that workflow can automatically be routed to the correct work lists. New queues can be created by the administrator using this task.
-
On the Workflow Configuration screen, search for or select a workflow queue.
- In the Queue Configuration section, click the Security tab.
-
Click Add User and start typing a name to make a selection from the drop-down list. To remove a user, click the Trash icon to the left of the user’s name.
- Click the Escalation tab to add levels.
-
Click Add a Level or select a current level of escalation.
- Set the Occurrence, Routing and Route to User parameters.
- Click Add Notification to share information with recipients.
- In the Message field you can use tokens as placeholders to display information from the workflow activity.
- Click Close to send the Workflow Configuration task.
NOTE: A workflow can be rerouted to its originating queue and user after the allotted duration has passed.
Adding a queue
- In the Workflow Configuration screen, click the Add Queue icon in the Workflow Queues header.
- In the Queue Configuration section, type a name and description.
- In the Security tab, click Add User.
- Select a name from the drop-down list and specify whether or not this user is an administrator.
- Click Save.
Deleting a Queue
NOTE: A workflow queue cannot be deleted unless all activities assigned to the queue have been completed or rerouted.
- In the Workflow Configuration screen, select a workflow queue.
- In the Queue Configuration section, click Delete at the top of the screen.
Workflow Settings
- In the Workflow Configuration screen, click the Workflow Settings icon in the Workflow Queues header.
- In the Workflow Settings panel, select a user from the Workflow System Username drop-down list.
- Make a selection from the Workflow System Queue drop-down list.
- Specify how the workflow is routed when an error occurs.
- Turn Verbose History Logging on (green) or off (white).
IMPORTANT: When Verbose Logging is enabled, the log is very detailed and the grid allows the log results to be paged. Verbose logging can slow down workflow performance, so it should be turned off by default.