OCR and Bar Code Formats
Navigate:  Tax > Billing > Setup > OCR and Bar Code Formats
OR
Configuration > Barcode Setup > OCR and Bar Code Formats
Description
Create formats for OCR (optical character recognition) and bar codes. You can print these bar codes on your bills depending on the report setup and the report file.
Steps
via the Tax module

-
On the Select OCR and Bar Code Formats screen, click New or click to select an item in the Code Formats panel.
- On the Set Up OCR and Bar Code Formats screen, enter or edit the description for the OCR or bar code.
-
Make a selection from the Code format type drop-down list. Available selections depend on your jurisdiction.
-
Make a selection from the Check digit type drop-down list.
-
Select the Enable masked spaces checkbox to accommodate PIN spacing in the OCR scan line. PIN spacing is ignored when this checkbox is not selected.
-
In the Code Fields panel, click Add or click Edit for an item in the grid.
NOTE: An additional row called CodeFormatIdentifier may be displayed in the panel. This row is based on the Tax Billing Insert identifier value in OCR and Barcode Values application setting and cannot be deleted.
Click here to learn how to suppress this row.
- Click Configuration > Application Settings.
- On the Maintain Application Settings screen, select Effective Date from the Setting type drop-down list, and select Tax Billing from the Filter by module drop-down list.
- Locate Insert identifier value in OCR and Barcode Values and click Edit.
- Select the checkbox in the Setting Value column to set it to True; clear the checkbox to set it to False to suppress this row.
- Click Apply.
- Click Save in the Command Item bar.
- Click Close to end the task.
-
Make a selection from the Field drop-down list.
- Enter the Size and Order.
- Optionally, select the Apply to check digit checkbox.
-
Click Apply.
-
Click Save in the Command Item bar.
-
Click Delete to remove the OCR or bar code from the database.
-
Click Previous to return to the Select OCR and Bar Code Formats screen.
-
Click Close to end the task.
via Configuration
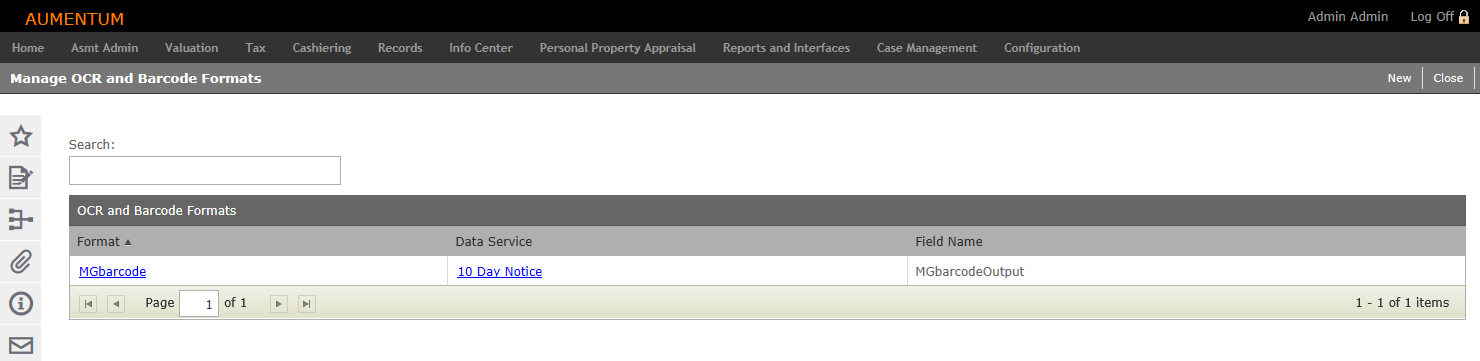
- On the Manage OCR and Barcode Formats screen, click New or click a hyperlink in the OCR and Barcode Formats panel.
- On the Edit OCR/Barcode Format screen, enter or edit the description.
- Click the hyperlink to select a data service.
- Enter an Output Field Name.
- Optionally, select the Include barcode delimiters (Code 39) checkbox.
- In the Field Configuration panel, click Add. Or, click Edit for an item in the grid.
- Enter or select field information for the OCR or barcode.
- Click Update.
- Click Save in the Command Item bar.