Sessions
Navigate:  Cashiering > General > Sessions > Open Session by Cashier
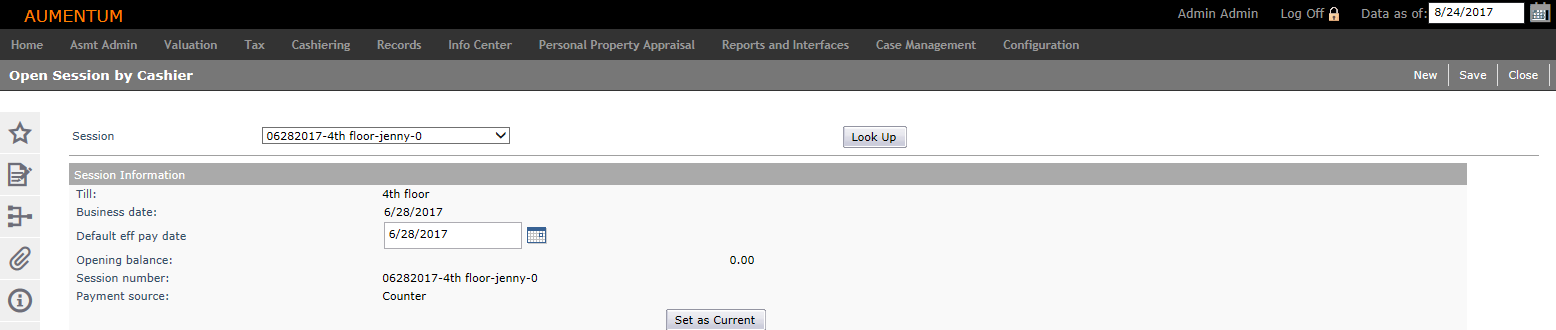
OR
Cashiering > General > Payment Collections > Collect Payments (Common Action) > Open Session by Cashier
Description
The cashier opens a session each day before collecting payments.
NOTE: If the option to use supervisor session creation was selected in Set Up Global Cashiering, then the supervisor needs to use the option Maintain Sessions by Supervisor to create the sessions for the cashier. Not all counties use the Open Session by Cashier function.
Steps
-
On the Open Session by Cashier screen, click New, or make a selection from the Session drop-down list and click Look Up.
-
In the Session Information panel, enter or select the necessary information.
NOTE: Any field for an existing session may be changed on this screen before payments are accepted.
-
Till – Select the till that will be used in the session. Only one till is allowed per session.
-
Business date – Enter the deposit date for the session's receipts.
NOTE: There cannot be two open sessions for the same till and date.
-
Default eff pay date – Enter the effective pay date to use for the session. You can change this for individual payments, if necessary, during receipting.
-
Opening balance – Enter the dollar amount of the beginning balance of the till.
-
Session number – The session number is automatically assigned, but you can change it. The default format is defined in Global Cashiering setup.
-
Payment source – Select the default payment source. When you click Cashiering > General > Payment Collections, the screen that opens depends on the payment source chosen for the session. The payment sources of counter, lockbox, and web use the Collect Payments screen to process the payments. Lender as a payment source opens Process Lender Payments, and Mail as a payment source opens Process Mail Payments. (You can navigate to other payment screens by selecting a different payment source from the drop-down list on the Cashiering Settings sidebar.)
NOTE: The Payment source field is security enabled. Click here to learn how to allow access to this field.
- Click Configuration > Security and User Maintenance > Roles.
- On the Maintain a Role screen, locate the role to which you want to grant access and click Edit.
- On the Edit Role Details screen, click Non-Menu Items in the Command Item bar.
- On the Edit Non-Menu Item Role Details screen, select Cashiering from the Modify security for drop-down list.
- In the Details panel, click to select SetPaymentSource.
- In the Rights panel, select the checkbox for View and Modify and click Set Rights.
- Click Save in the Command Item bar.
-
Enter the cash denominations if you use denomination cashiering, as set up in Global Cashiering.
-
In the Rolls column, enter the number of rolls for each denomination of coin.
-
In the Quantities column enter the number of each denomination of bill and coin.
-
The sub total and total amounts automatically update as you enter denominations.
-
-
Click Set as Current to save the information. The Collect Payments screen opens automatically with this session information.
OR
- Click Close to end the task.
Click Save in the Command Item bar to finalize the session information without setting the current session.
Tips
The permission for view all sessions is granted via Configuration > Security and User Maintenance > Roles. When not allowed, you will see only your own sessions.
When Back Office Reconciliation is complete, the session is closed and payments are no longer accepted into that session.