Cases
Navigate:  Case Management
> Configuration
> Cases
Case Management
> Configuration
> Cases
Description
Use this screen to add case categories and create appeal templates specific to your jurisdiction's business processes and appeal types. Each type of case can be formatted differently to allow specific data to be entered for specific case types.
Steps
The following links contain steps for each of the tabs on the CM Configuration - Cases screen.
-
Case Class as Appeal
-
Case Level as Value
-
Case Type as Formal
-
On the CM Configuration - Cases screen, make a selection from the Category drop-down list.
-
Case Class – The broadest case category (e.g., an appeal).
-
Case Level – A subcategory of the Case Class (e.g., the type of appeal).
-
Case Type – Contain processes specific to Case Class/Level (e.g., a correction to an appeal).
-
Case Status – User-defined status that indicates the state of a case (e.g., Filed, Scheduled, Cancelled) in the overall case management/hearing process.
-
Mail Options – User defined mailing options for a case. They can be maintained when editing a case, a group of cases, a case template, or a group template.
NOTE: You can restrict access to this option by security role (see Access tab later in this topic).
-
Case Filing Party – User defined parties used to identify the relationship of the appellant to the owner.
-
Protest Reason – User defined reasons for the appeal filing to explain why the filing party protests the property value.
- Case Party Role – User defined parties established as Representatives. Used when Representatives file appeals as opposed to Owner/Agency/Other filings.
-
Click Add New.
-
Code – User-defined code.
-
Description – Descriptive name of the Case Class/Level/Type/Status.
-
Display Order – The order the Case Class/Level/Type/Status is displayed throughout the application.
-
Selectable – If checked, indicates the Case Class/Level/Type/Status is viewable/selectable from the application and will be used to inactivate unused selection options.
- Case Class Subclass (Case Class category only)
- Is Stipulation – When selected, the case type is not available for scheduling tasks.
- Is eligible for Affidavit
-
Internal Status (Case Status category only) – The status of the case in the overall process (e.g., Filed, Ready to Schedule, Pending, etc.).
- Group Type (Case Filing Party category only)
-
Enter the case criteria in the active fields and click Apply.
-
Click Save.
-
Click Add New in the Case Classes panel. An in-grid editor populates to add the new mapping.
-
Make a selection from the Case Class drop-down list. If you are editing existing criteria, this drop-down list is read-only.
-
Make a selection from the Mapping Category drop-down list.
-
Select each checkbox as needed:
-
Signature Required – A signature is required from the selected Participant Type during hearing processing.
-
Selectable (selected by default) – Indicates the Case Class/Level/Type is viewable and selectable throughout the Aumentum Platform.
-
Value Related – Indicates that the case type is specific to the valuation process. When a case is created for this case/appeal type, value detail is required on the case entry screens. When Value Related is not selected, the new case records the initial value and one step is omitted from the case creation process.
-
Allow Value Entry – Entry of another value is allowed on the Case Detail screen.
- Allow Supporting Event – Specifies the number of years back, inclusive of current year, to display in supporting event. This is determined by the Supporting Event # of years application setting.
-
Make a selection from the Participant Type drop-down list.
-
To move a tab to the Restricted field, highlight it in the Accessible field and click the right arrow. To move a tab to the Accessible field, highlight it and click the left arrow. Accessible tabs should be related to the selected Participant Type's role/function.
-
Select one or more User Defined Fields using the corresponding checkbox on the right. Optionally, edit the Display Order.
NOTE: A User Defined Field that is checked as Inherited is active for use as selected under the parent category it resides in.
-
Click Apply.
-
Click Save in the Command Item bar.
- Make a selection from the Protest Reason drop-down list.
- In the Decision Reason panel, select the checkbox for one or more items in the grid and click the Edit in the panel's title bar.
- Select or clear the Permitted checkbox as needed.
- Click Apply. Or, click Cancel Editing to discard your changes.
- Click Save in the Command Item bar.
- In the Case Status to Final Value Mapping panel, select the checkbox for one or more items in the grid and click Edit in the panel's title bar.
- Make a selection from the Conclusion and Reason drop-down lists.
- Select or clear the Prefer Proposed Value checkbox as needed.
- Click Apply. Or, click Cancel Editing to discard your changes.
- Click Save in the Command Item bar.
- Make a selection from the Class - Level - Type and Changing to Status drop-down lists.
- Select the Is Affidavit checkbox, if needed.
- In the Defaults panel, make a selection from the Close to Status and Protest Reason drop-down lists.
- In the Cases to Close panel, click Add New.
- Make a selection from the Case Type, Close to Status, and Protest Reason drop-down lists.
- Click Apply. Or, click Cancel Editing to discard your changes.
- To delete an item in the Cases to Close grid, select its checkbox and click Delete.
- Click Save in the Command Item bar.
- Make a selection from the Case Class and Revenue Object Type drop-down lists.
- In the Available Flags panel, click to select a flag type and click the right arrow to add it to the Assigned Flags panel.
- Hold the Shift key to select consecutive items.
- Hold the Ctrl key to select non-consecutive items.
- To remove flags, select one or more items in the Assigned Flags panel and click the left arrow.
- Click Save in the Command Item bar.
-
Click Add New. An in-grid form populates for editing.
-
Make a selection from the Case Class, Case Level, Case Type, and Template Type drop-down lists for the new template. If you are editing an existing template, these fields are read-only; continue to Step 3.
-
Enter the form name, which will be available for selection when creating a case.
-
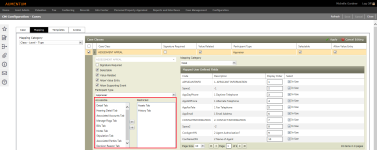
Select the checkbox for one or more fields to add to the list of selected fields. The Available Fields contains a list of available of user-defined fields configured for the selected Case Class/Level/Type. Selected Fields are displayed when creating a case.
-
Click Apply.
-
Click Save.
-
Make a selection from the Category, Role, and Case Class drop-down lists.
-
Select one or more items in the Object Access panel and click Edit.
-
Selector clear the Permitted checkbox next to the selected Object type(s). When Permitted is selected, the selected Role has access to Case Summary information for Case Classes of the selected Object type.
-
Click Apply.
-
Click Save in the Command Item bar.
-
Click Refresh to clear all selections and refresh the page.
-
Click Cancel to discard changes since the last Save and retain the current view.
-
Click Close to end the task.
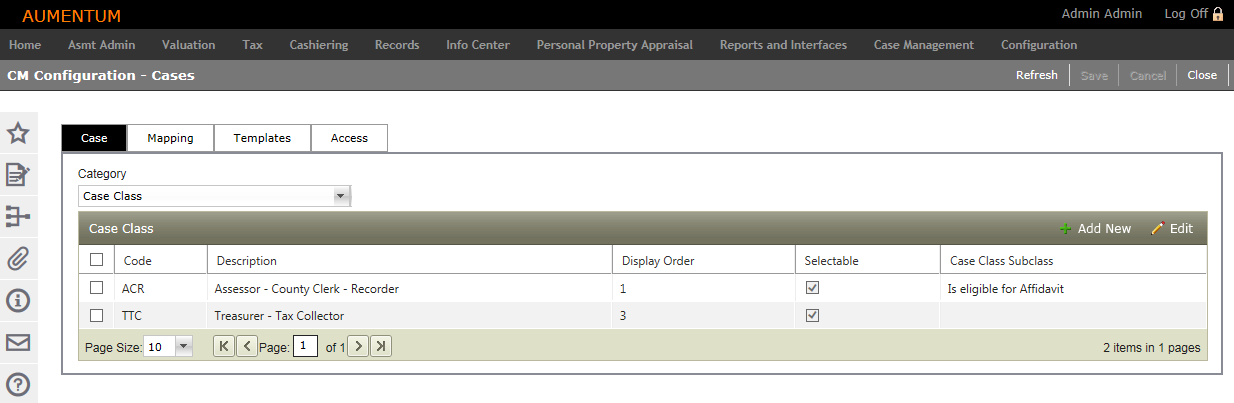
Case tab
Define case characteristics based on the type of appeal/case that is being created and filed from the Case tab. A case consists of a combination of a Case Class, Case Level and Case Type.
EXAMPLE: A jurisdiction handles Formal Value Appeals and wants to manage those cases in Aumentum. The jurisdiction can configure this case type from the Case tab on the CM Configuration - Cases screen by defining the:
OR
Select one or more lines from the Case Class panel and click Edit.
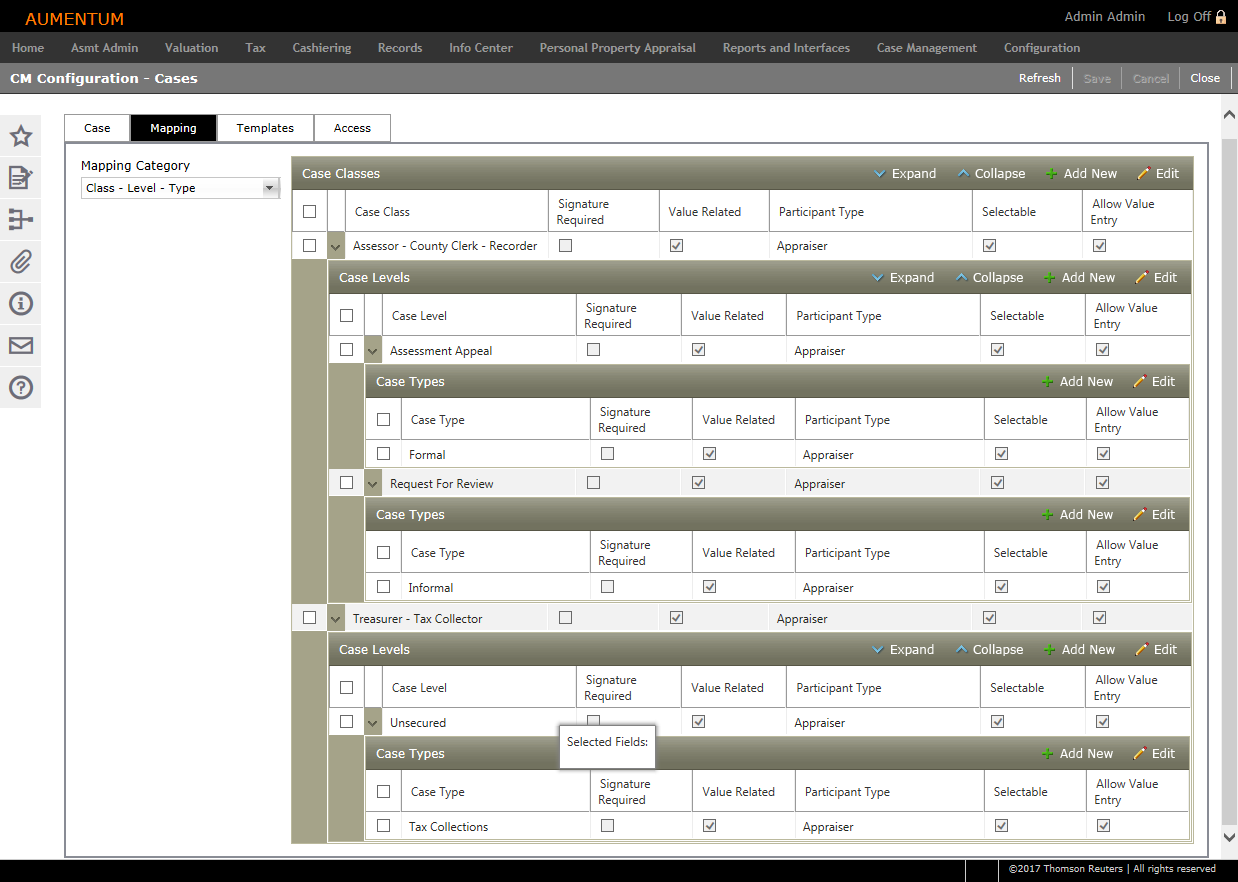
Mapping tab
The Mapping tab allows you to define what information is accessible or restricted on the Case Detail screen. Restricted items will not be visible on the Case Detail screen. All items default to Accessible until defined otherwise.
There are five selections in the Mapping Category drop-down list.
Class - Level - Type
NOTE: If you edit a Case Class/Level/Type, those changes will be made to the other related Case Classes/Levels/Types at the next hierarchical level. For example, making a change to an Appeal (Case Class type) will also be reflected in the Case Levels and Types that are mapped to the Appeal.
OR
Select one or more Case Classes from the list and click the Pencil icon. The in-grid editor populates for editing.
Click the right arrow icon next to any line item in the Case Classes grid to expand the view and expose Levels and Types that are mapped to the selected Classes. Case Classes/Levels/Types all have their own results grid with in-grid Add Newand Edit functionality, as shown in the screenshot above. For example, to edit a Case Type, make a selection from the Case Type panel and click Edit in the panel header.
 Protest/Decision Reason
Case Status Conclusion
Group Closure
Protest/Decision Reason
Case Status Conclusion
Group Closure
OR
Select the checkbox for one or more items in the grid and click Edit.
Case Class Flag
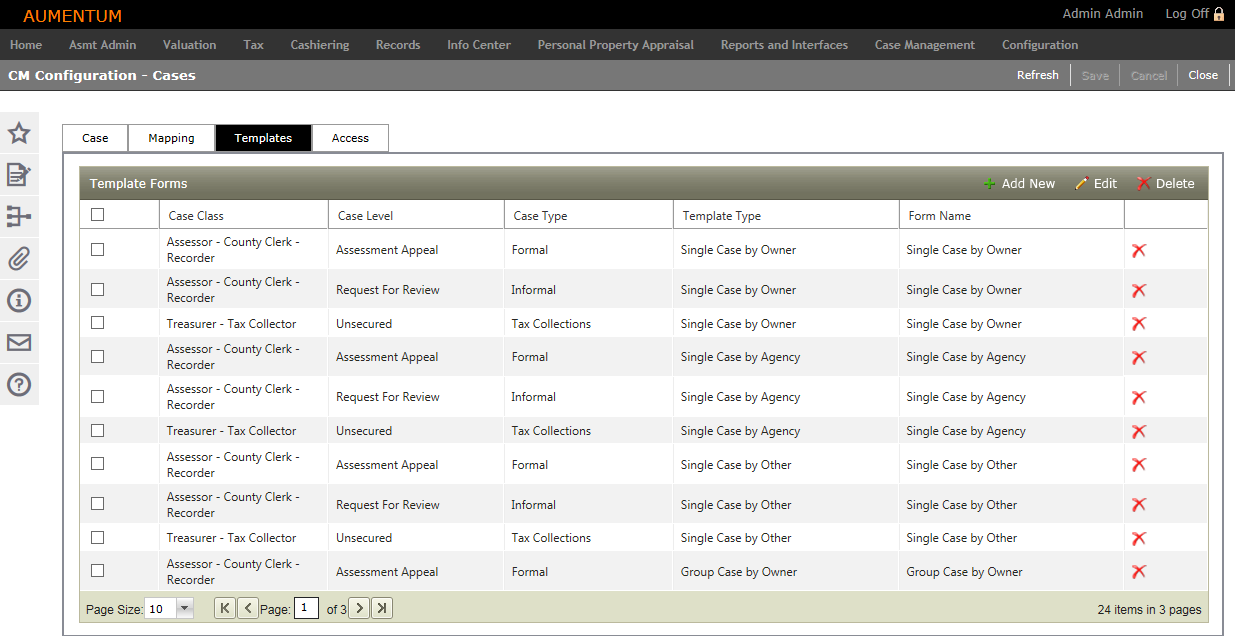
Templates tab
View, create, delete and edit appeal/case templates for specific case types.
OR
Select one or more items in the Template Forms panel and click Edit. The in-grid form populates for editing.
OR
Select the checkbox for one or more items in the grid and click Delete.
NOTE: The order Selected Fields are listed in the Templates tab reflect the order the fields are displayed on the Create Case Template Selection screen. When editing, use the up and down arrows to the right of Selected Fields area to re-order them.
Access tab
Establish what user roles have access to which revenue objects by Case Class definition. Access must be established to allow users to advance to the appropriate level of case detail to maintain case records.
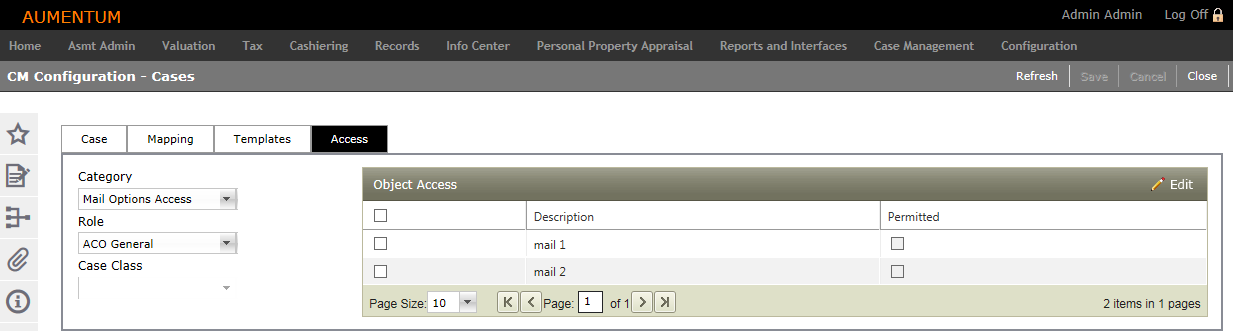
NOTE: Roles are defined via Configuration > Security and User Maintenance > Roles.