Group Case by Representative
Navigate: Case Management > Cases
> Add Case
Case Management > Cases
> Add Case
Description
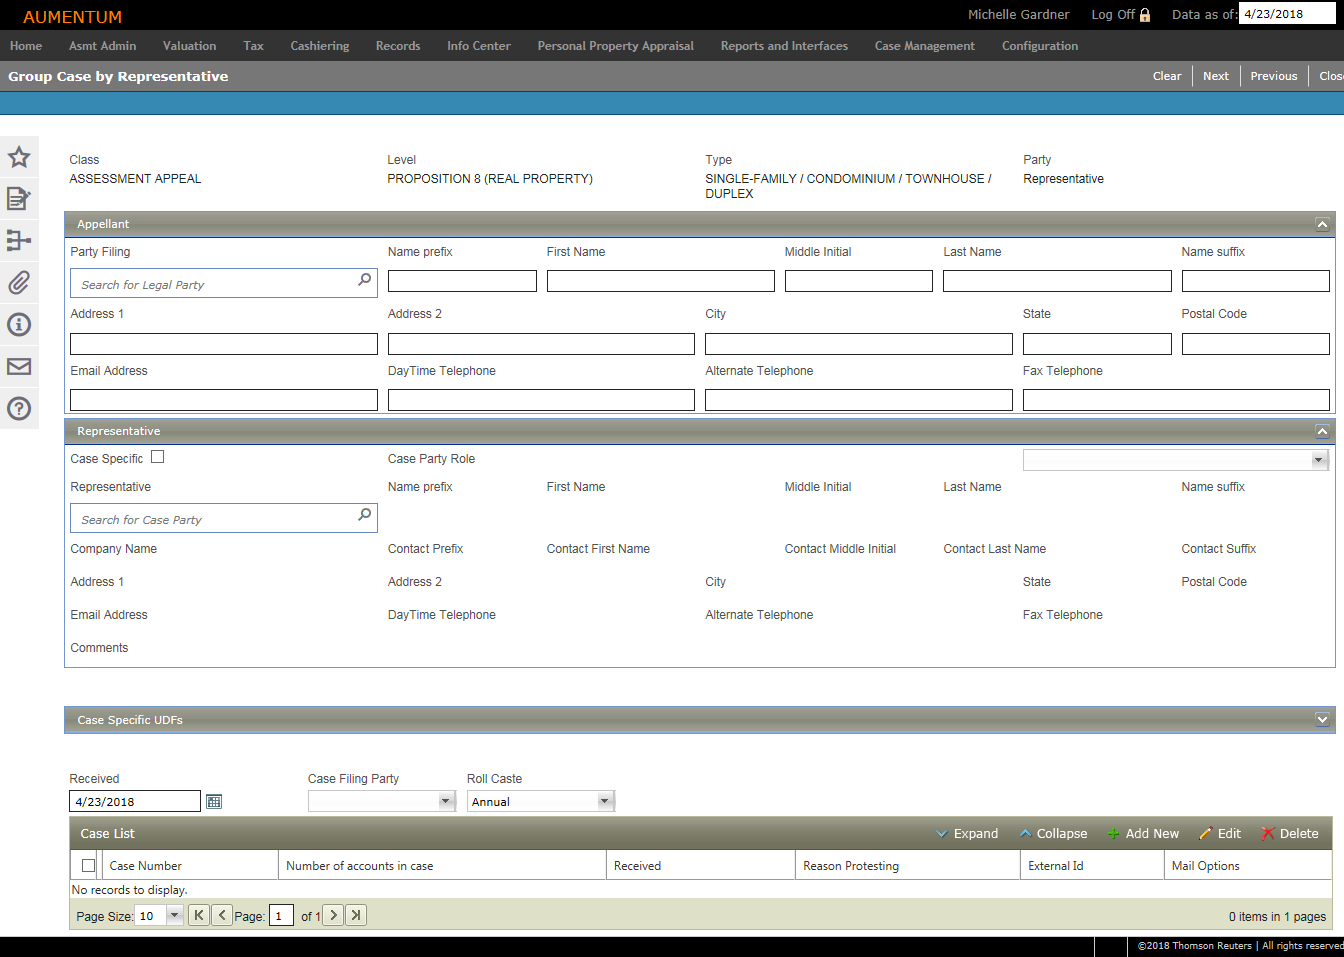
The Group Case by Representative screen displays the template to be completed for the form you selected on the Create Case | Template Selection screen.
NOTE: Case templates are set up based on your jurisdiction and business processes. The fields shown in the screen capture below may not reflect your jurisdiction.
Steps
- On the Create Case | Template Selection screen, select Group Case by Representative from the Template Type drop-down list and click Next.
- On the Group Case by Representativescreen, search for a legal party in the Party Filing field in the Appellant panel.
- In the Representative panel, search for a case party in the Representative field.
- Complete the user-defined fields configured for your jurisdiction.
-
In the Case List panel, select one or more items in the grid and a corresponding account from the Account List sub-tab and click Next in the Command Item bar.
- On the Case Input Complete screen, view the case numbers created. They can be overridden if desired.
-
Click Clear to clear all selections
-
Click Previous to return to the Create Case Template Selection screen on the previous page.
-
Click Close to end the task.
NOTE: A case number will be automatically assigned unless one is provided.
NOTE: After a case is created and filed under an agency, it is also necessary to add the case to the agency in order for the powers of representation to be valid. Click Case Management > Agency Maintenance to complete this task.
OR
On the Case Input Value Entry screen, add value detail for the case.
NOTE: This next step is only available when the Value Related checkbox is selected in Case Configuration (see the Mapping tab) for the specific type of case you are adding. If the Value Related checkbox is not selected, the process for adding the new case ends on this screen (and upon clicking Save).