Stipulation Import
Navigate:  Case Management
> Batch Processes > Case Imports > Stipulation Import
Case Management
> Batch Processes > Case Imports > Stipulation Import
Description
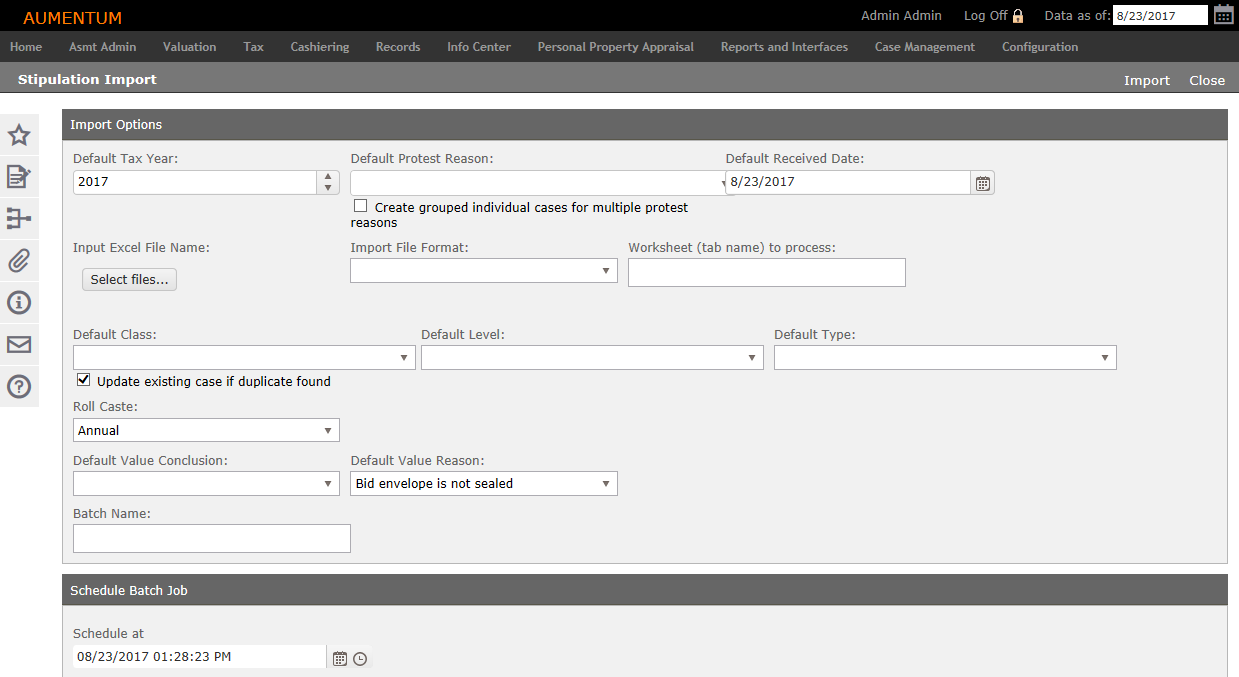
Use this screen to define the details of a case with stipulations. This batch process imports details for cases with stipulations and creates new cases with stipulations. If a stipulation exists for the PIN/year, no new case is created. Once imported, the process is sent to the workflow for processing via the View My Worklist screen.
Steps
NOTE: Drop-down lists defined by systypes are controlled by security, which is set via Configuration > Security and User Maintenance > Roles.
-
On the Stipulation Import screen, enter the Tax Year of cases to import. By default, the current tax year is displayed.
-
Make a selection from the Default Protest Reason drop-down list to be assigned to each of the appeals you are importing. This is the default protest reason(s) to use for each case created in the event that the spreadsheet does not contain a column for the protest reason. If a protest reason column(s) exists in the spreadsheet and are mapped, the mapped column values are used instead of the values from this option.
-
Enter or select the Default Received Date.
-
Select the Create grouped individual cases for multiple protest reasons if you wish to create individual cases for multiple protest reasons.
NOTE: The Case Management effective date Boolean application setting Import: Create multiple protest reasons as grouped cases determines whether to create multiple protest reasons as grouped cases automatically when set to True. By default, it is set to false; selecting this checkbox overrides the setting. Set this via Configuration > Application Settings > Maintain Application Settings. Select the setting type of effective date and click Edit on the setting. Select the checkbox to set to True.
-
Click Select Files to select the file to import.
-
Make a selection from the Import File Formatdrop-down list.
-
Enter the name of the Worksheet (tab name) to process.
- Make your selections from the remaining drop-down lists, and enter a Batch Name.
-
In the Schedule Batch Job panel, enter or select a date, or leave the schedule date as displayed to run the import process immediately.
-
Click Import to submit the import to Info Center > Batch Processes > Monitor Batch Processes screen. When finished, select the process to advance to the View Batch Process Details screen from which you can select any associated reports/output for the process.
-
Click Close to end the task.
NOTE: When using this import file in Personal Property Appraisal, values are processed at the Total level without distributing assets in PPA.