Agency Maintenance
Navigate:  Case Management > Agency Maintenance
Description
Use this task to add and maintain agency accounts.
Steps
-
On the Case Management Search screen, enter your search criteria and click Search.
NOTE: Click the Advanced tab to search by AIN.
-
From the Results panel, select the checkbox for one or more items and click Next.
NOTE: The number of records displayed in the search results is based on the Search Result Limit application setting.
Click here to learn how to set this limit.
- Click Configuration > Application Settings.
- On the Maintain Application Settings screen, select Effective Date from the Setting type drop-down list, and select System from the Filter by module drop-down list.
- Locate Search result limit and click Edit.
- Enter the maximum number of records you want to see in search results in the Setting Value column.
- Click Apply, then click Save.
- On the Maintain Agency screen, the Details tab is displayed by default.
- In the Legal party panel, click Edit Party to open the Maintain Legal Party screen. Click Return to close the screen and return to the Maintain Agency screen.
-
Click the PIN Details tab to add PINs for representation to the selected agency or to edit existing PINs associated with an agency.
- On the Agency Maintenance - Add PIN Details screen, start typing a PIN in the drop-down list and make a selection.
- Enter or select the letter date.
- Enter the fee.
- Select the checkbox if the owner must sign the letter.
- Enter relevant information in the Memo field as needed.
- Make a selection from the Representative drop-down list.
- Enter or select the signature date, received date, effective date, and expire after date.
- In the Default Authorities panel, select the checkbox for one or more items in the grid.
- Click Apply in the Command Item bar.
- Click Save.
- Click Cancel to return to the Maintain Agency screen.
- Click Close to end the task.
- On the Agency Maintenance - Edit PIN Details screen, the information in the header area is read-only.
- Enter or select the letter date.
- Enter the fee.
- Select the checkbox if the owner must sign the letter.
- Enter relevant information in the Memo field as needed.
- Make a selection from the Representative drop-down list.
- Optionally, select the checkbox and enter or select a date to expire all authority.
- In the Authority panel, click Add New, or select one or more items in the grid and click Edit.
- Modify the dates as needed.
- Click Apply.
- In the Other Active Agencies and Expired Agencies panels, the information is read-only.
- Click Save in the Command Item bar.
- Click Cancel to return to the Agency Maintenance screen.
- Click Close to end the task.
- Click the Representatives tab to view and assign representatives related to the agency.
- On the Assign Agency Representatives screen, click on a name in the Available Agents panel and click to right arrow to add it to the Current Agents panel.
- To remove an agent, click on a name in the Current Agents panel and click the left arrow to move it back to the Available Agents panel.
- Click Apply.
- Click Cancel to return to the Maintain Agency screen without saving your changes.
- Click Close to end the task.
- Modify the license number as needed.
- Select the Alternate checkbox, if needed.
- Select the Active checkbox, if applicable.
-
Click Apply.
- Click Save in the Command Item bar.
-
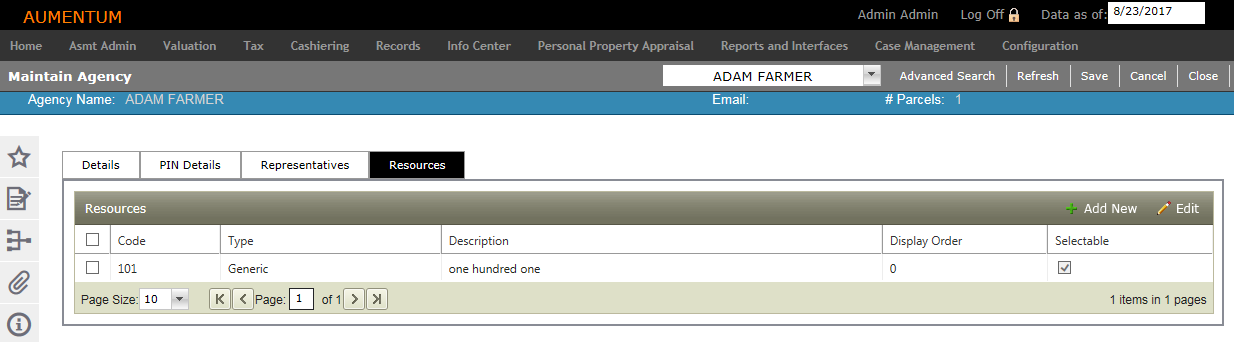
Click the Resources tab to view, add, and/or edit resources for the selected agency. Resources are defined for an agency to establish availability considerations for scheduling purposes.
-
Click Add New in the Resources, or select one or more items in the grid and click Edit.
- Enter or select the following items:
- Code – A brief code to represent the resource.
- Type – NOTE: Generic resources are typically established for Agents who are not affiliated with your jurisdiction.
- Description – A description of the representative
- Display Order – The order you want the representative to appear in the list.
- Selectable – Check the Selectable checkbox for the resource if you want it to be available for the agency for scheduling.
-
Click Apply.
-
Click Save.
-
In the Command Item bar:
- Click Advanced Search to navigate to the Advanced Search screen.
-
Click Refresh to clear all selections and refresh the page.
-
Click Cancel to discard changes since the last Save and retain the current view.
-
Click Close to end the task.
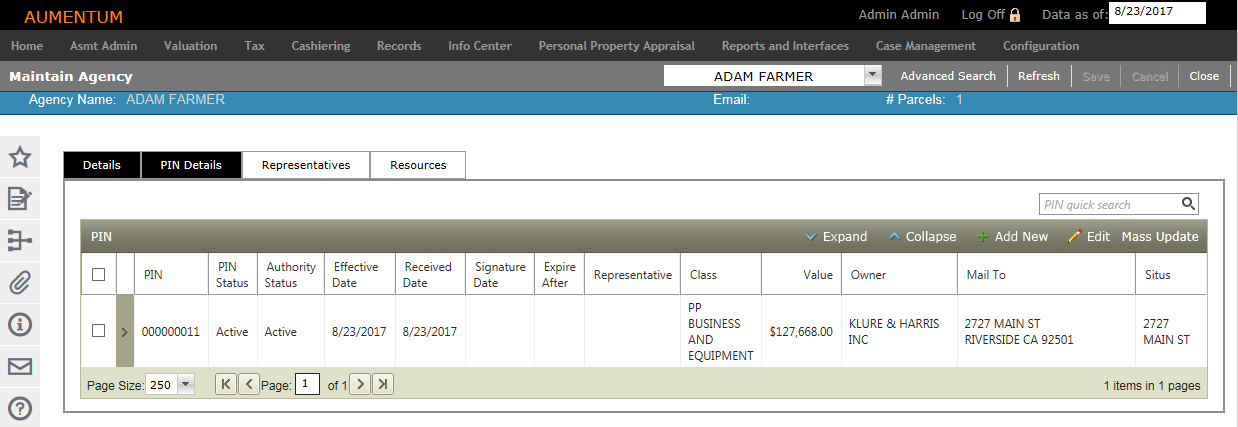
Click Add New in the PIN panel title bar.
Select a PIN and click Edit in the PIN panel title bar.
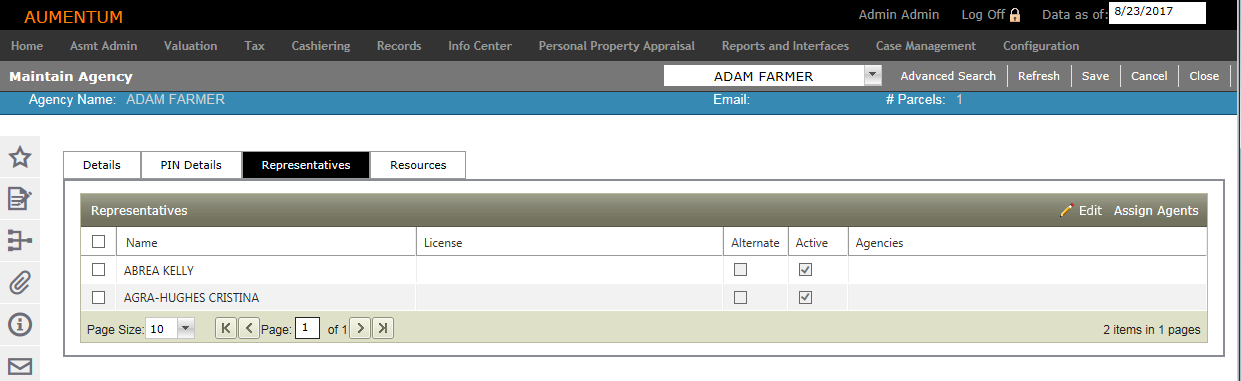
Click Assign Agents
Select a representative and click Edit in the panel's title bar.
Tips
You can set security rights for each tab on the Maintain Agency screen and each field in the tabs.
Dependencies, Prerequisites, and Setup
-
Agencies must be configured via Case Management > Configuration > Agency Authorities.